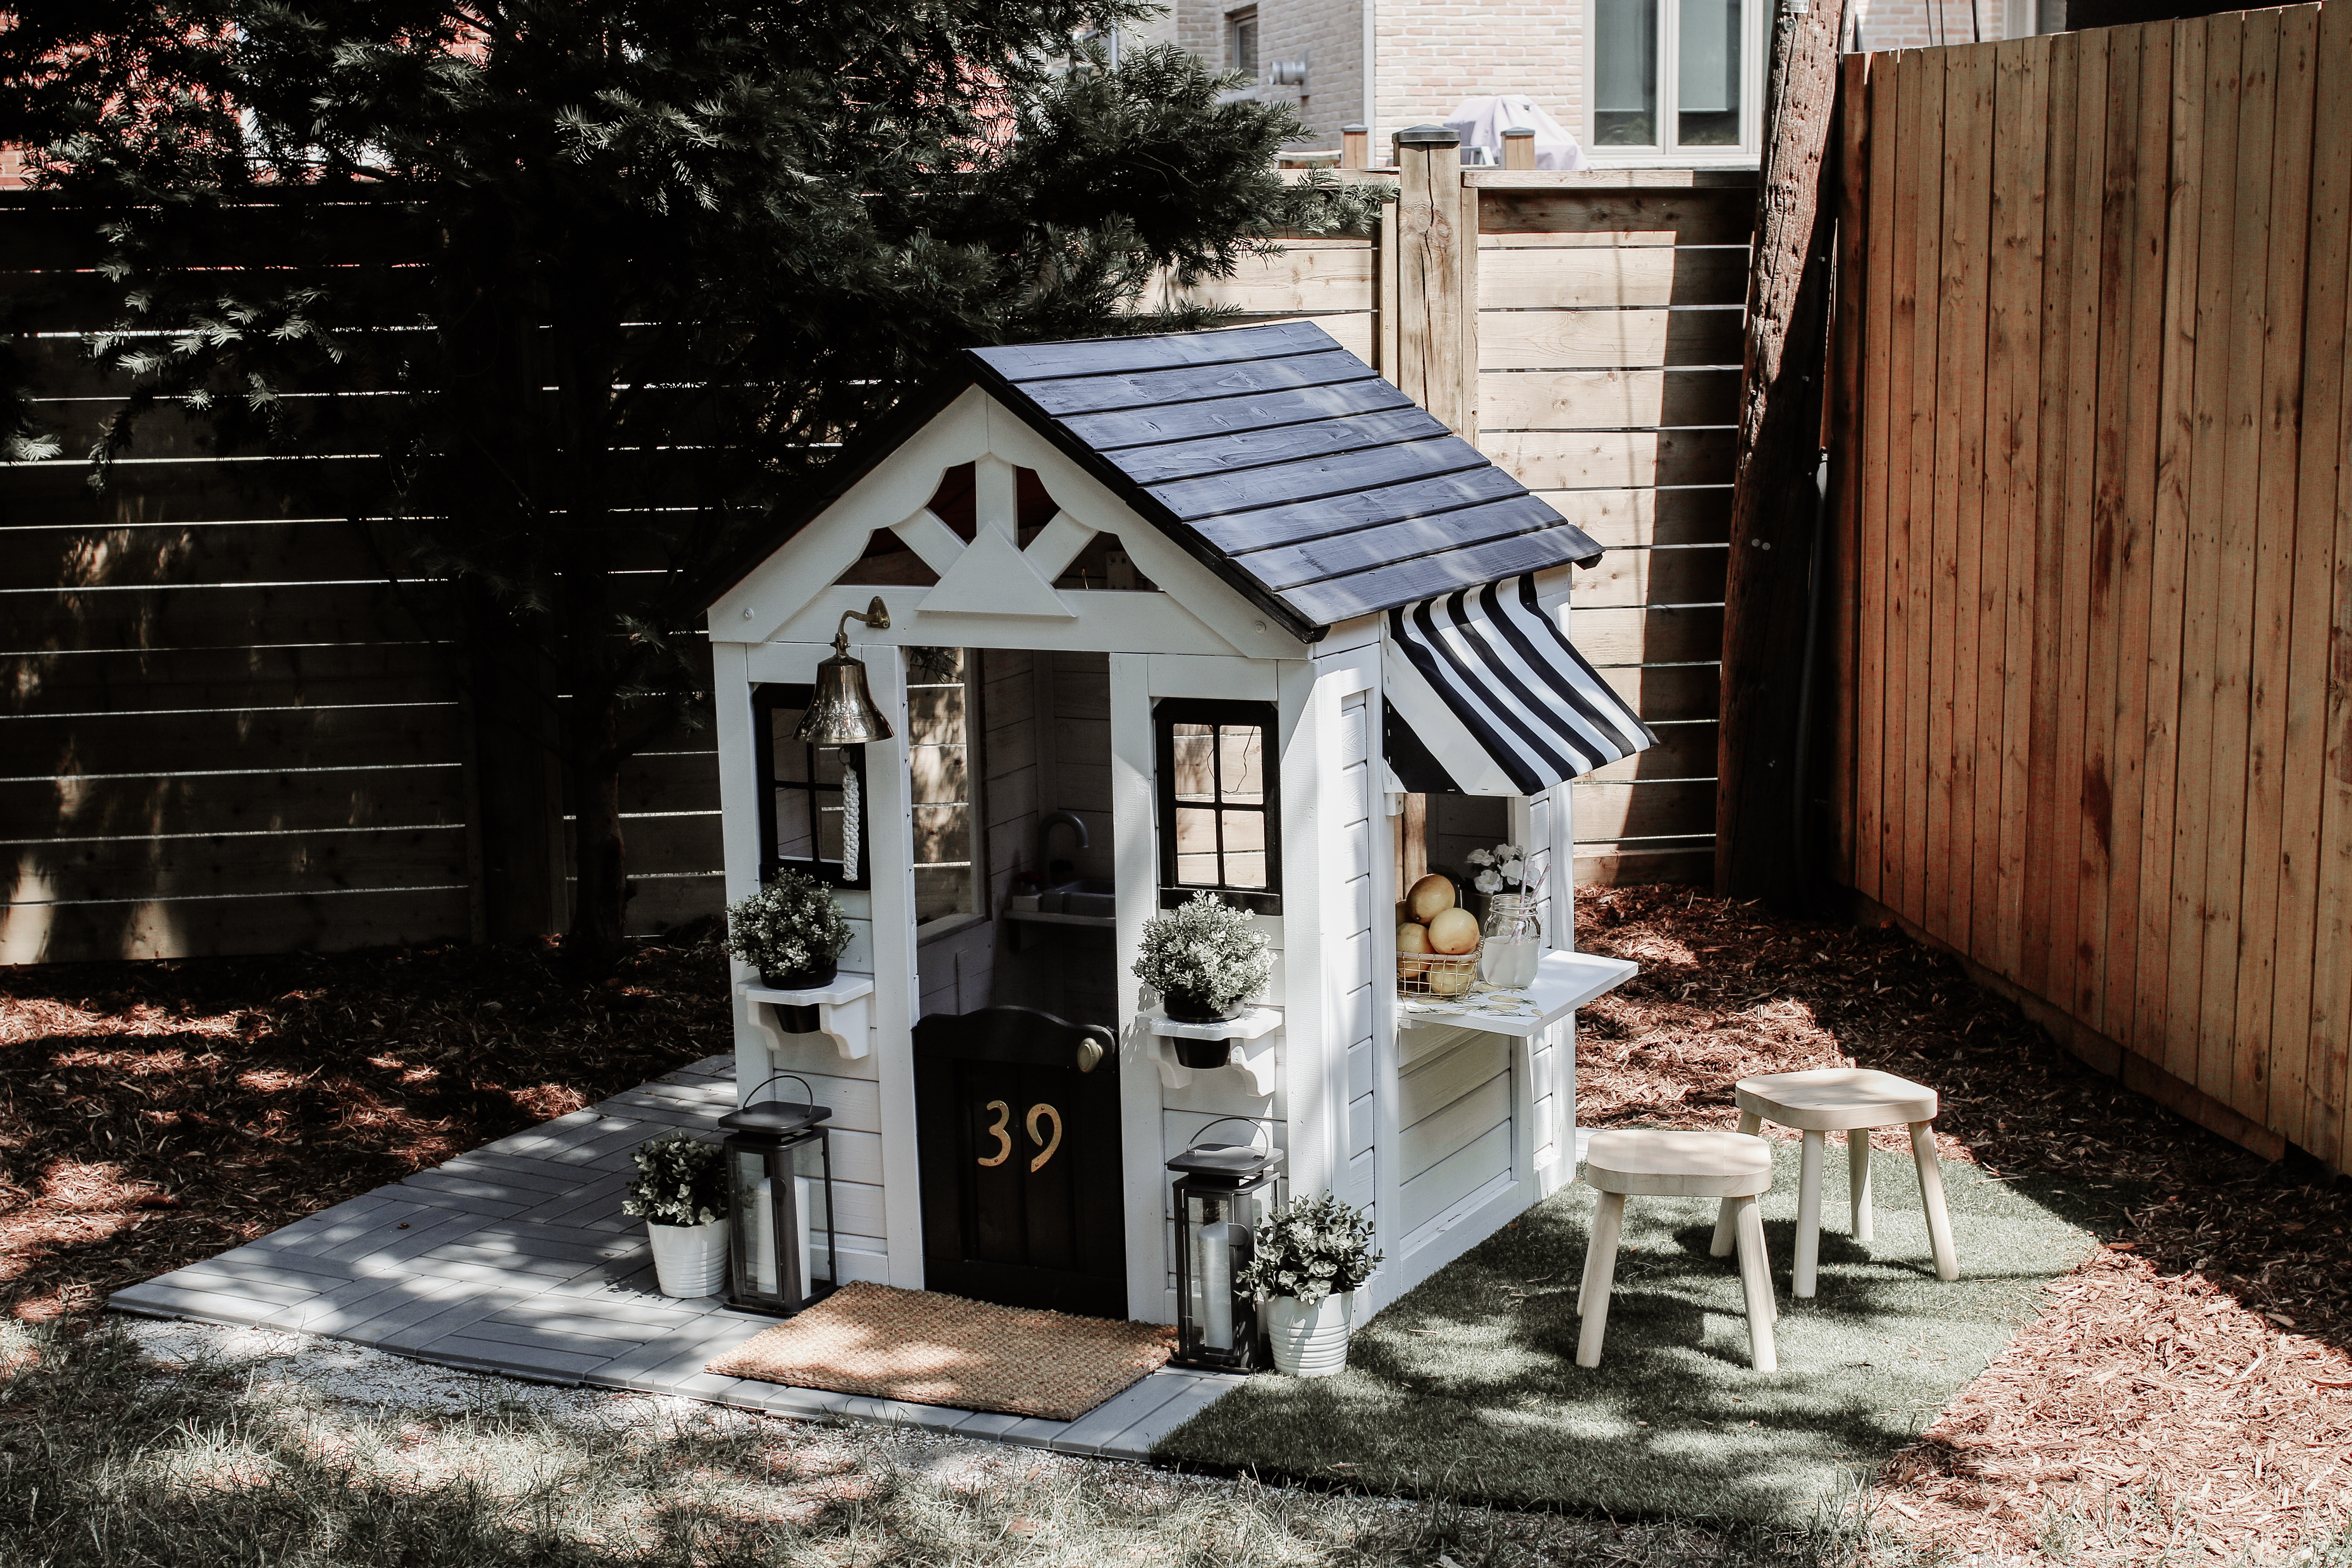
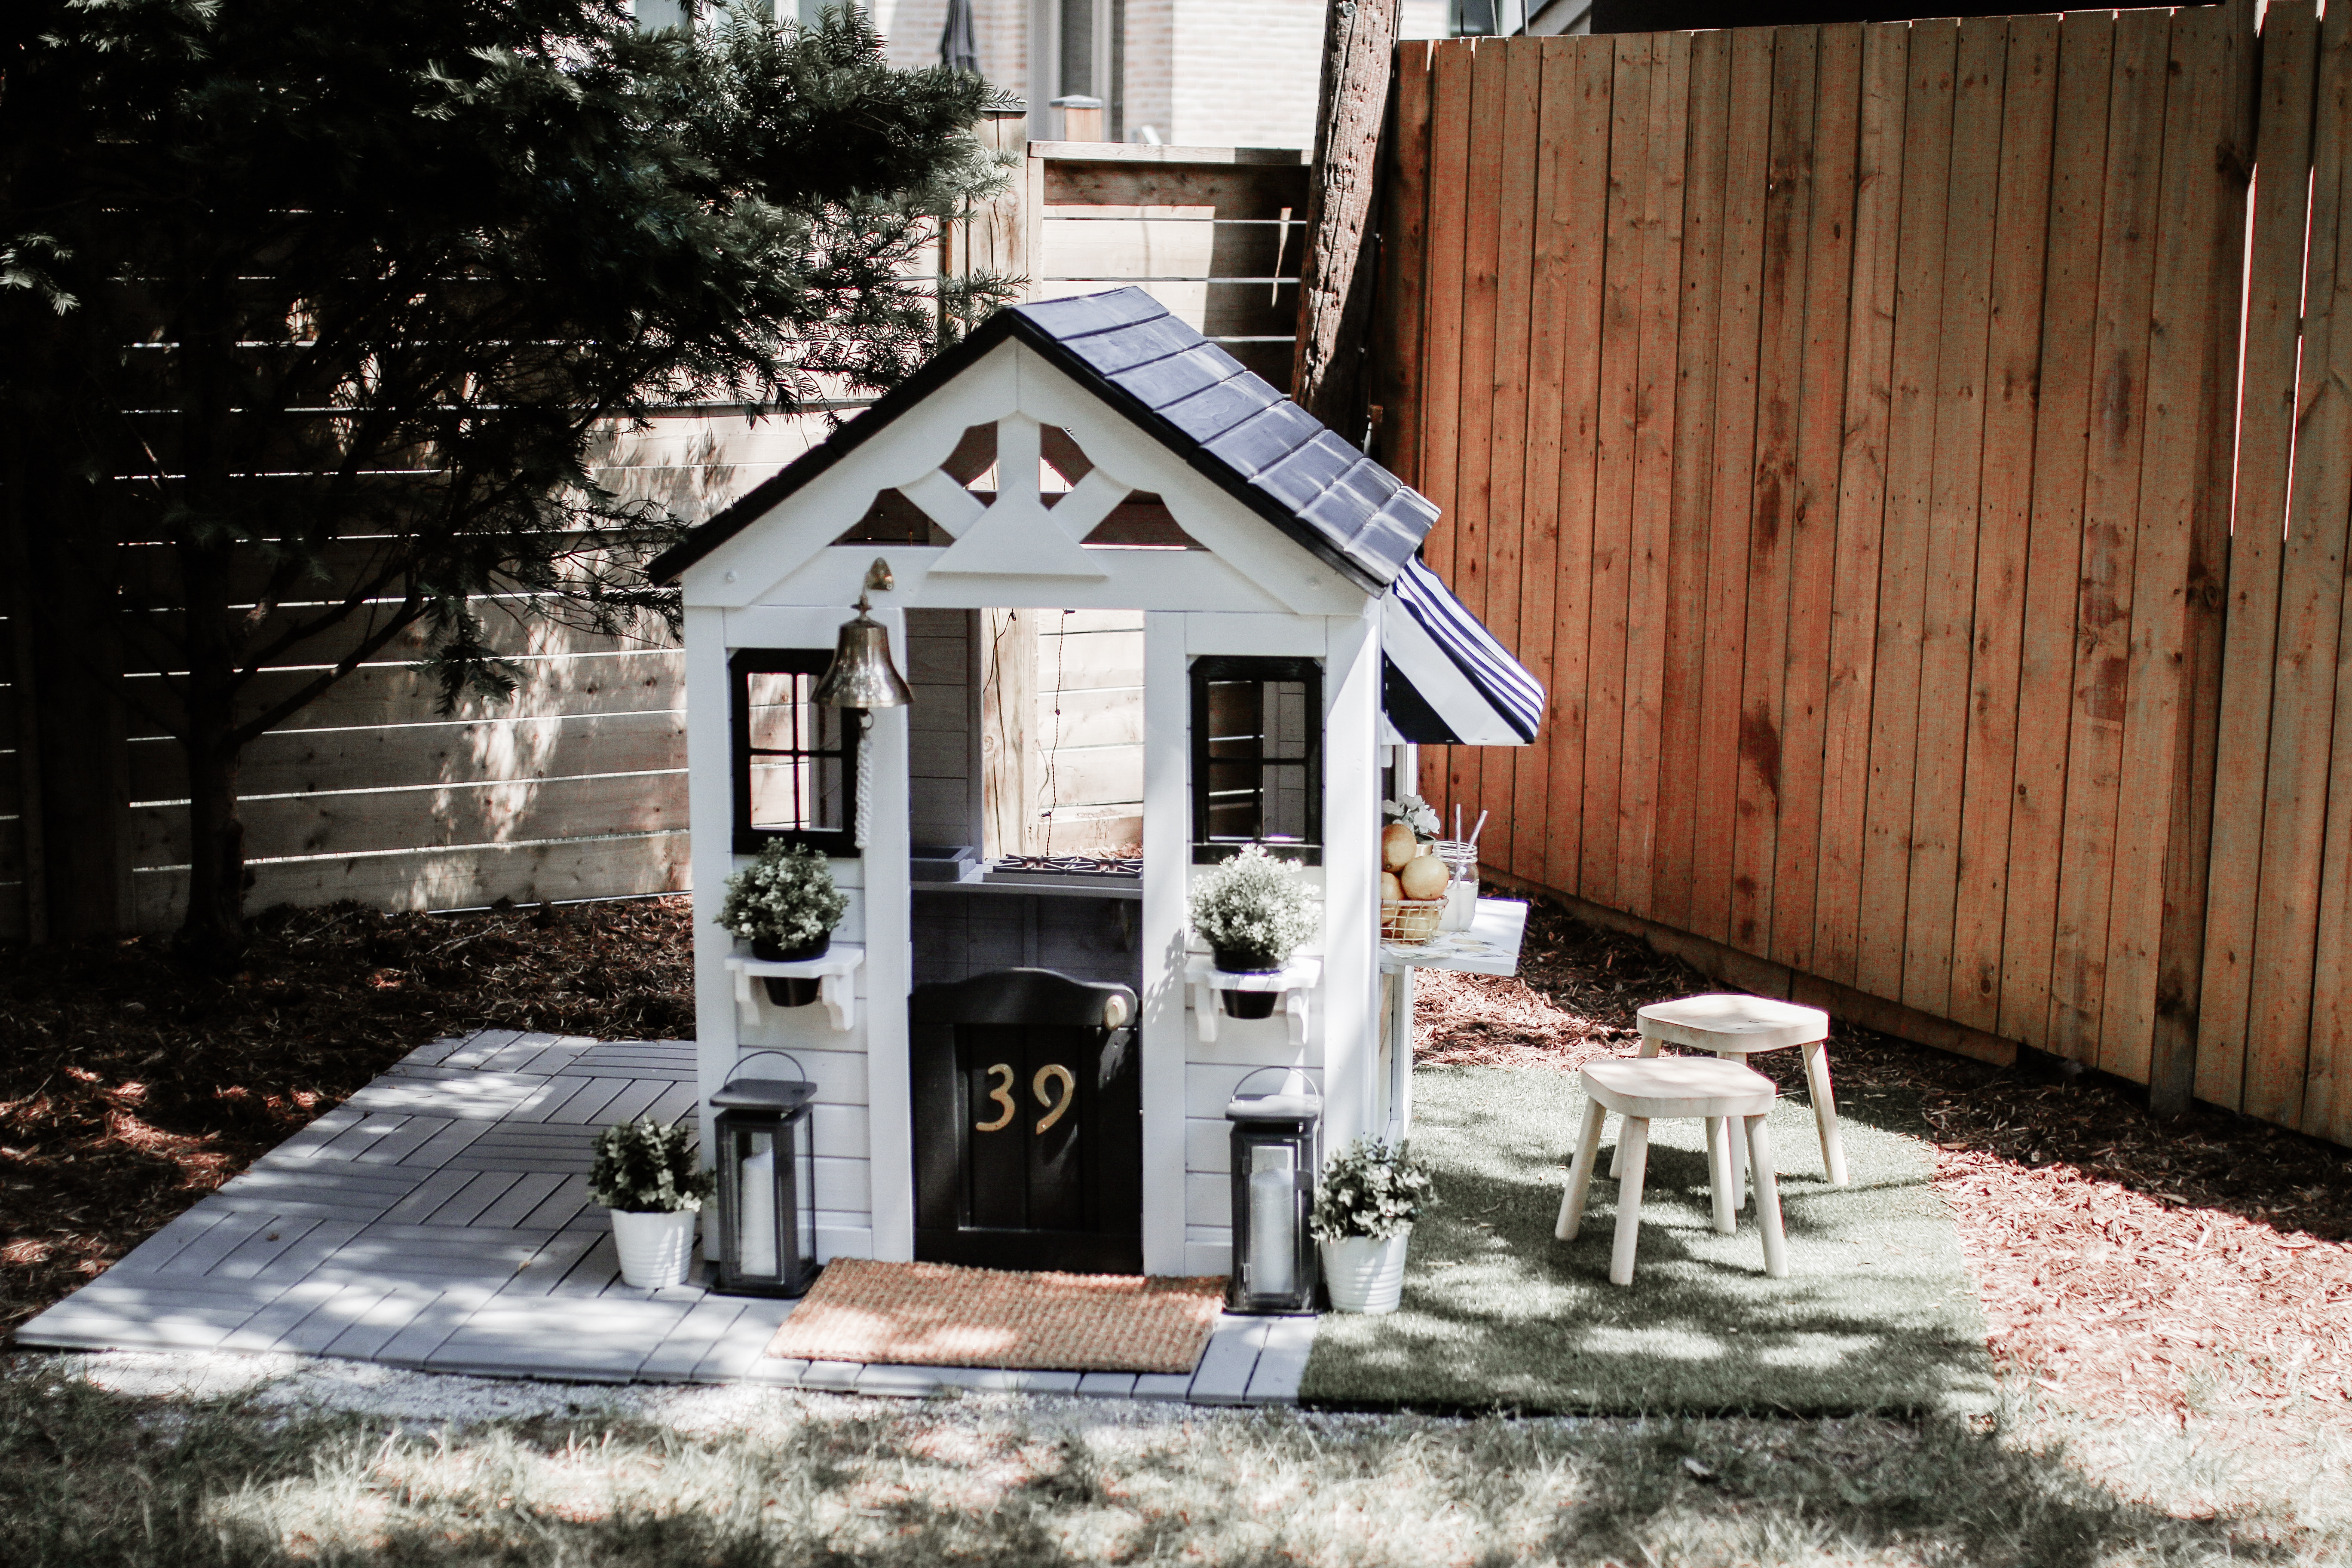
 Well, this is something I’ve been wanting to do for my kids since they were much smaller (but of course it wasn’t really relevant then)… a playhouse makeover! We wanted a wooden playhouse rather than those multicoloured plastic ones, so that it would add to the appeal of our backyard and give us the option of customizing it.
The playhouse we purchased was the Backyard Discovery Timberlake Playhouse which is a solid cedar playhouse. It is important to note that I was unable to find this playhouse in Canada for less than about $450 (which was more than we wanted to spend on a playhouse!), but I found it on amazon.com for $199! They don’t ship to Canada but I shipped it to a US address and picked it up. For me it was worth the savings.
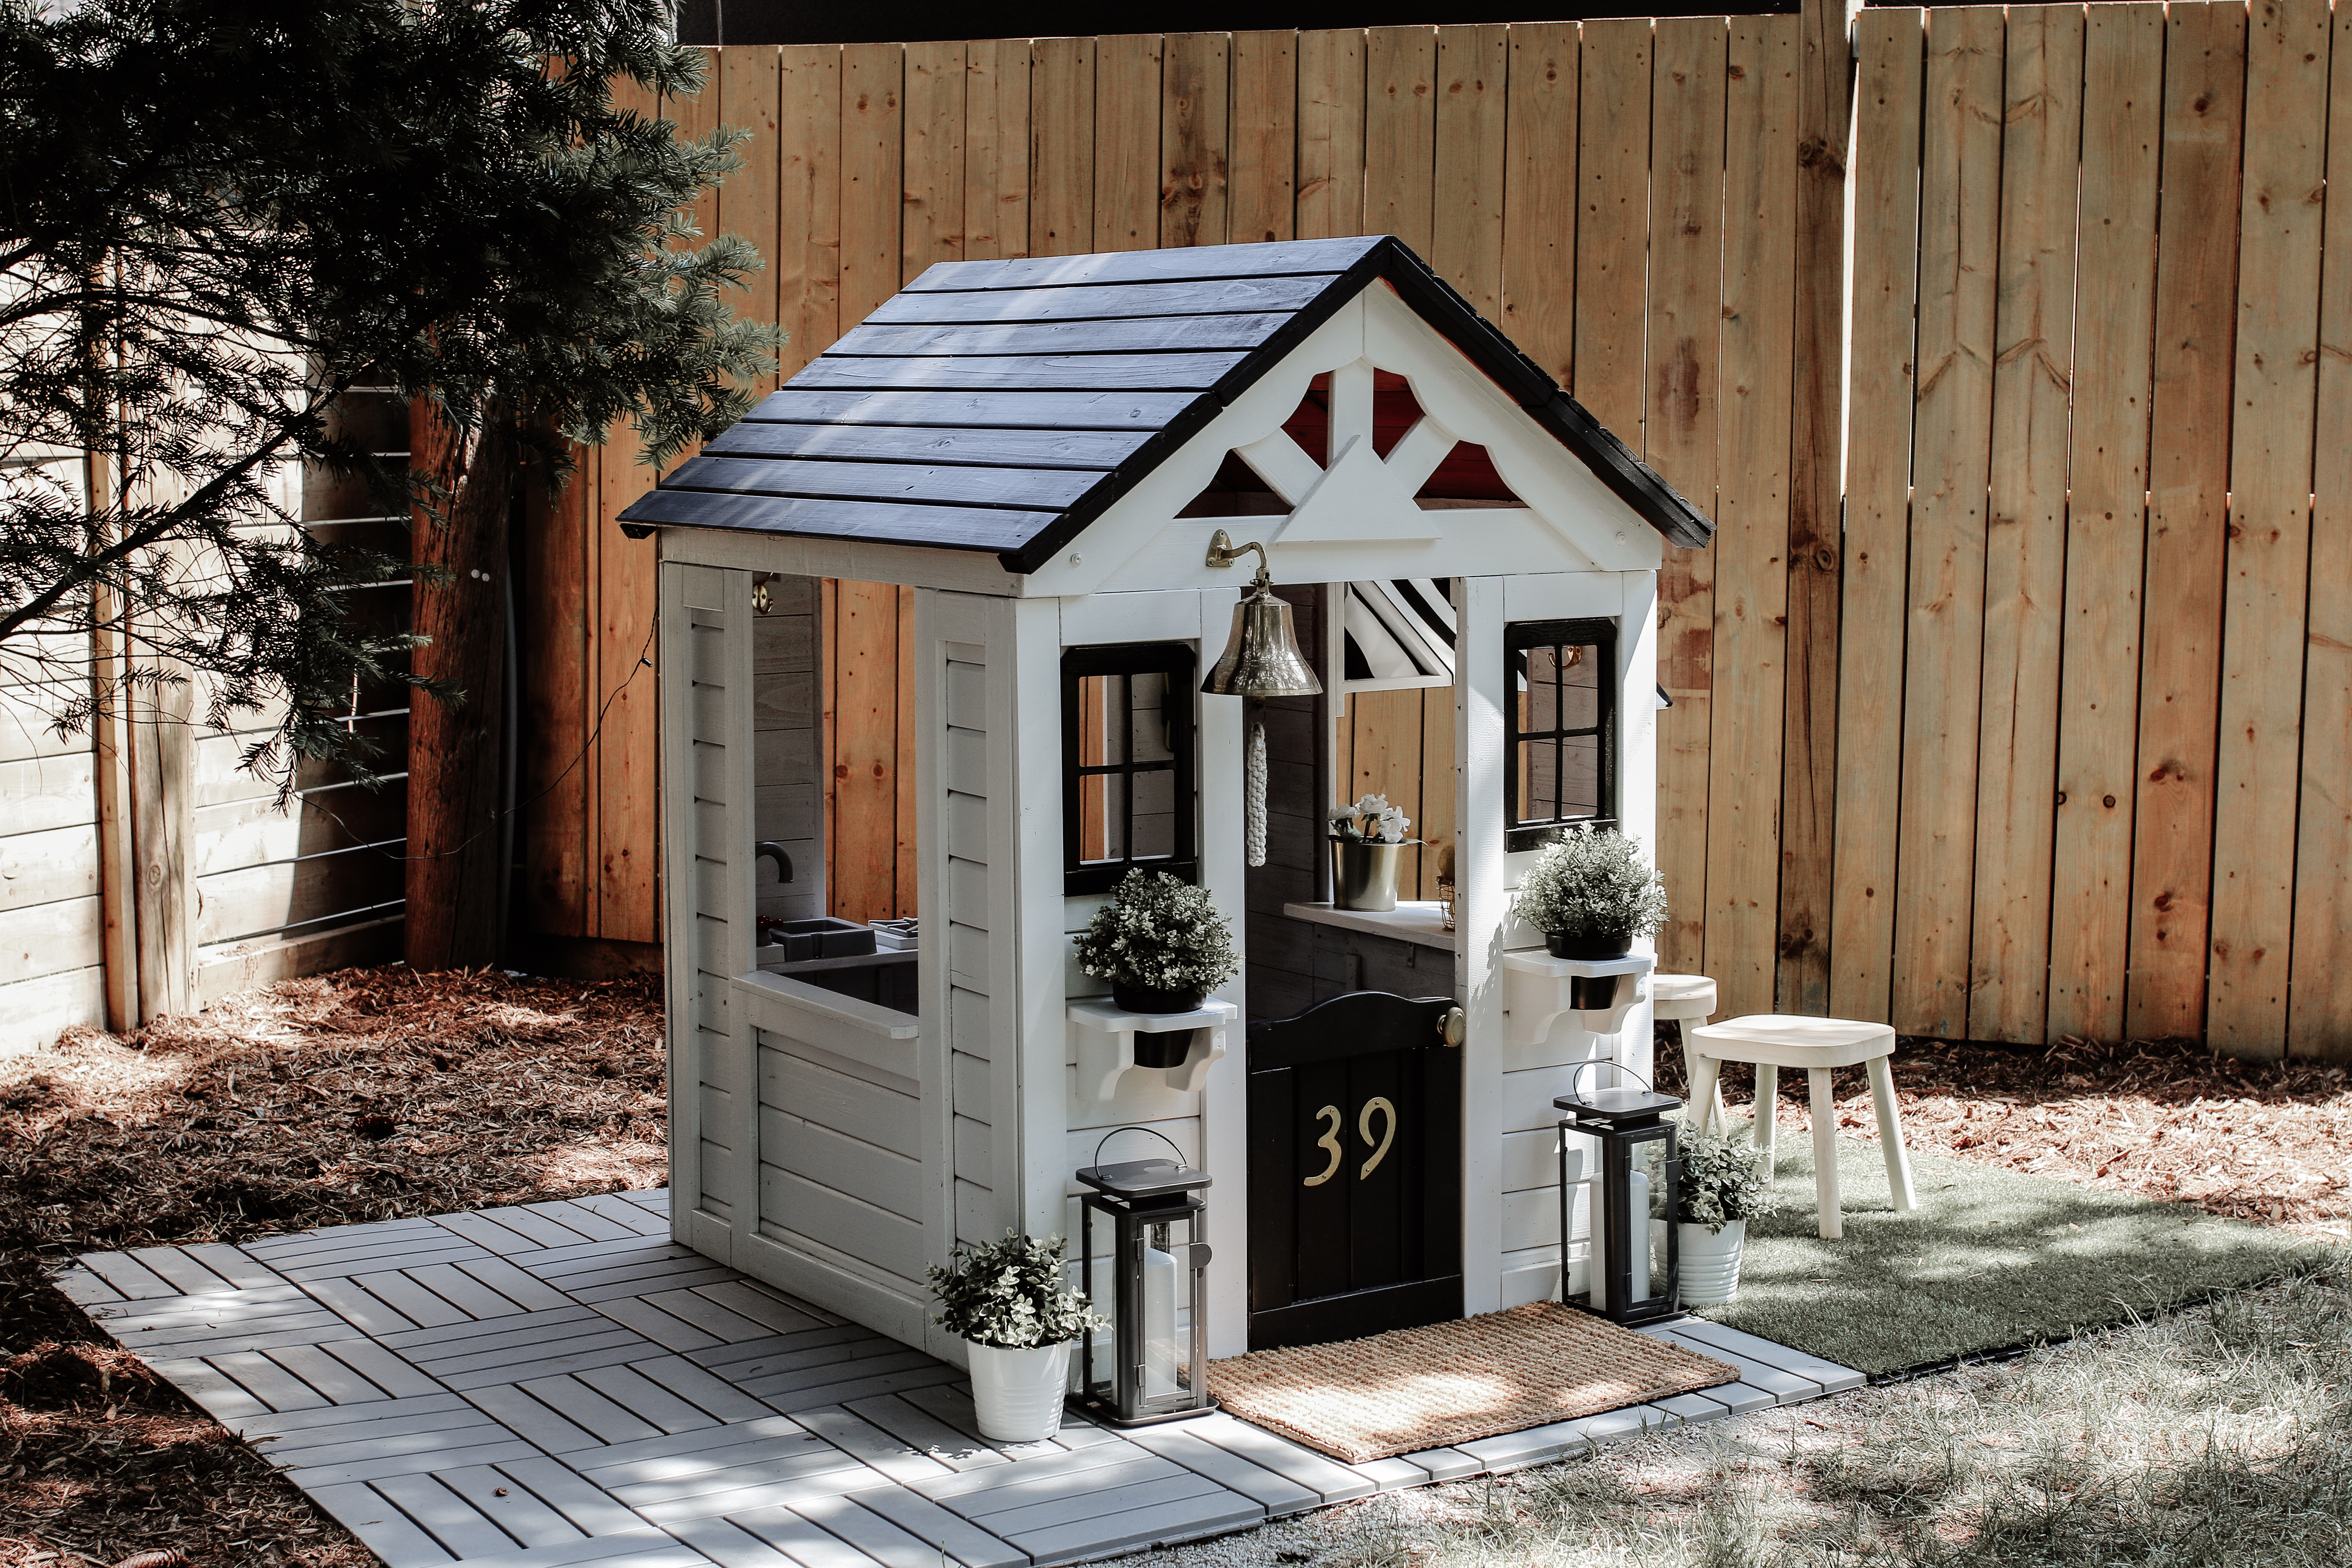
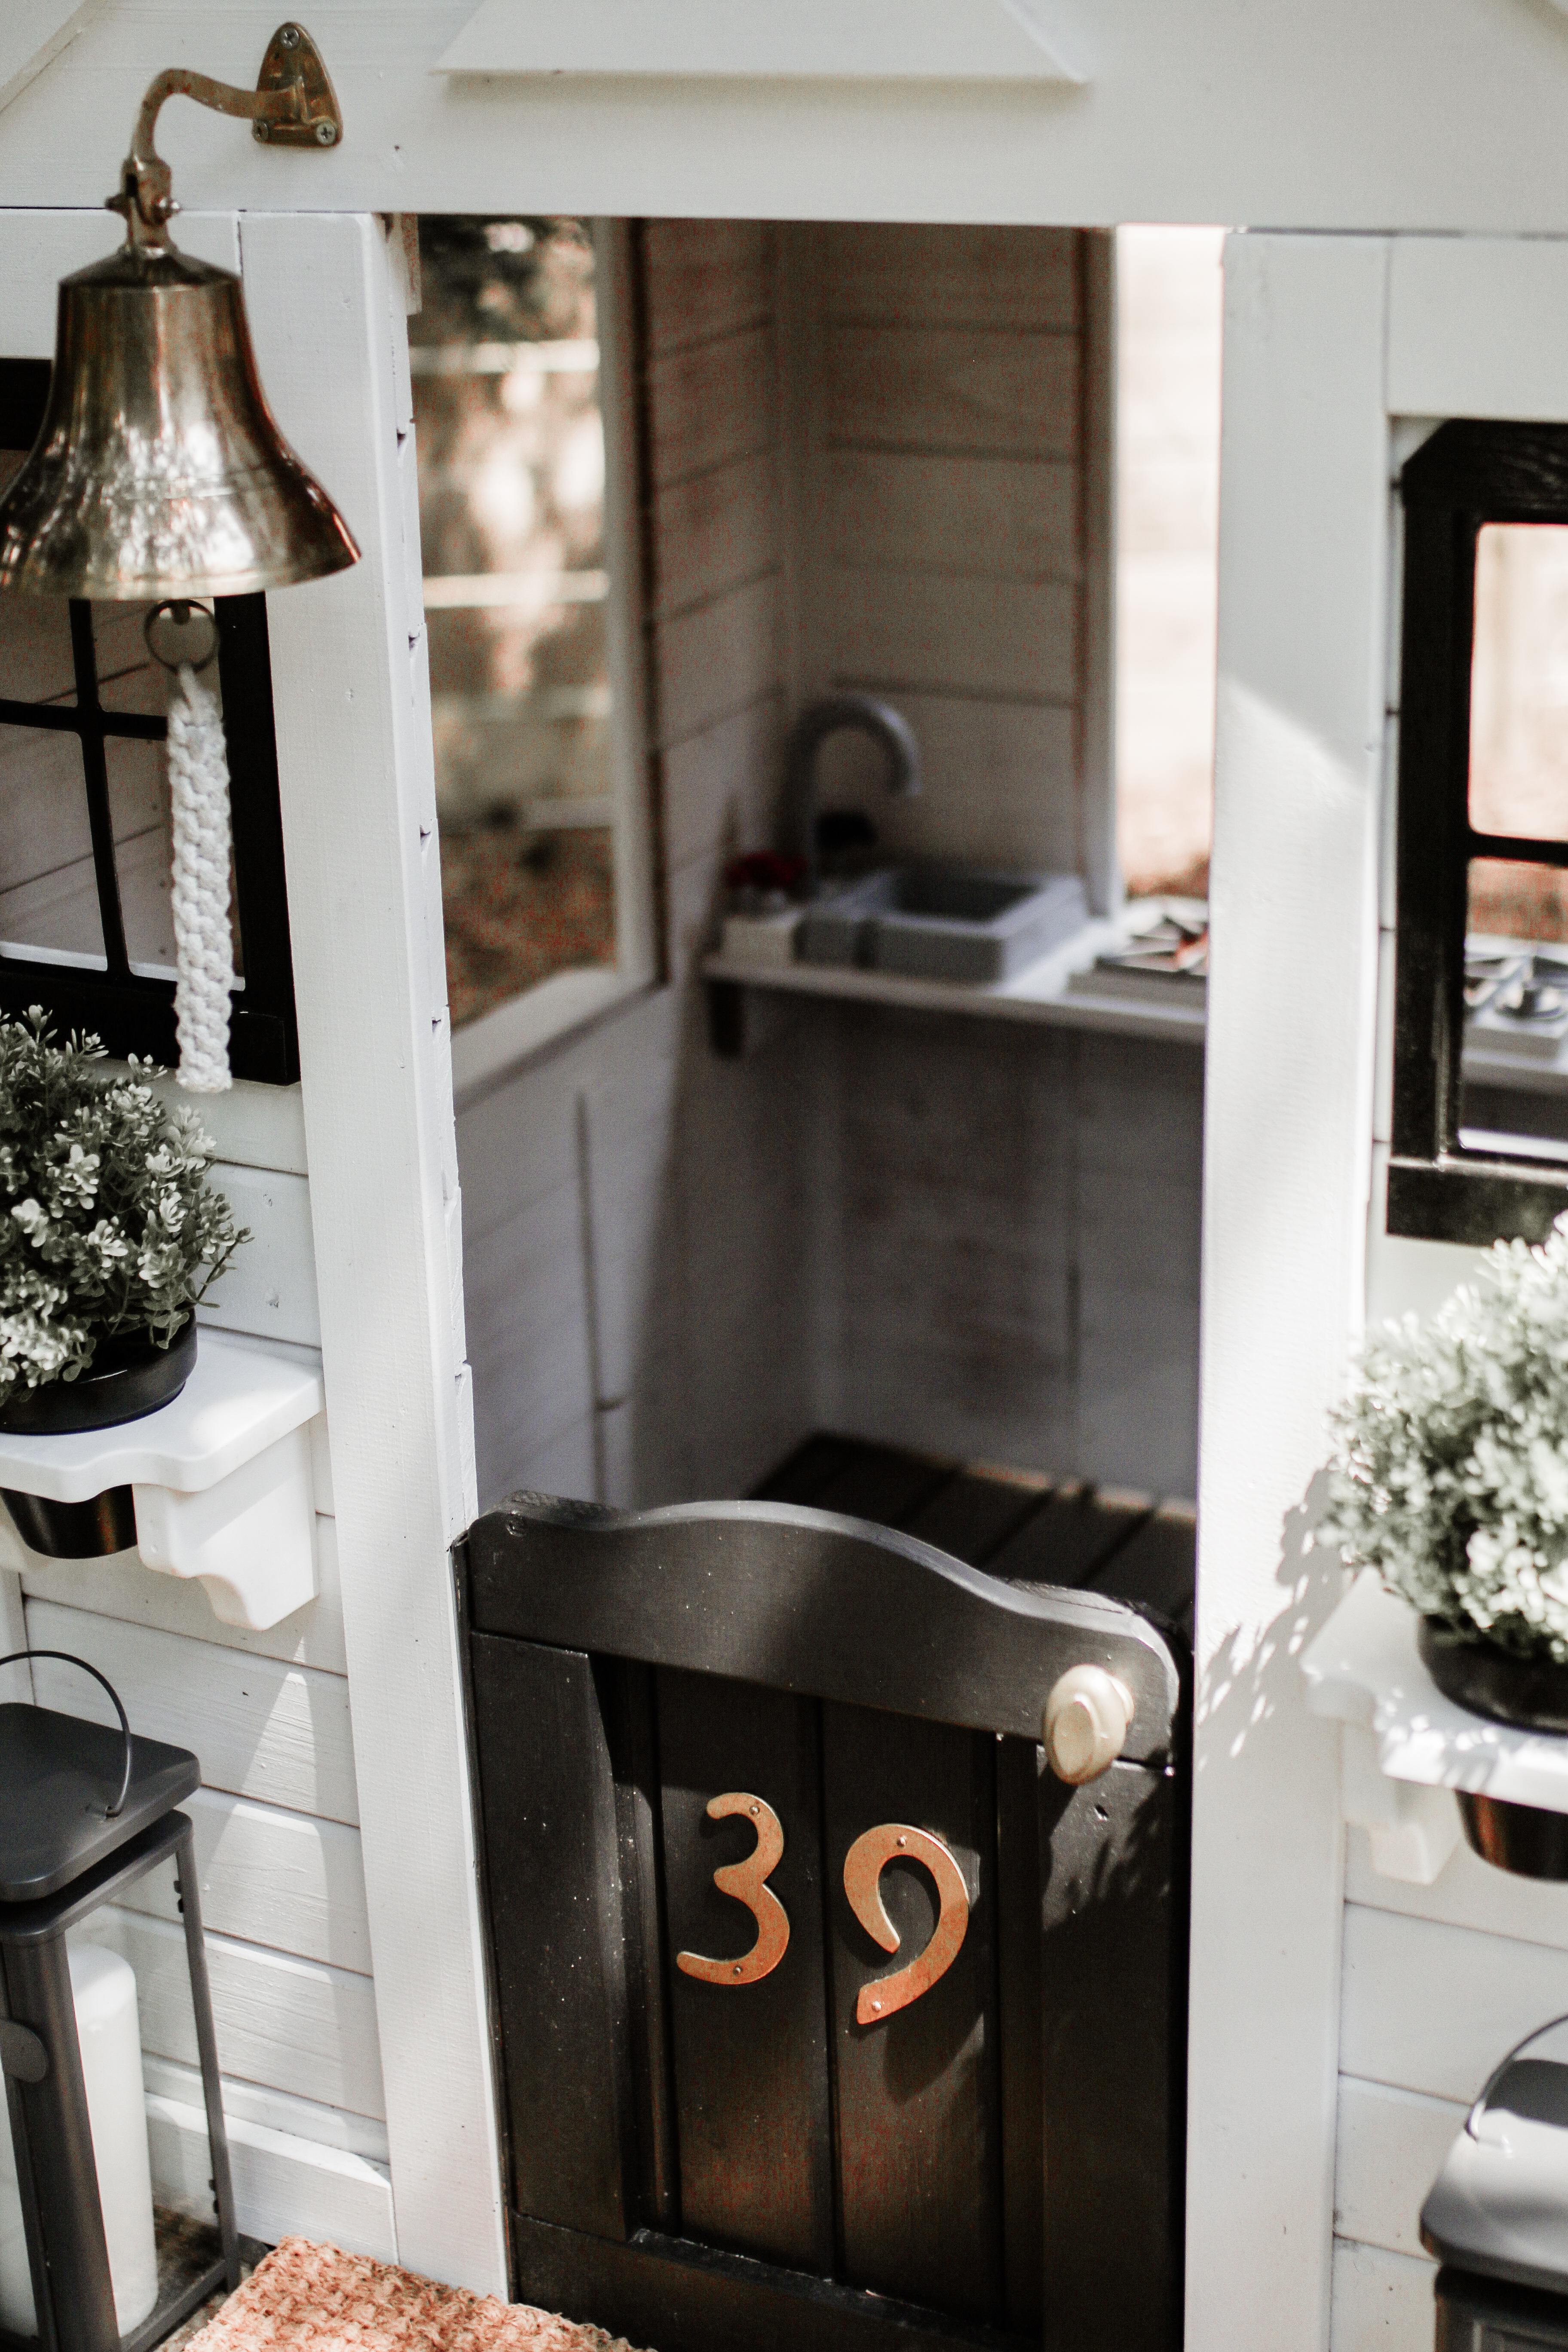
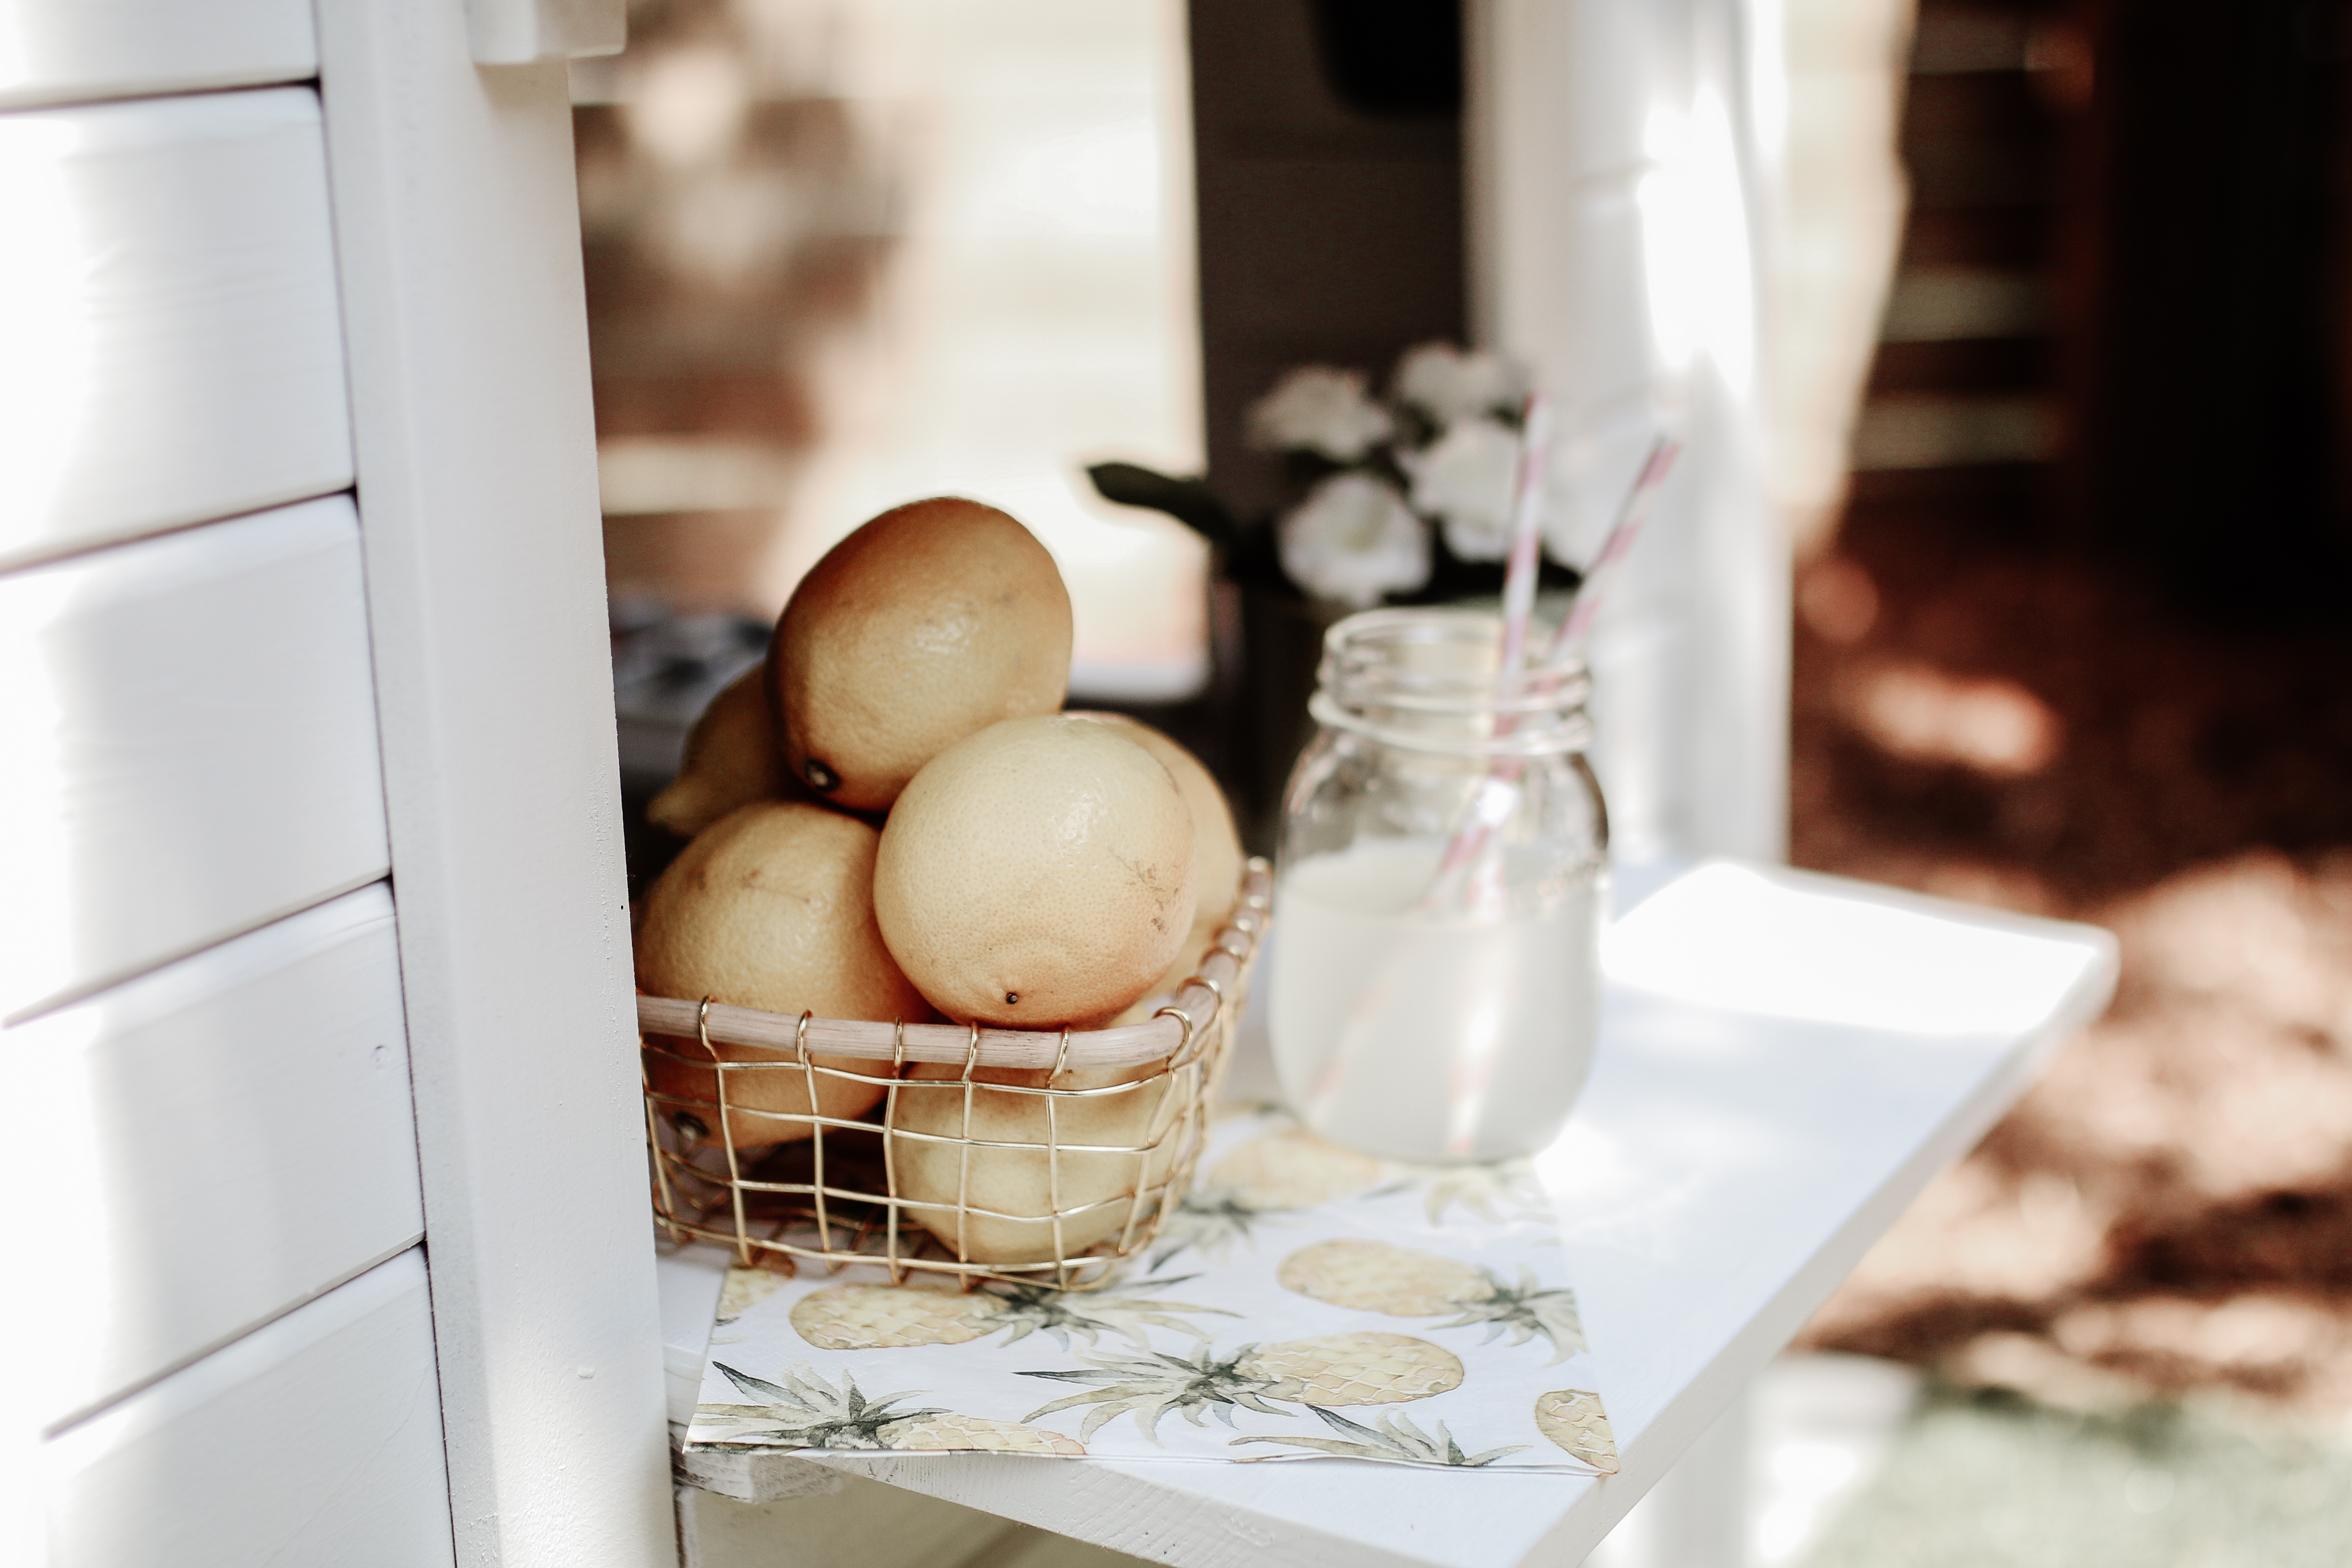
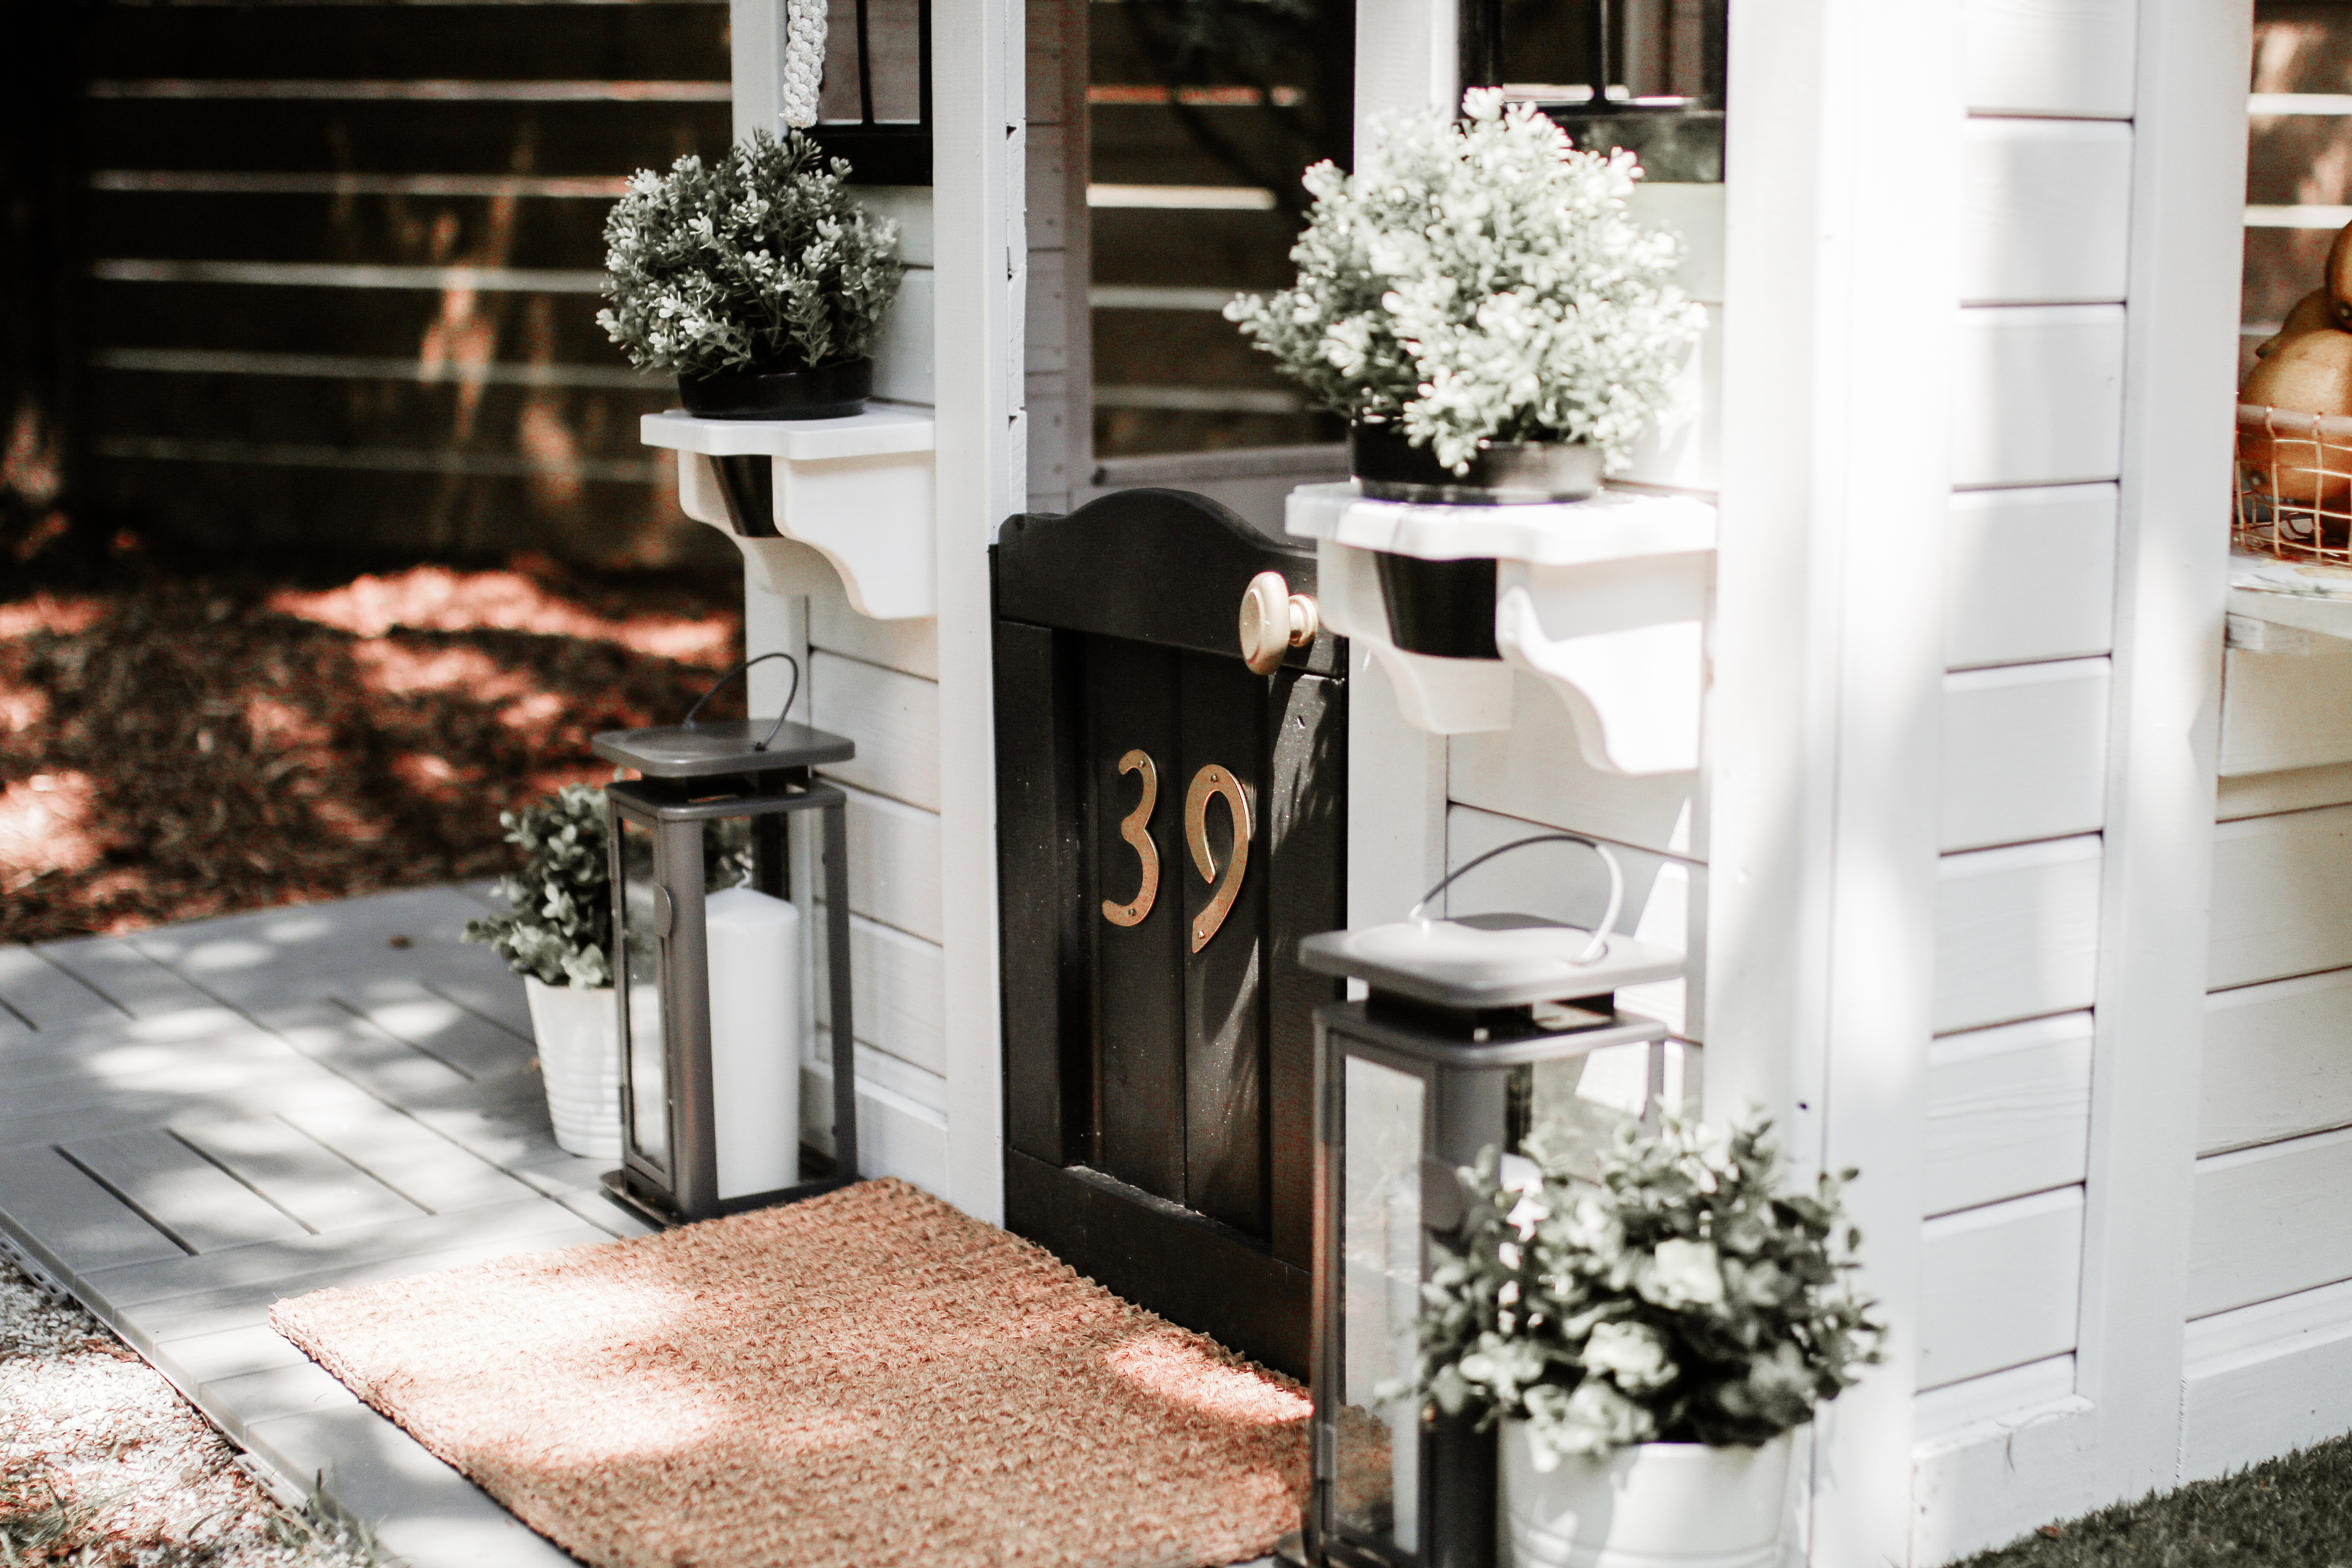
This kit came with some fun accessories for the inside: a phone, sink, and stovetop, but not much else. Even the pot holders that go under the windows didn’t come with pots that fit, so I purchased clay pots for $1 from Wal Mart to fit into the holes. As for accessories, I also found a brass ship bell, some lanterns, flowers, plants, candles, two nice wooden stools, and house numbers to put on the door.
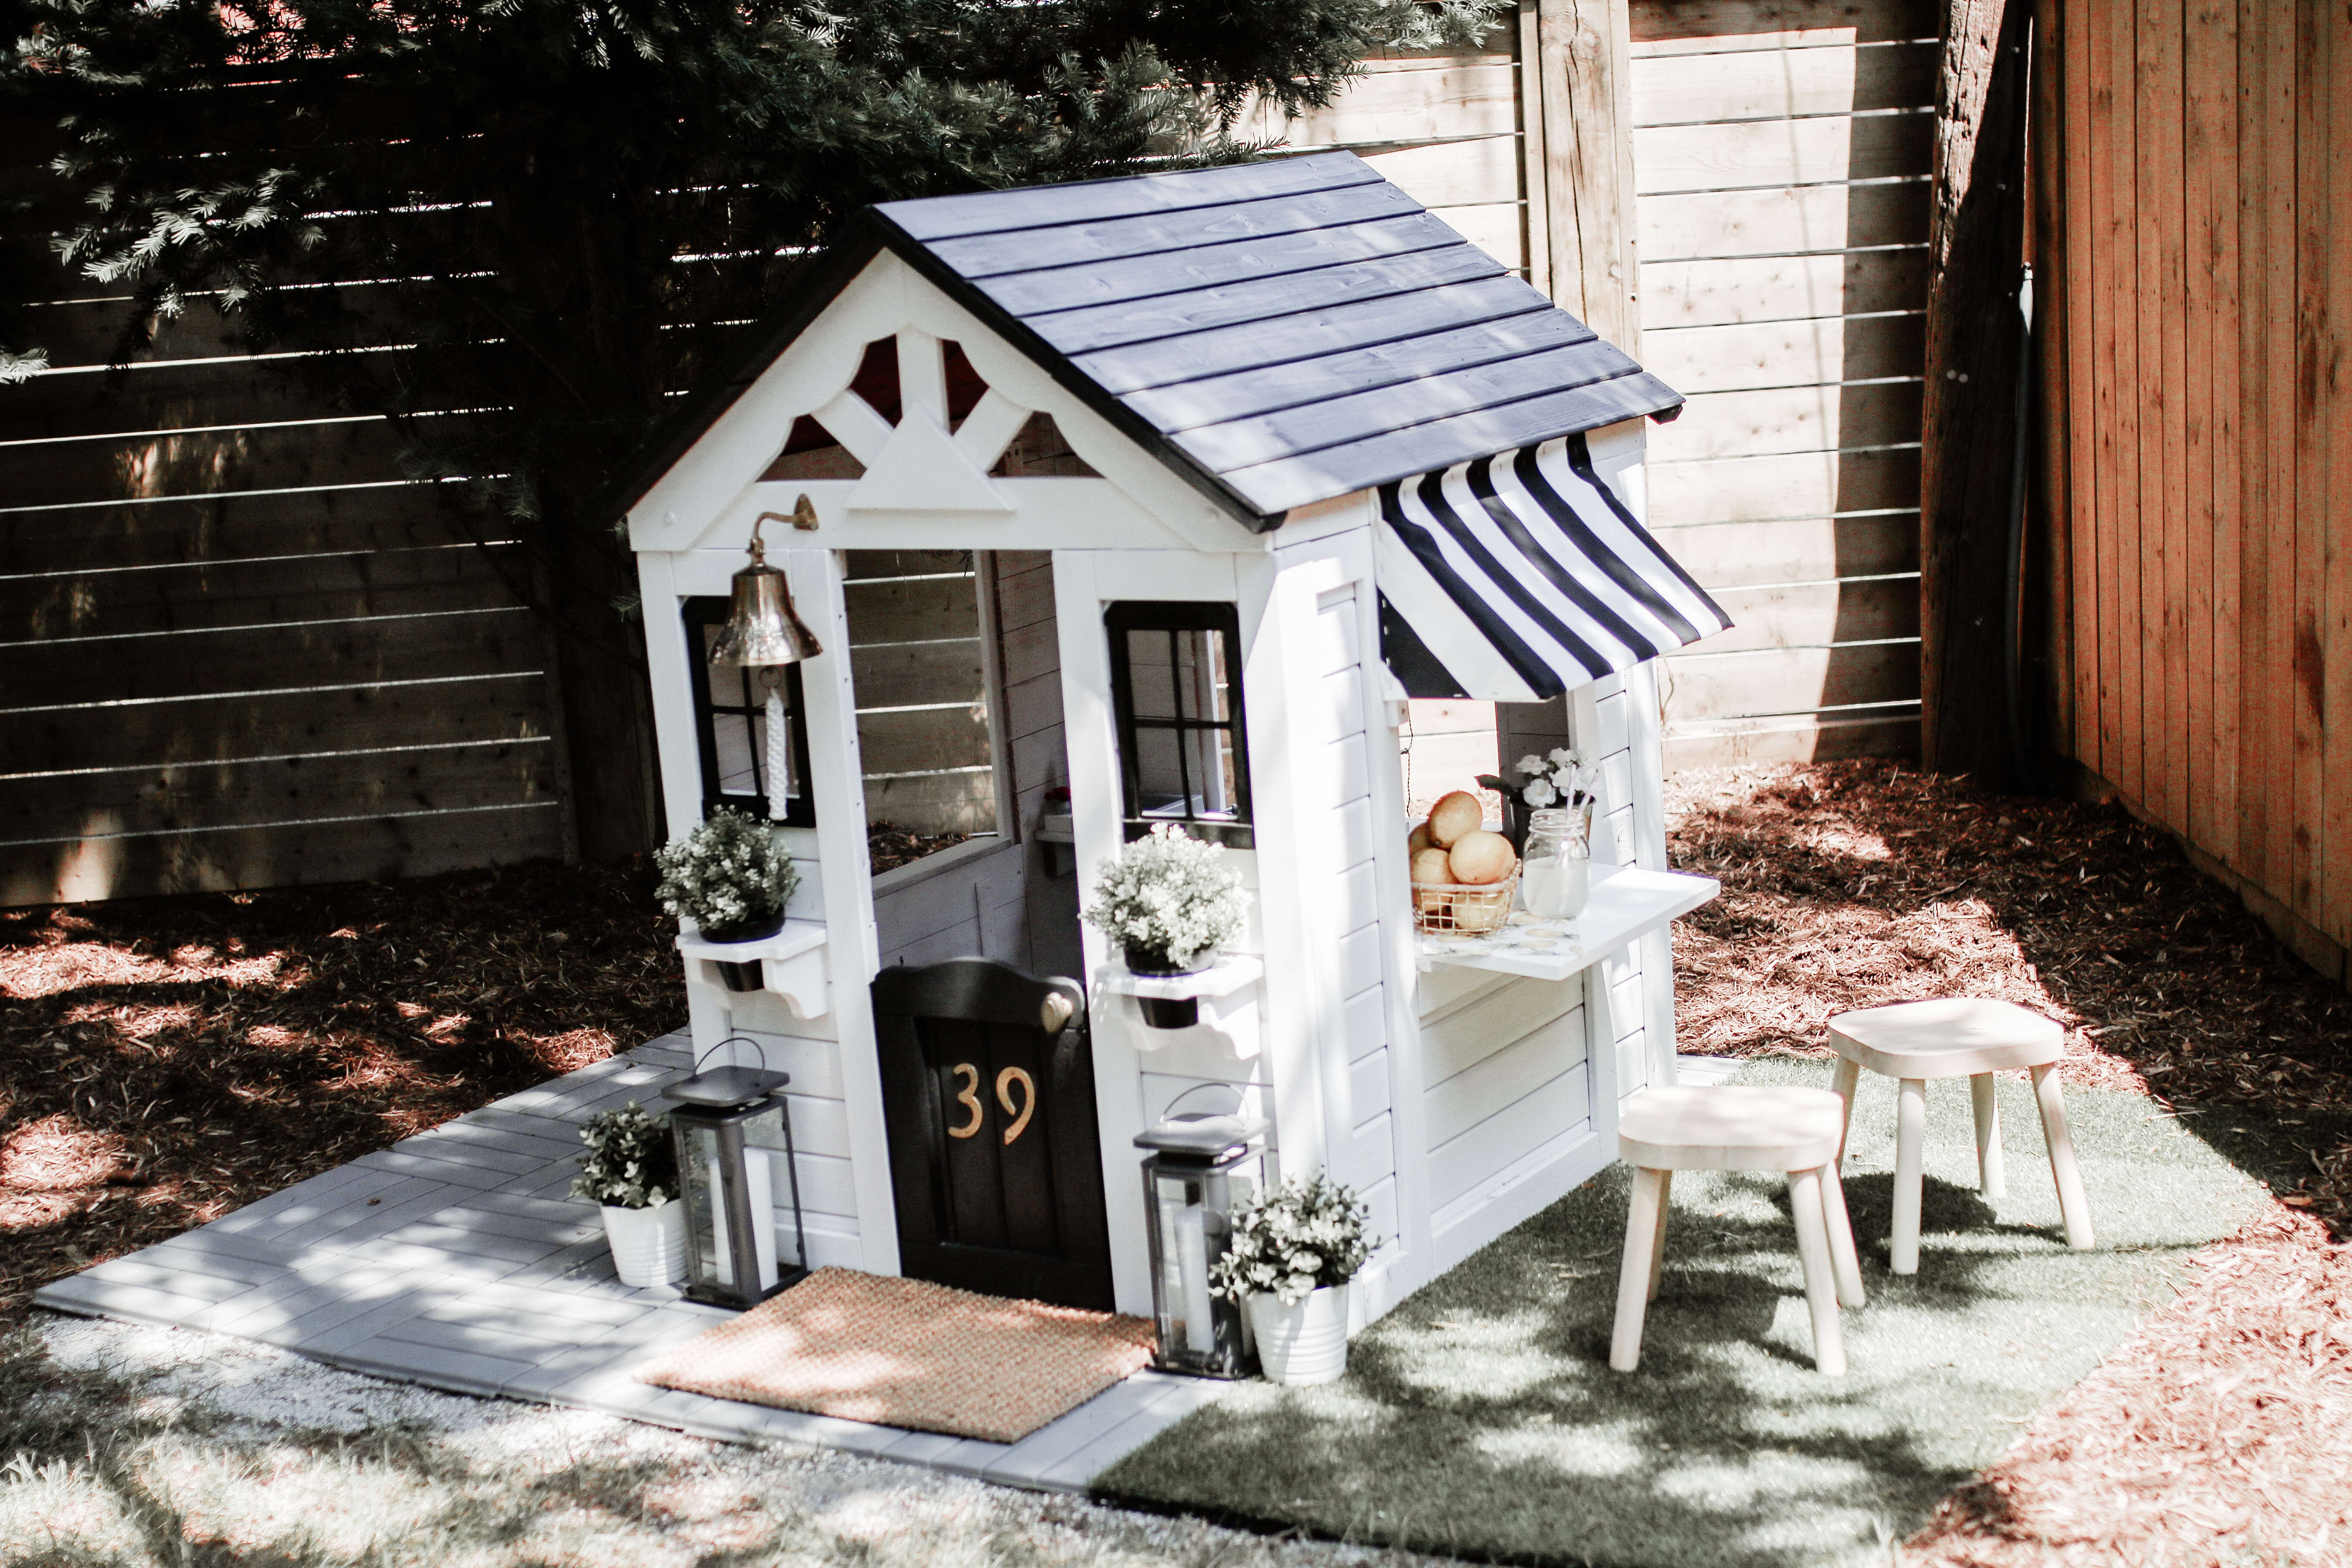
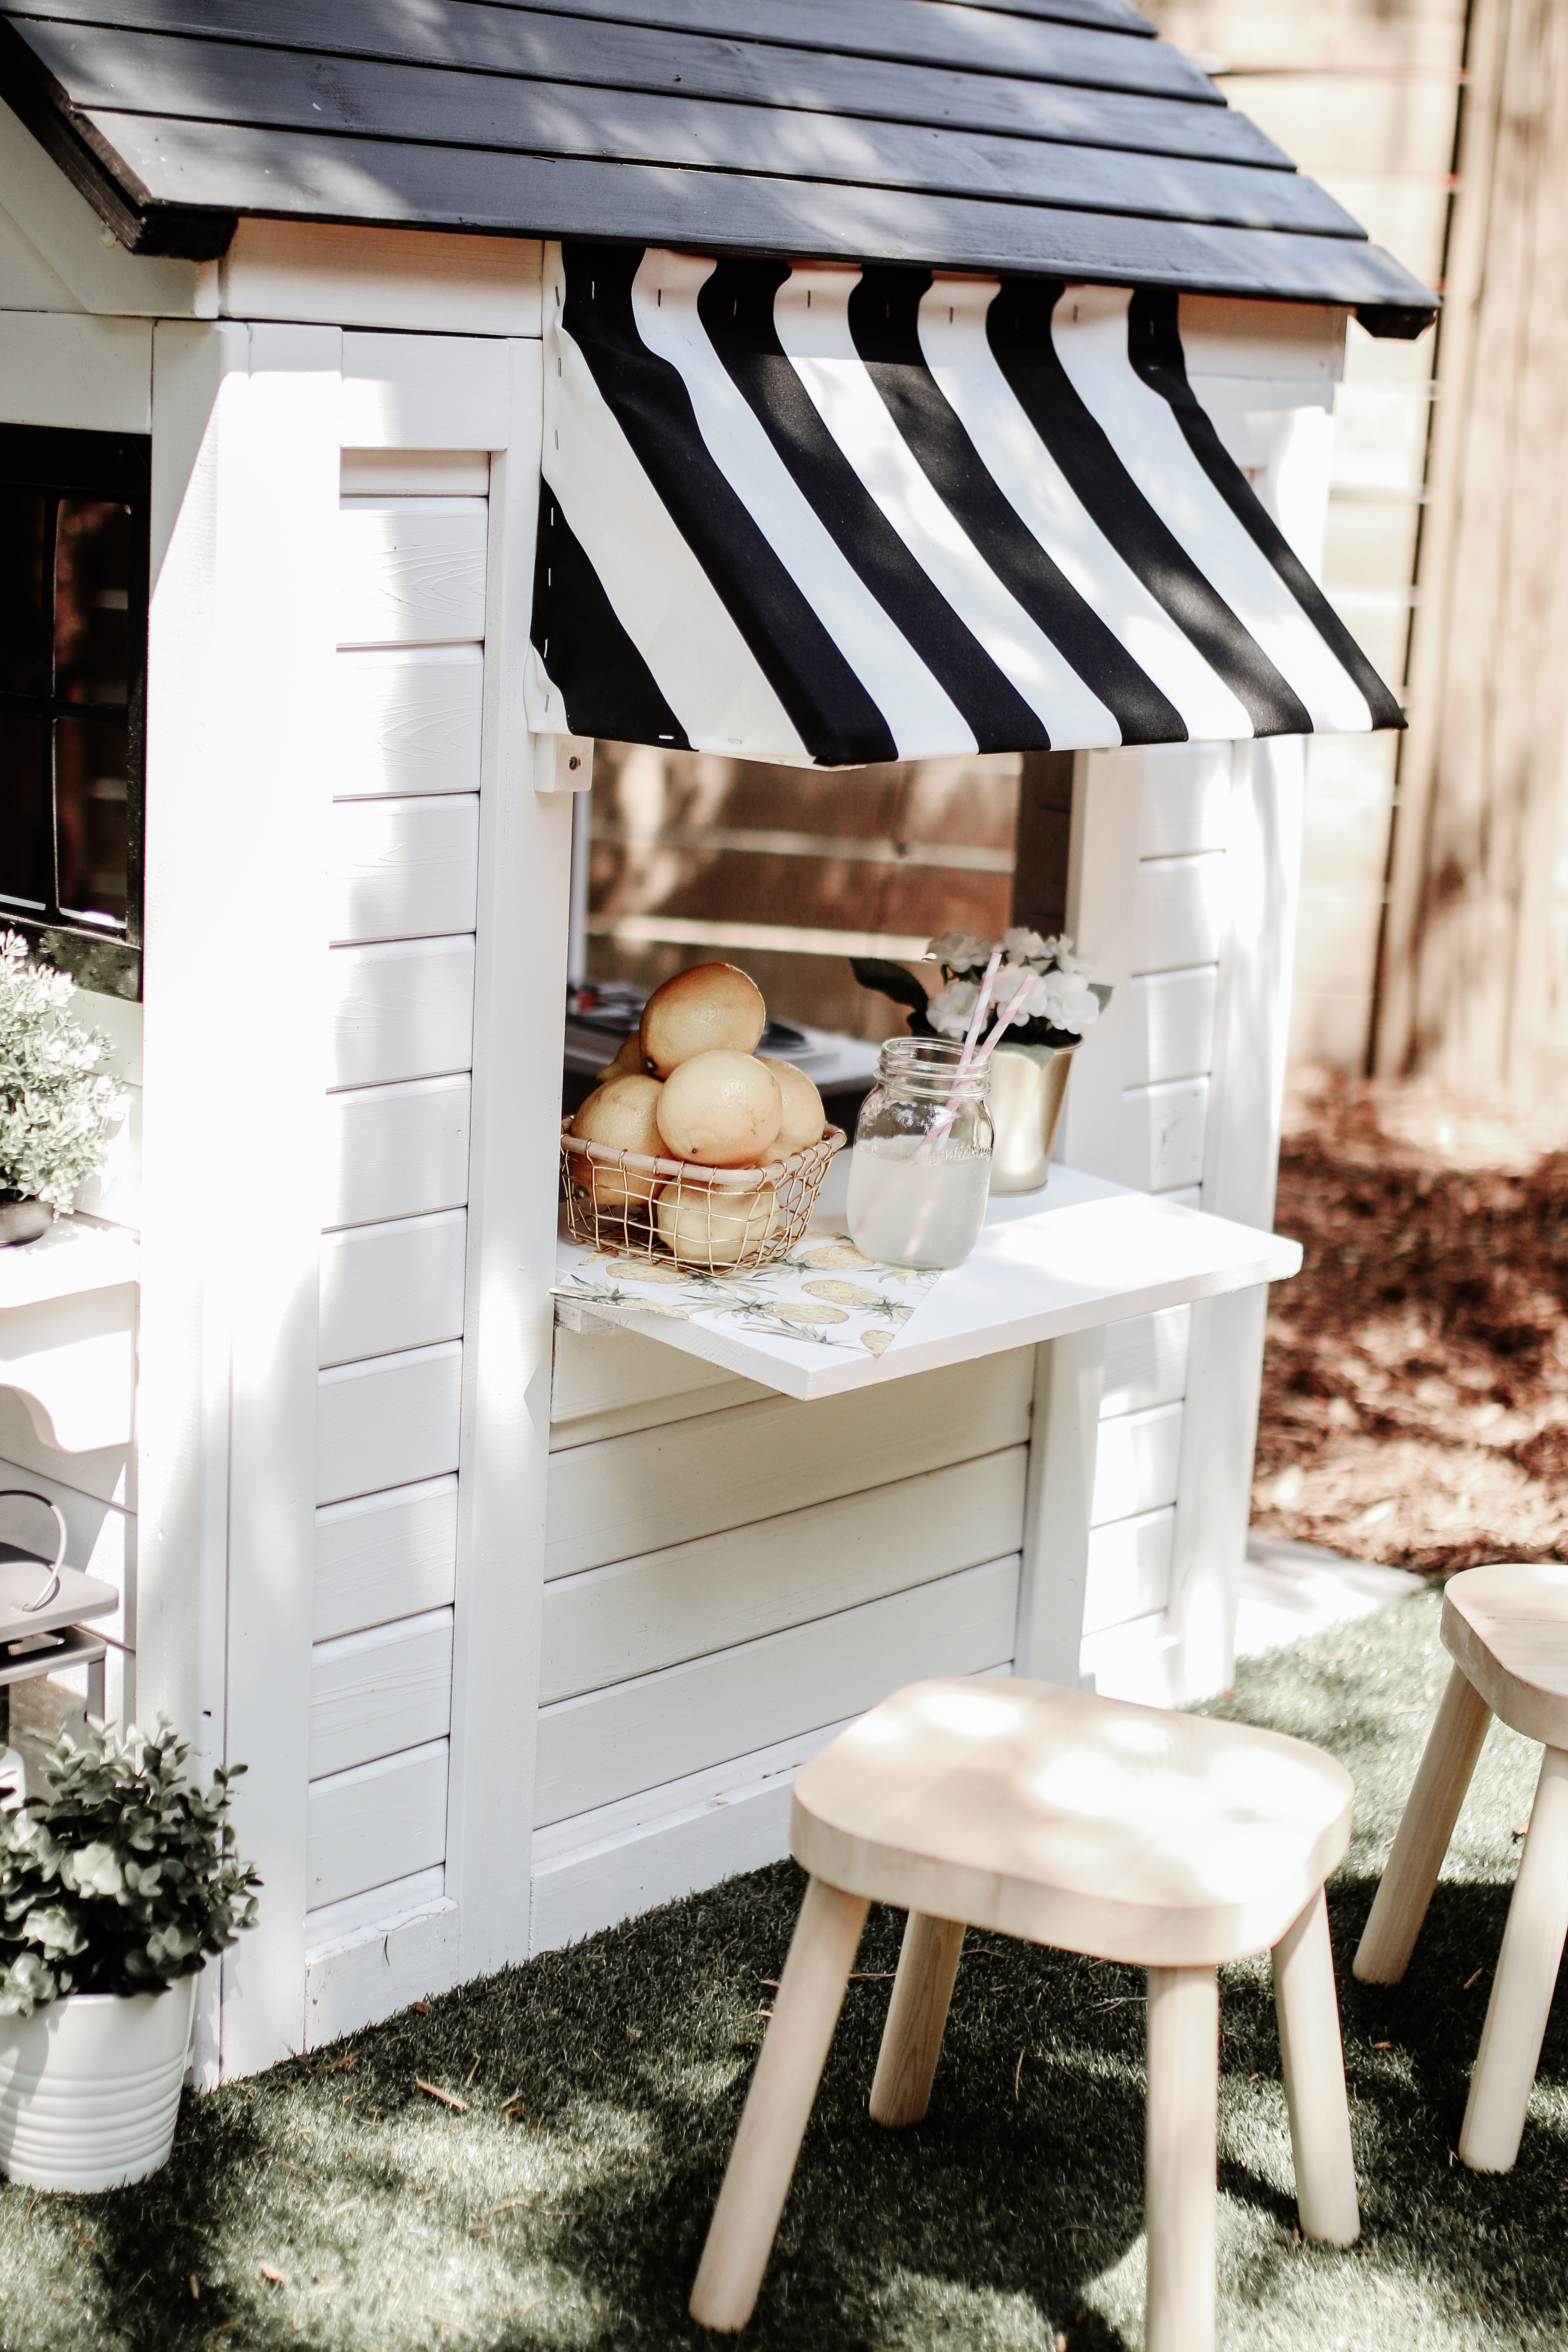
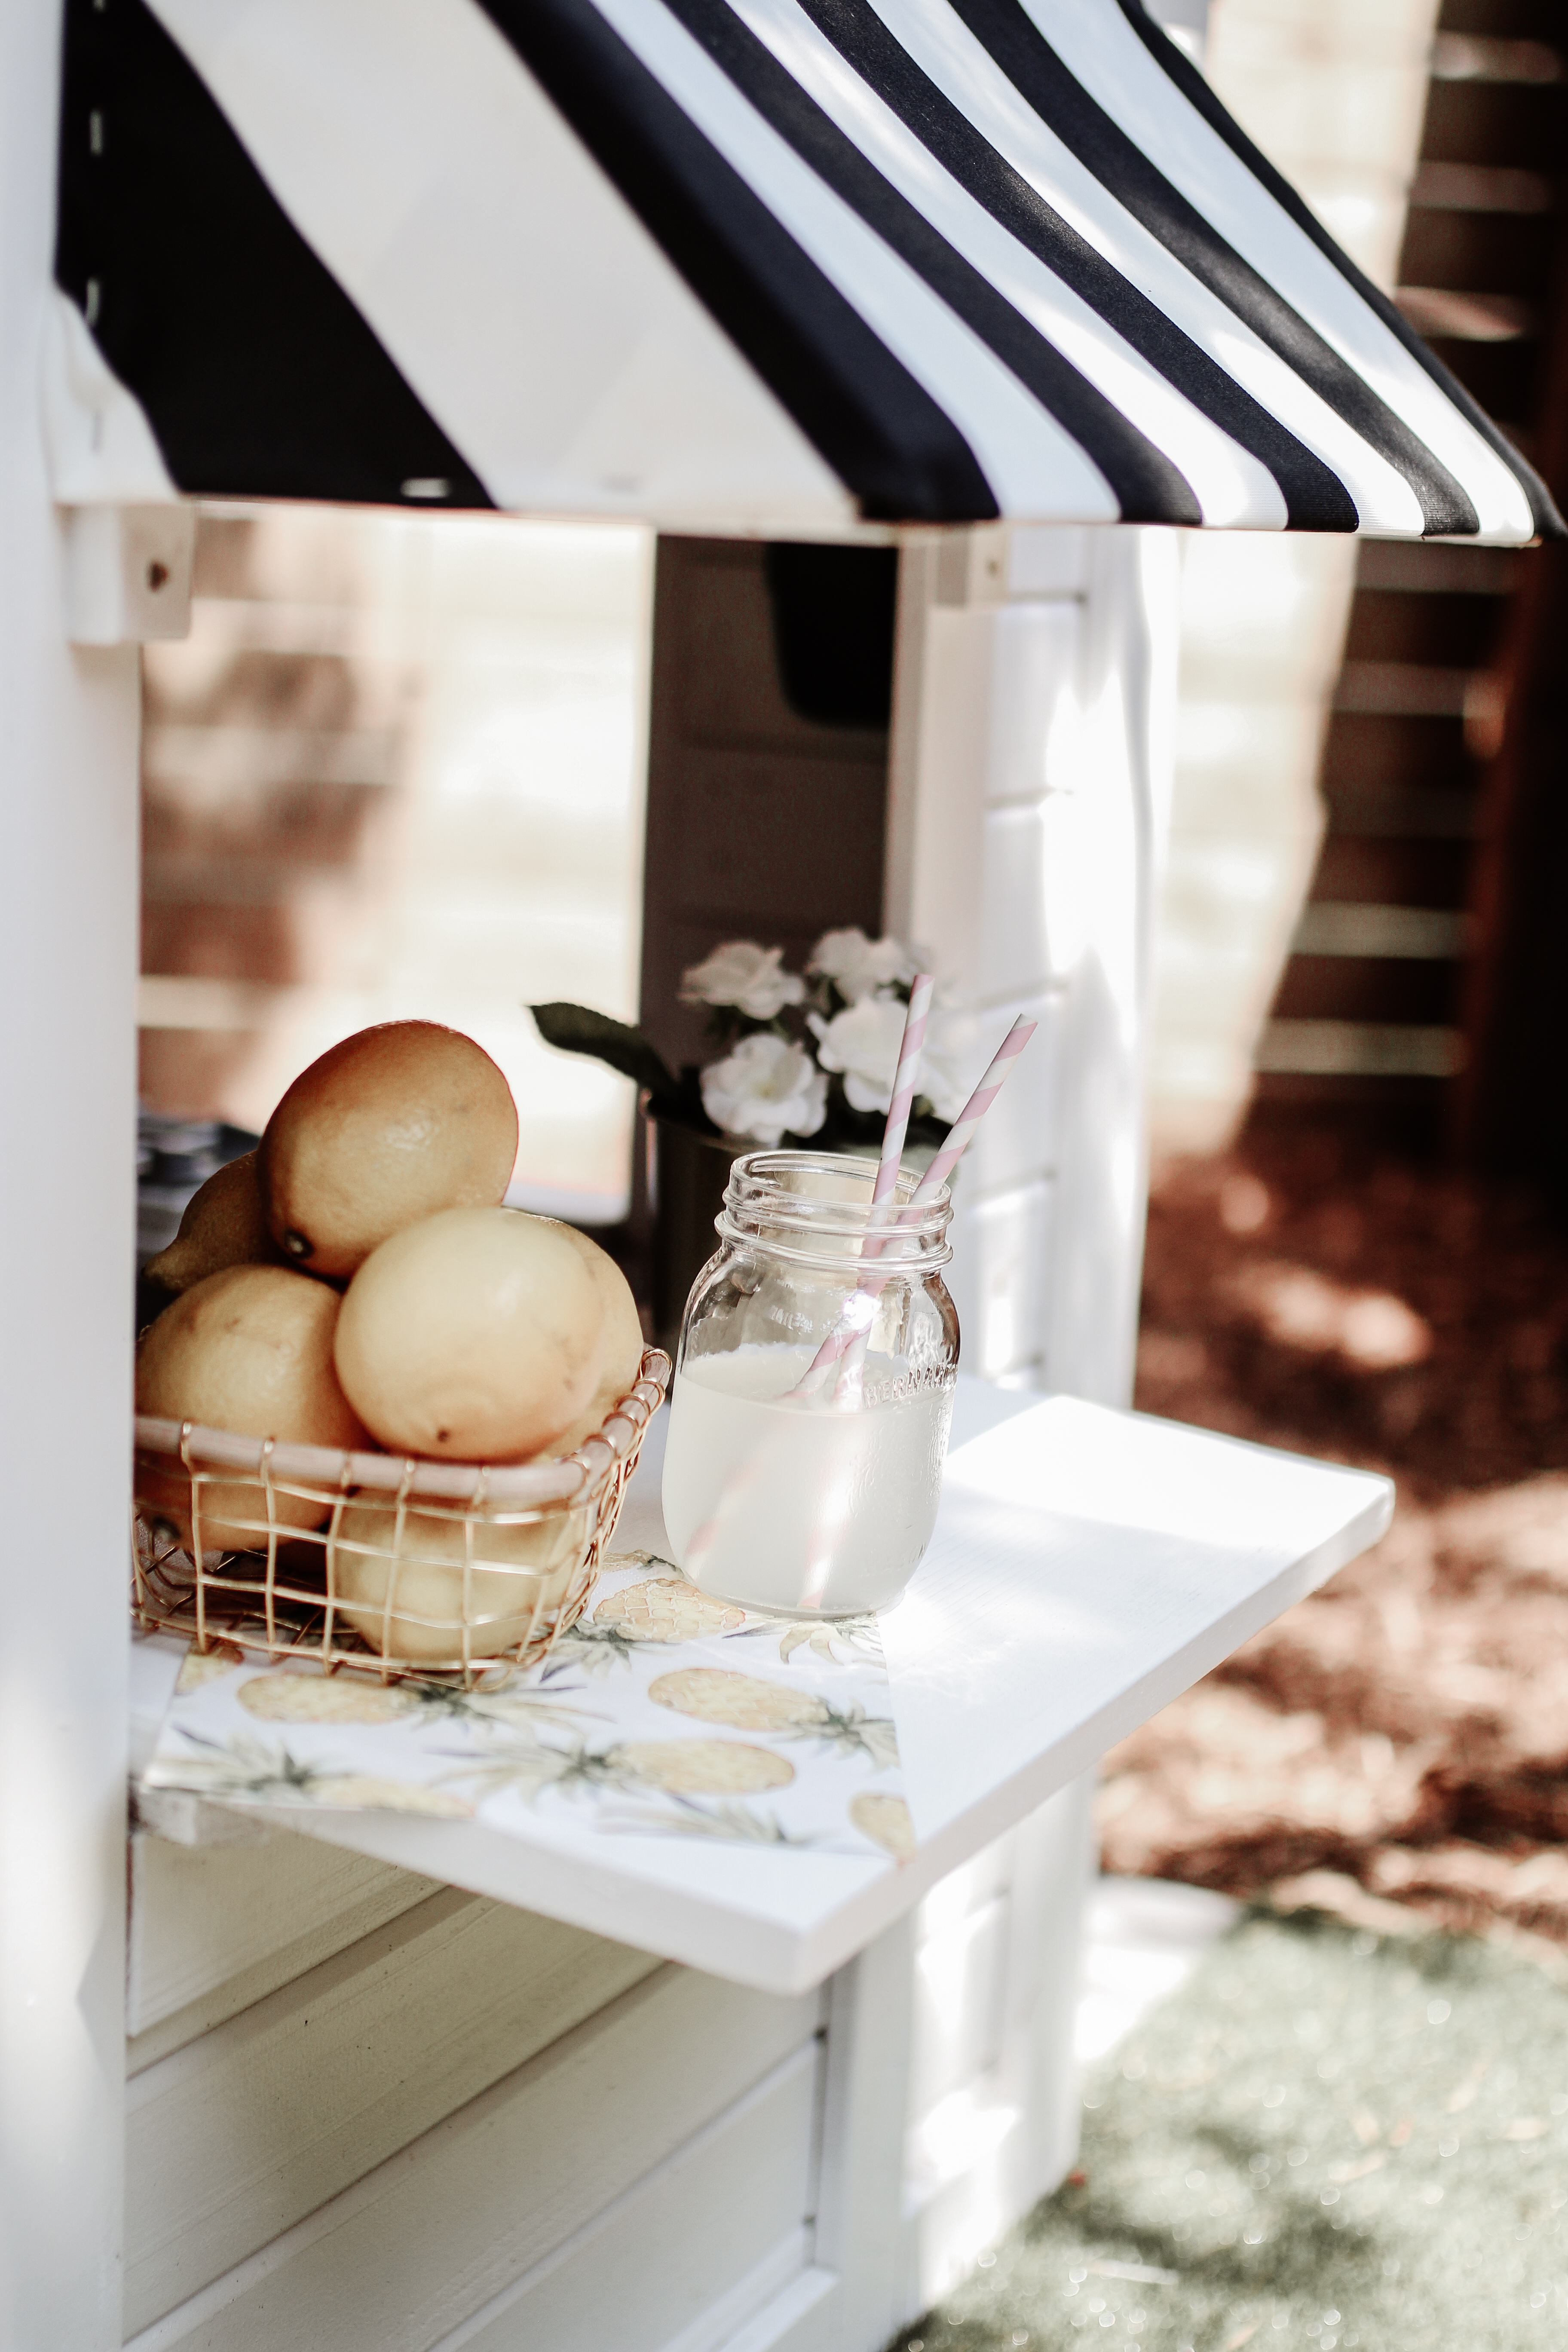
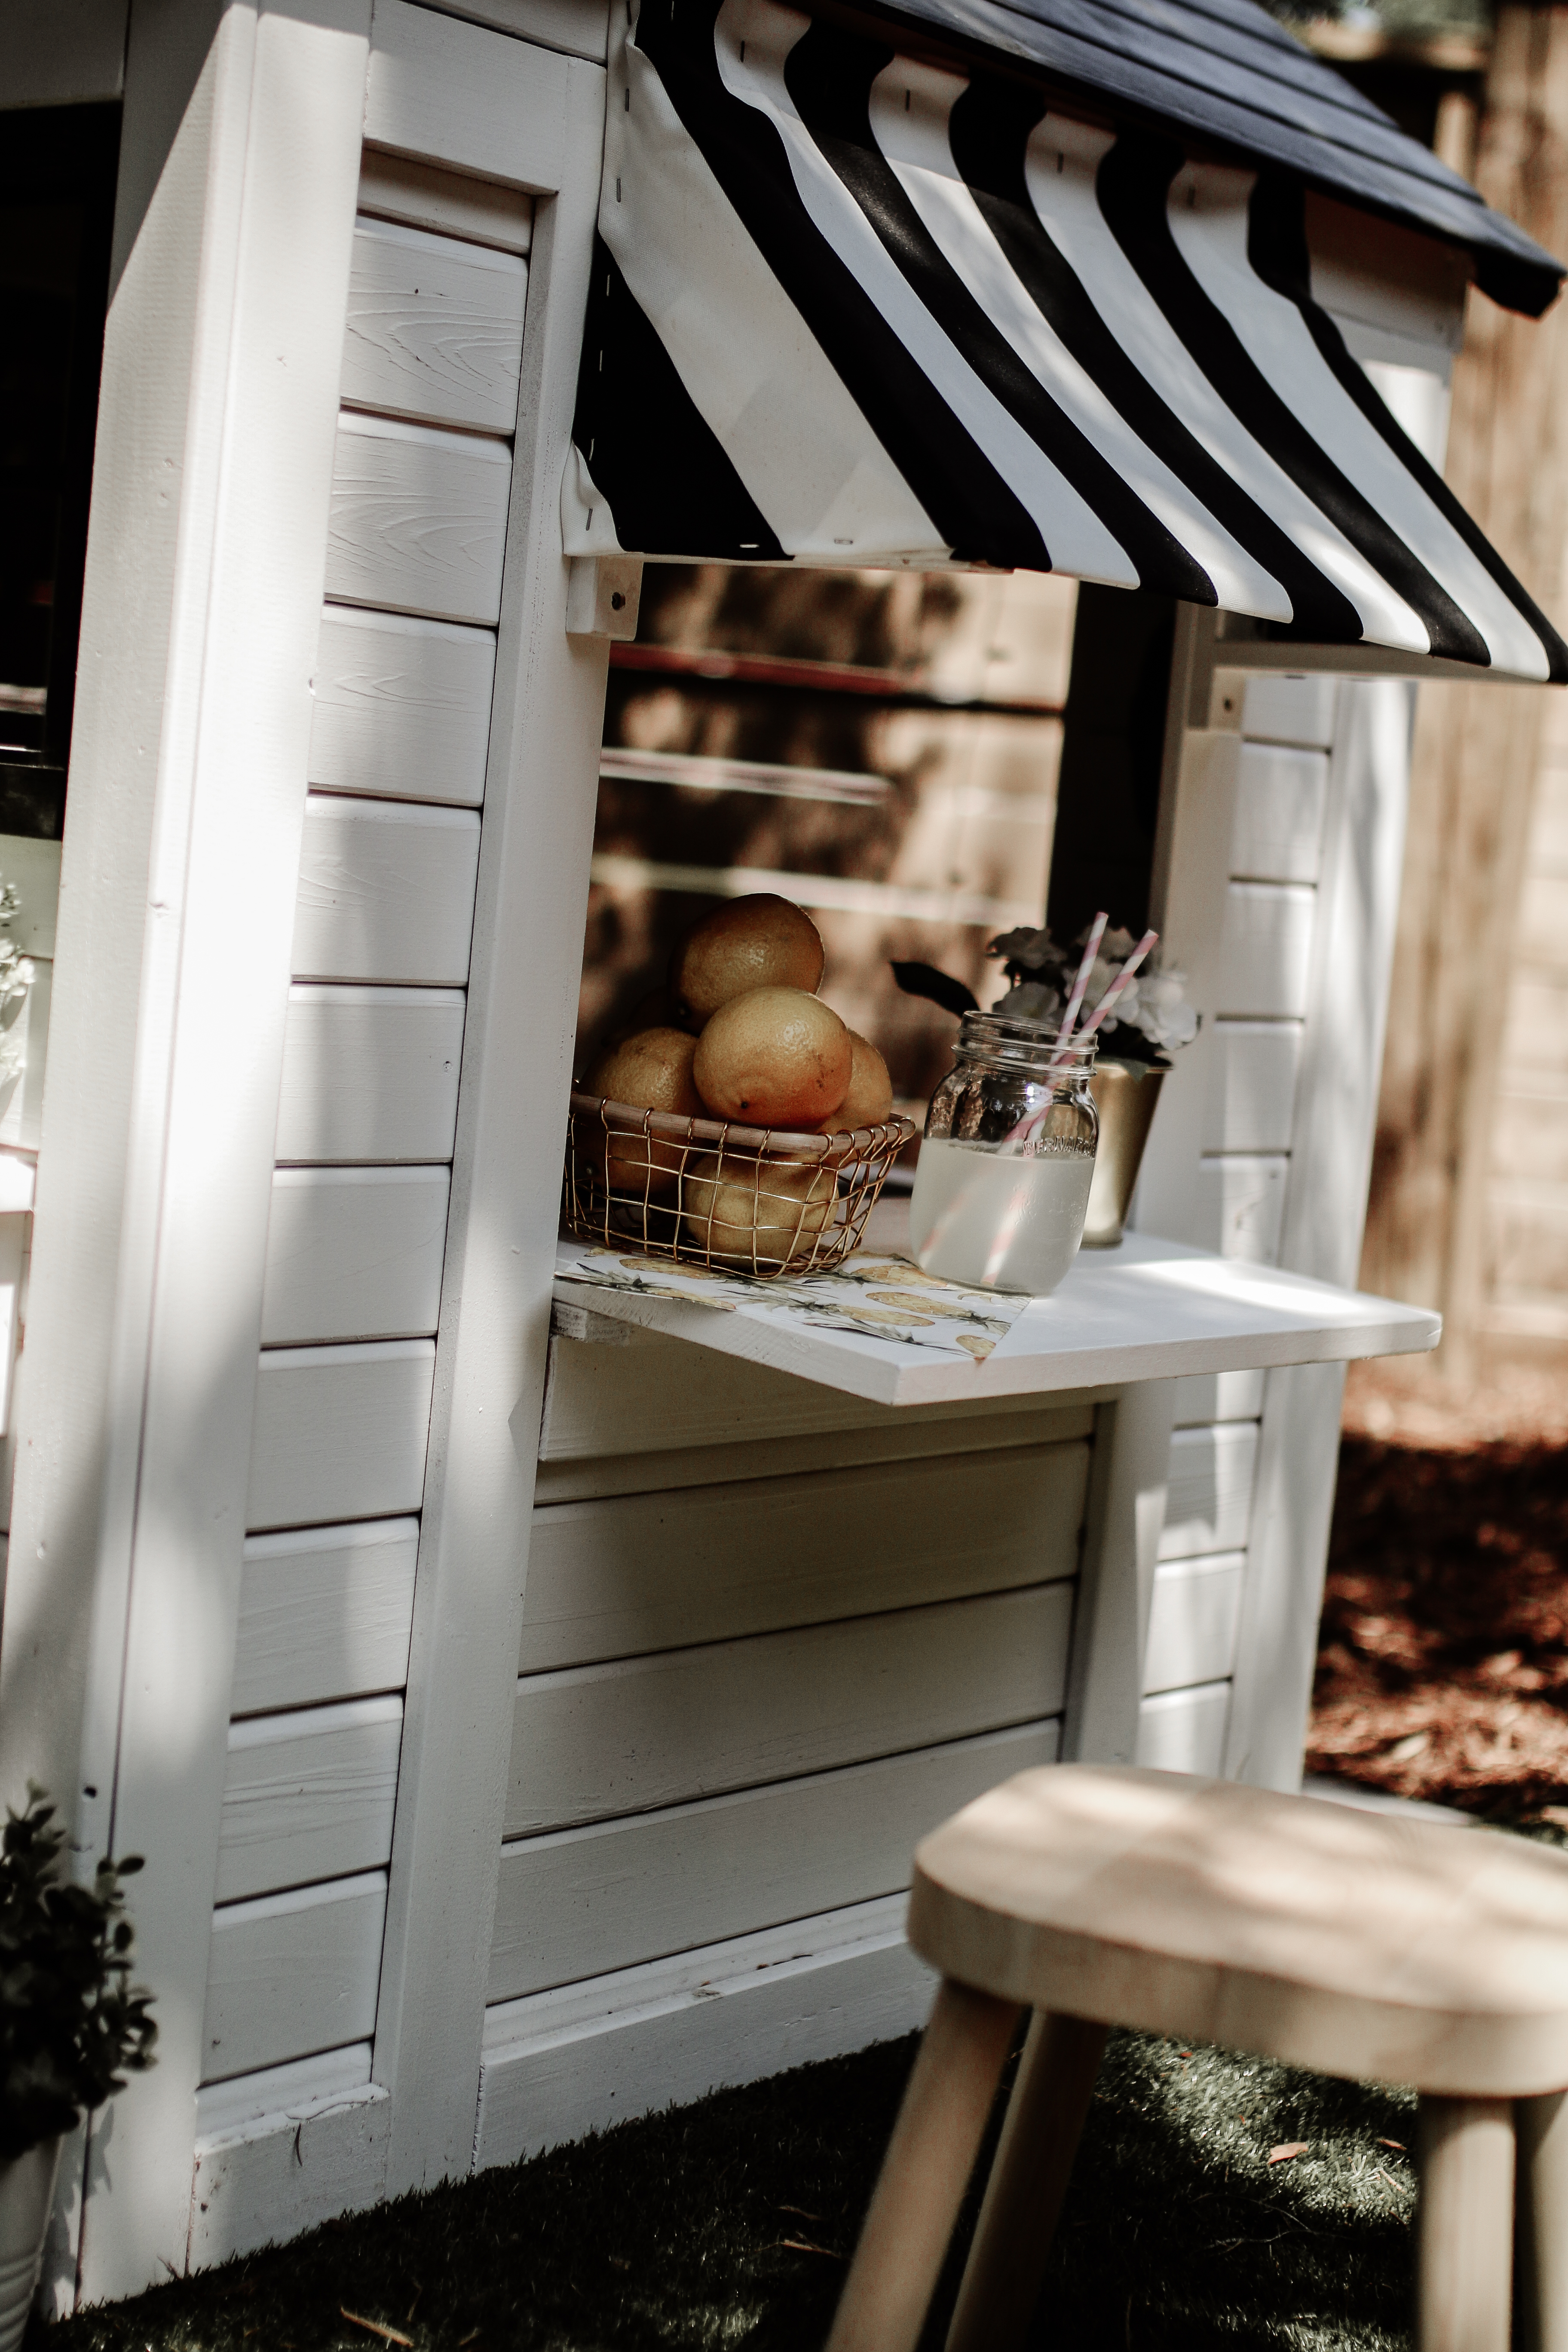
We also extended the countertop on one side to make it more useable for the kids, and I built an awning using upside-down wooden shelf brackets as the frame and stapling outdoor fabric to it.
We started by spray-painting the accessories (black for the flower pots and window frames, gold for the house numbers and doorknob). While I did that, Trey unboxed the playhouse and started levelling out the part of the yard where we wanted the playhouse to sit. I purchased inexpensive snap-together decking and artificial grass turf from IKEA to use under the playhouse. The instructions recommended using sand, wood chips, or some other soft material as a base, so ,eep in mind that this was not the recommended base (I suppose since the house could theoretically slide around, although we haven’t had that issue).
We measured a rectangle that allowed for space around the playhouse as well, and Trey levelled the lawn and sprinkled limestone screening all over the area which we then raked out as level and flat as possible before putting the decking and artificial grass on top. It isn’t 100% perfect, but its pretty close and it works well.
Next, we assembled the four walls of the playhouse without the roof and I sprayed the whole house with Valspar’s ‘Du Jour’ (the white colour). I bought a paint sprayer at Lowe’s and was SO happy I did. We’ll use it for other projects as well and I swear it cut down my painting time by at least 60%. I lightly sprayed some of the auxiliary pieces because we weren’t sure how much would actually show. I ended up touching up the pieces that were visible once the house was totally assembled.
I painted the roof pieces using Valspar’s “Deep Well” (the black colour). Since there were only 4 rectangular panels I figured this would be simple enough to do with a brush and I was right. If you have a paint sprayer you could have easily used it for this job as well.
We then assembled the rest of the playhouse, added in the toy accessories inside, and I built the awning. Trey extended the countertop by using a pine shelf from Lowes that he cut to size and attached an L bracket on the inside to keep it stable. Trey’s Mom and I stapled the outdoor fabric onto the awning frame, I touched up the paint where it needed it, and then the rest was all about styling – weeee!
We absolutely love the result and hope you do, too! I’m linking my YouTube video below which goes into more detail on how we achieved this playhouse. We absolutely LOVE how the house turned out. I’ve also linked as many items as I can below, to help you do this yourself!
Comment below if this is something you would take on and what colour scheme you’d use on your playhouse!
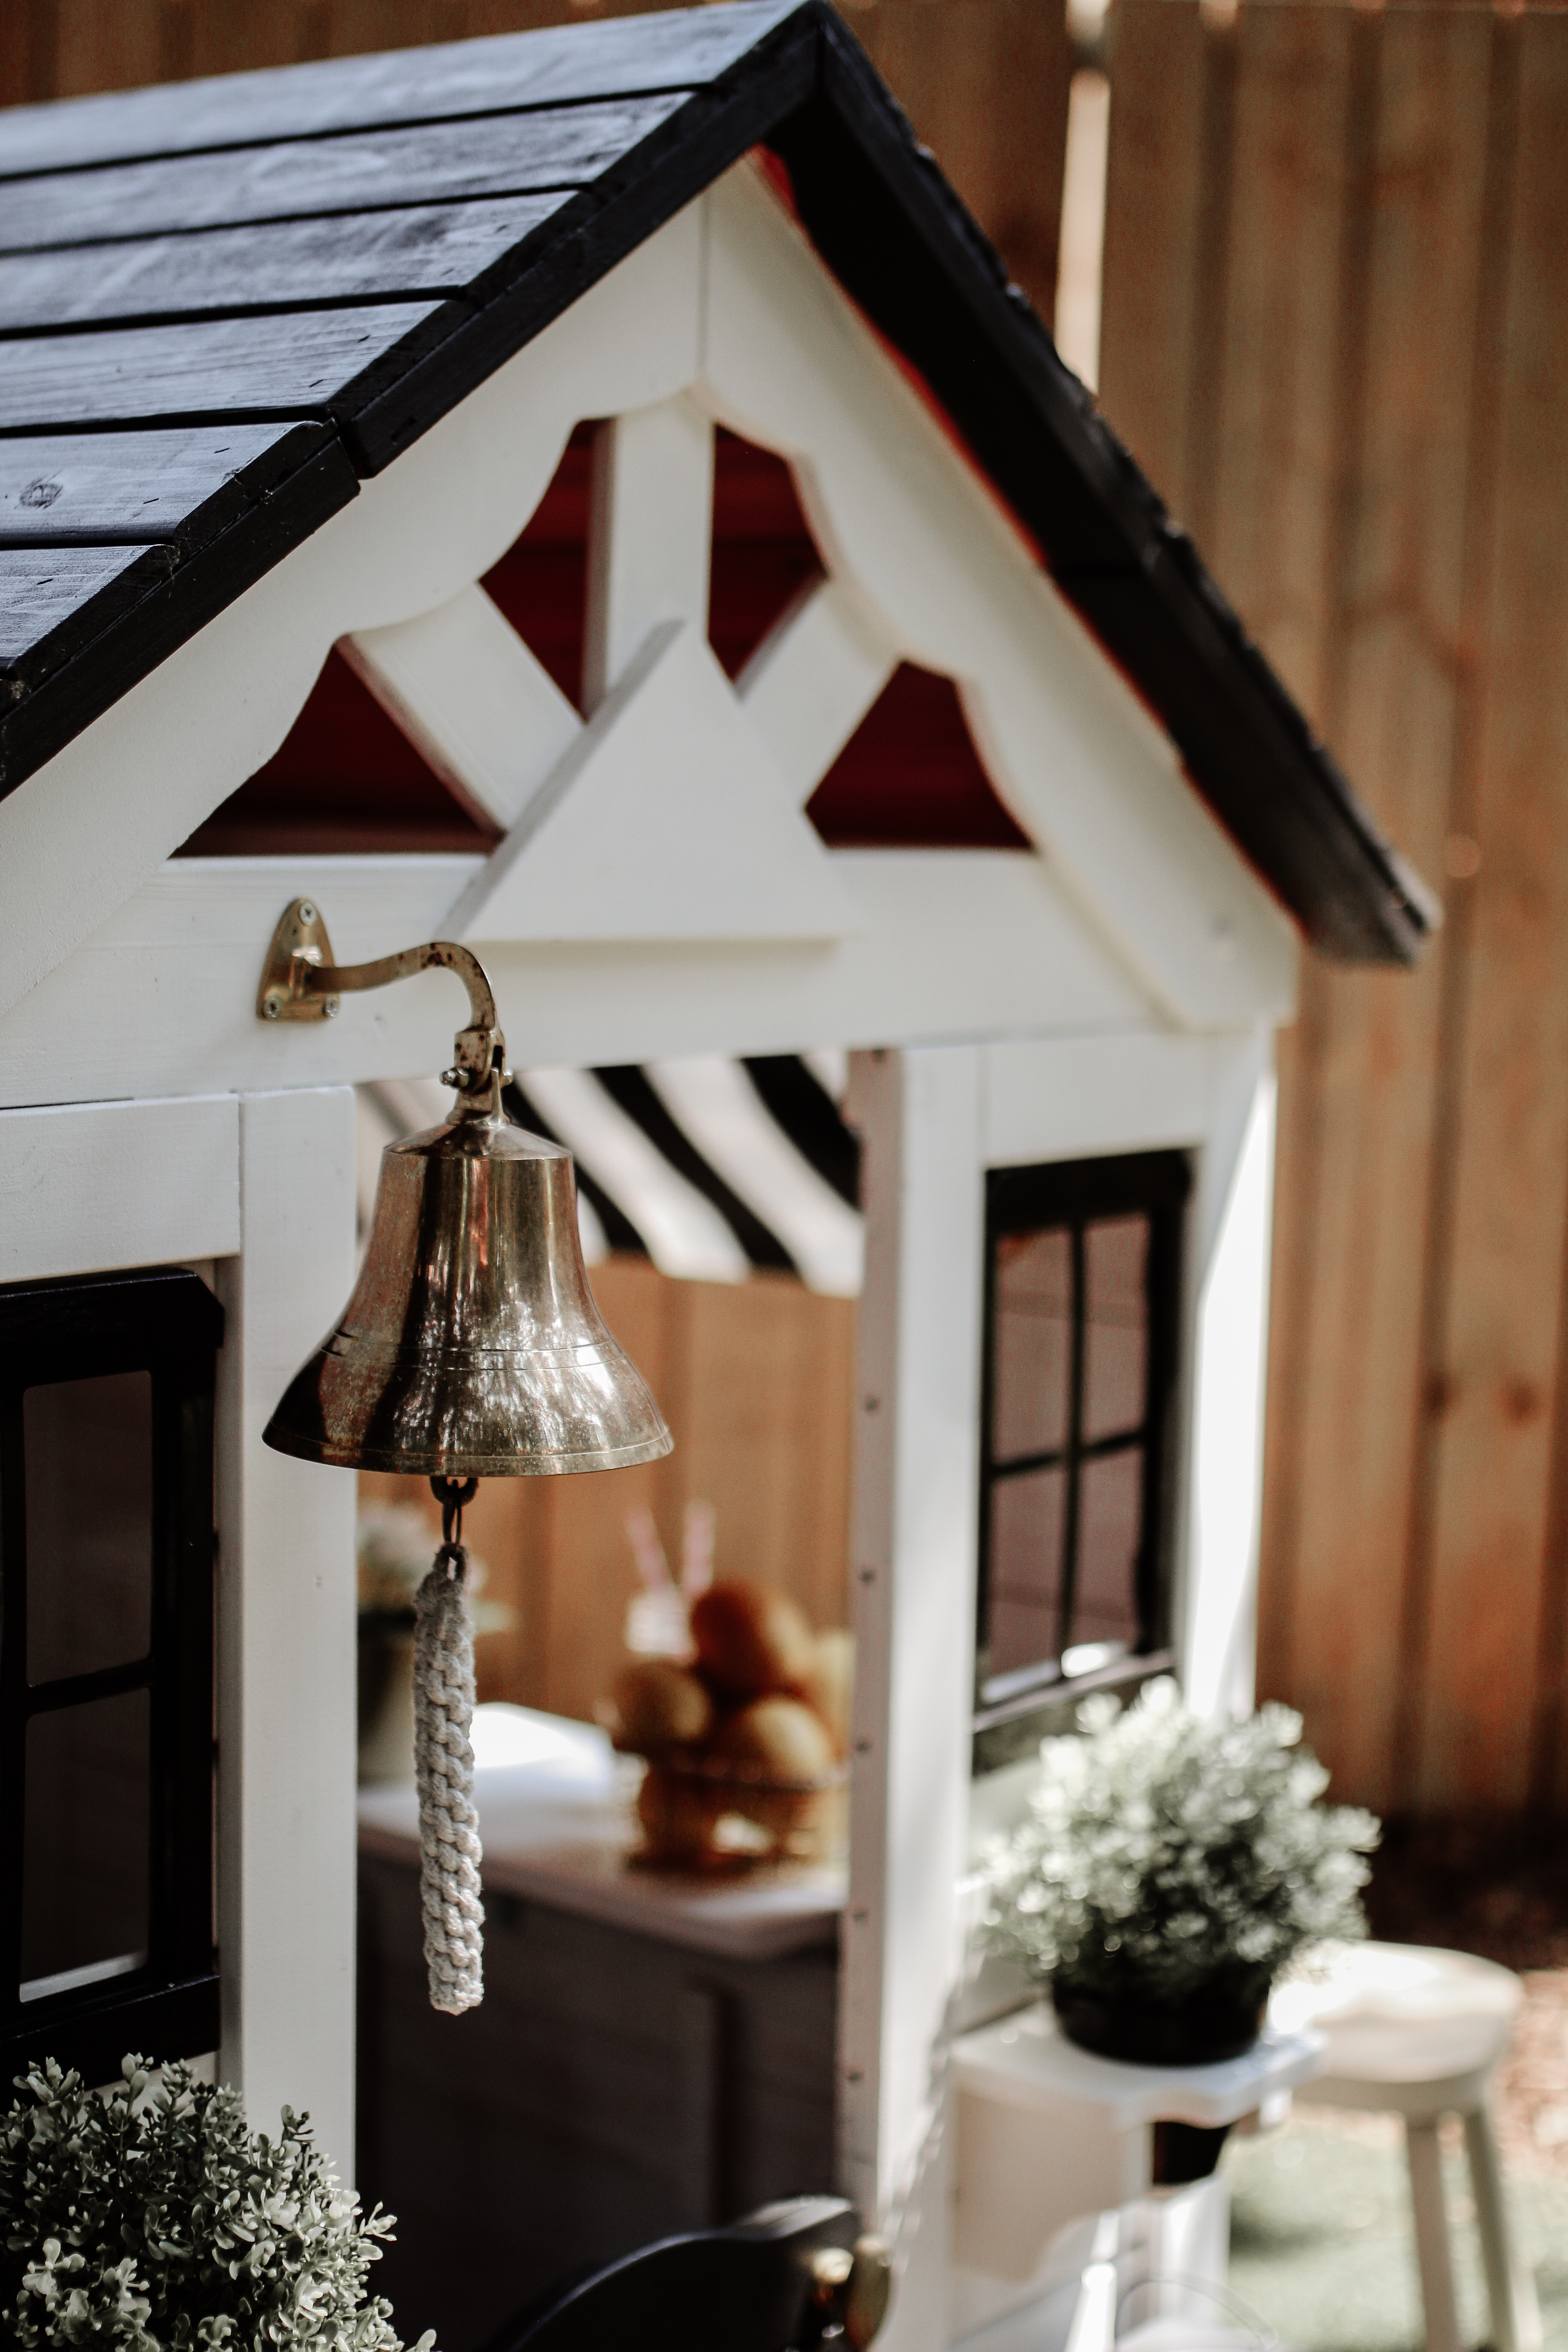
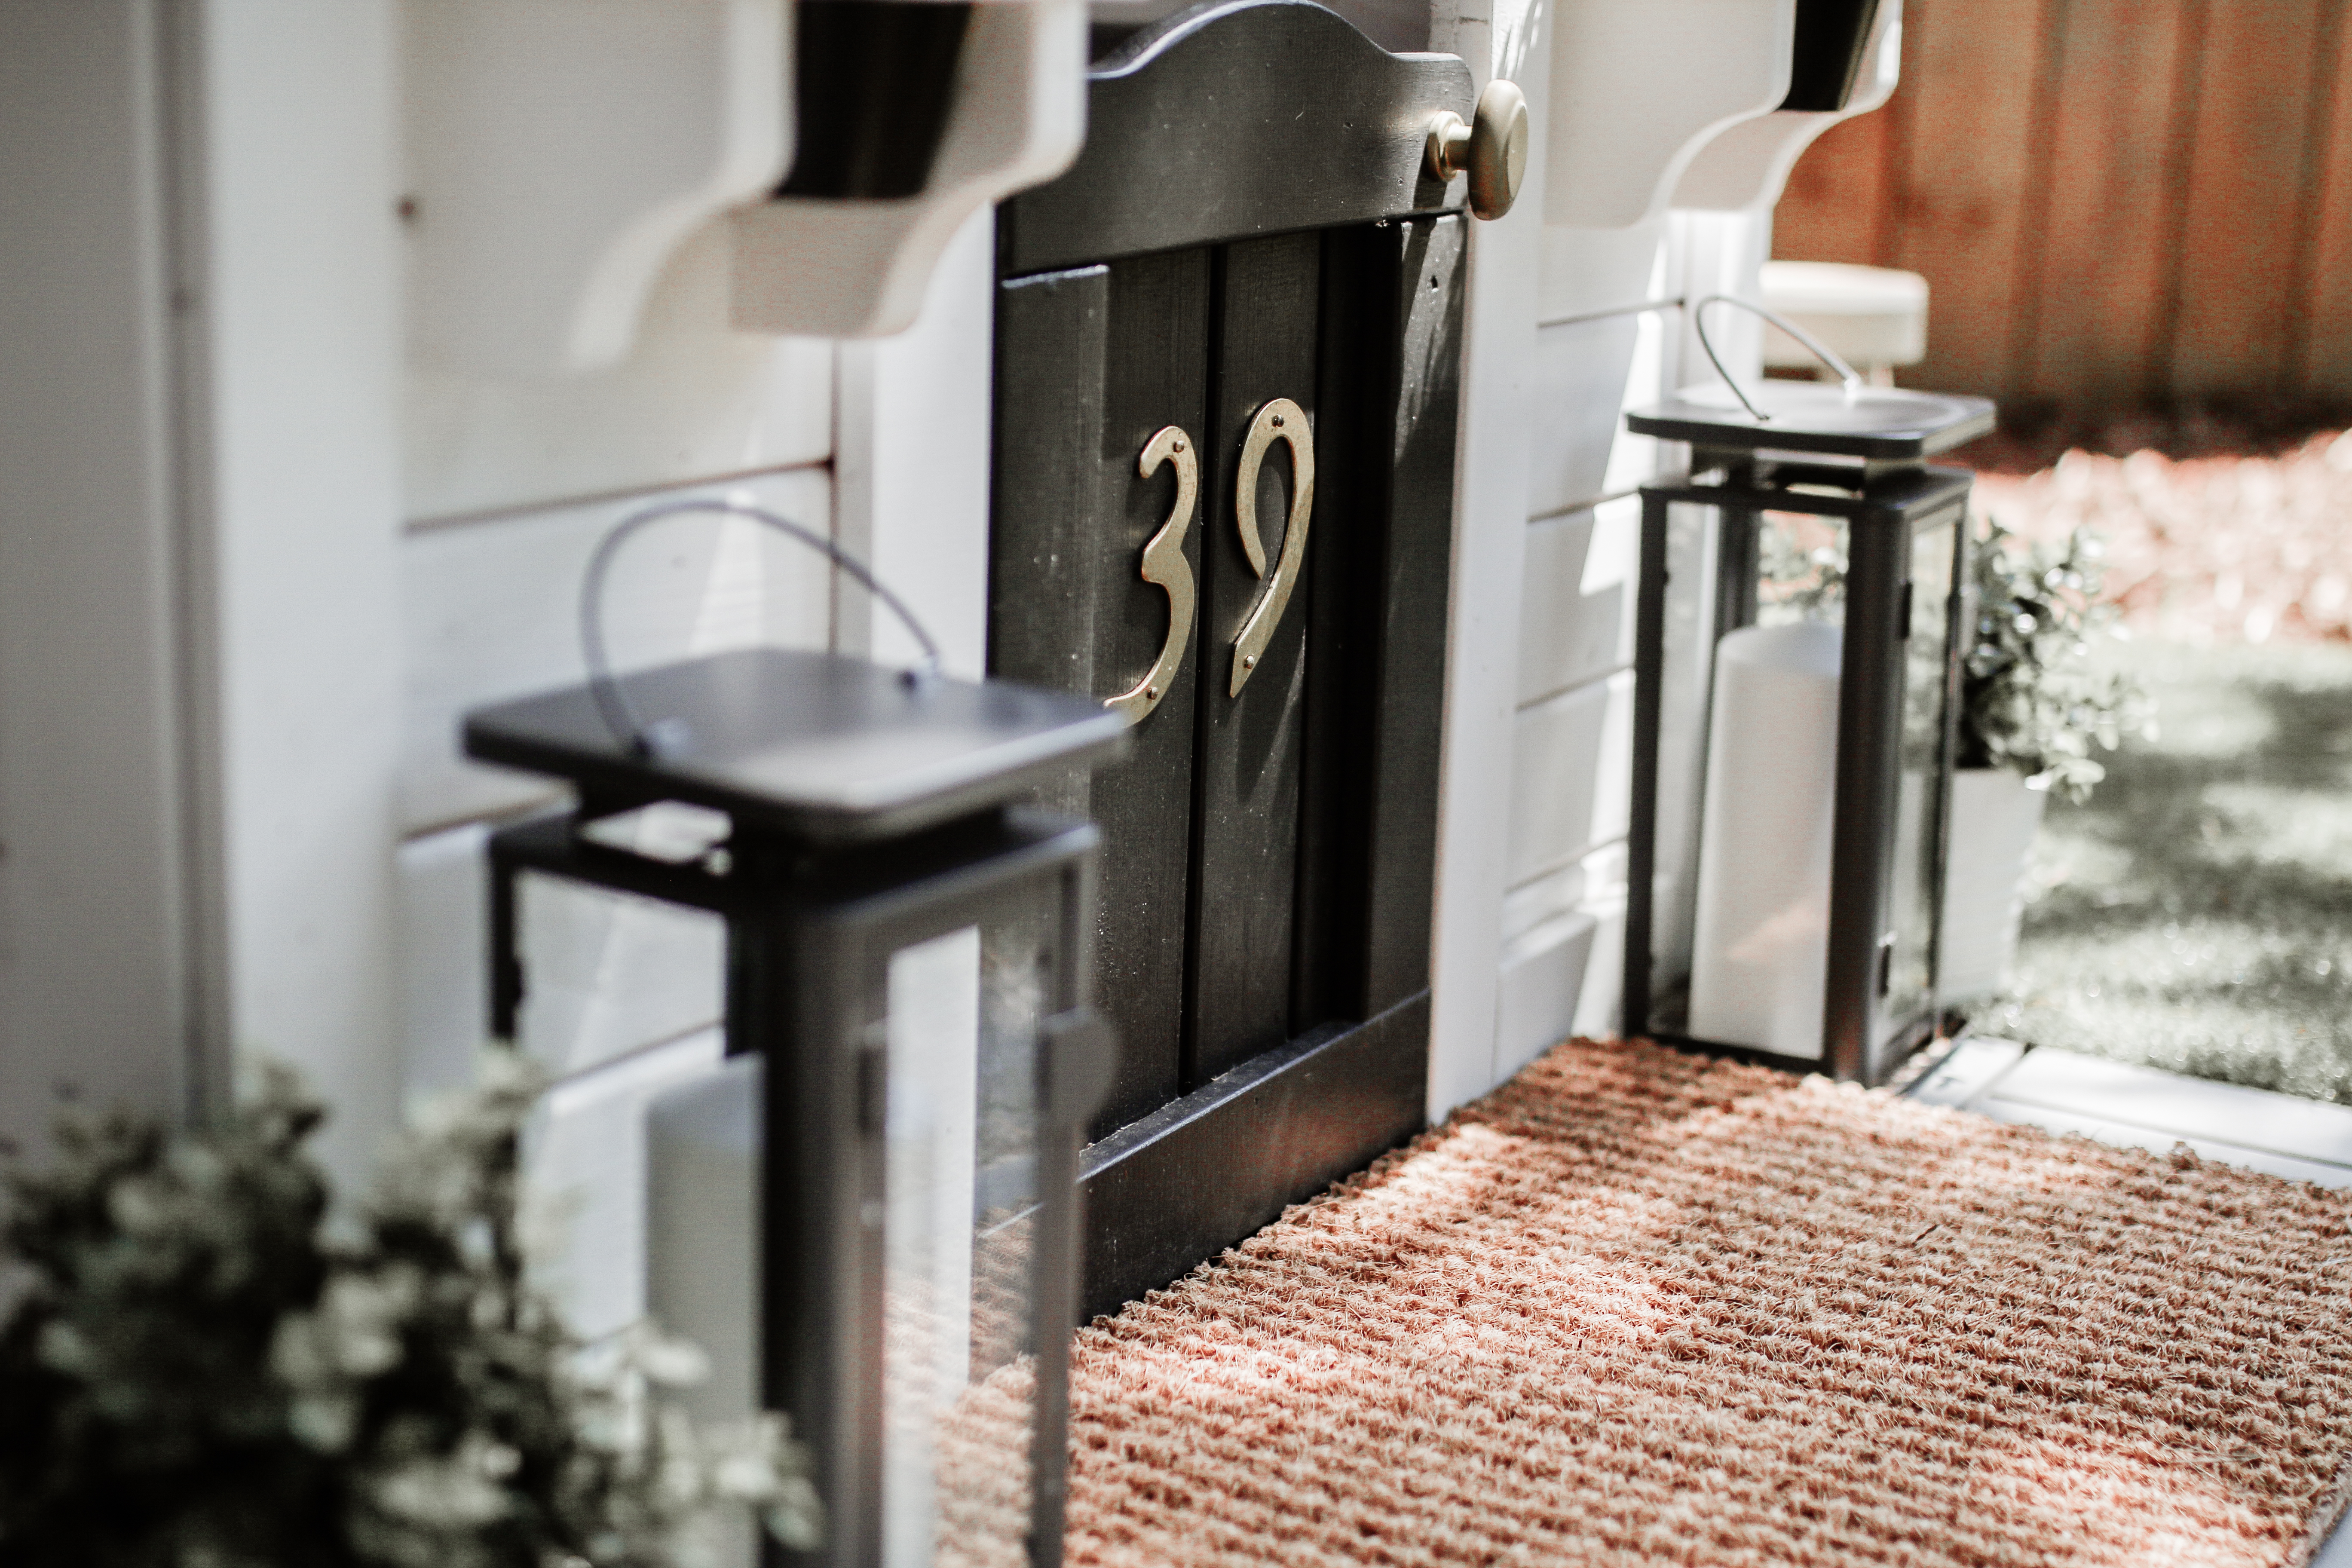
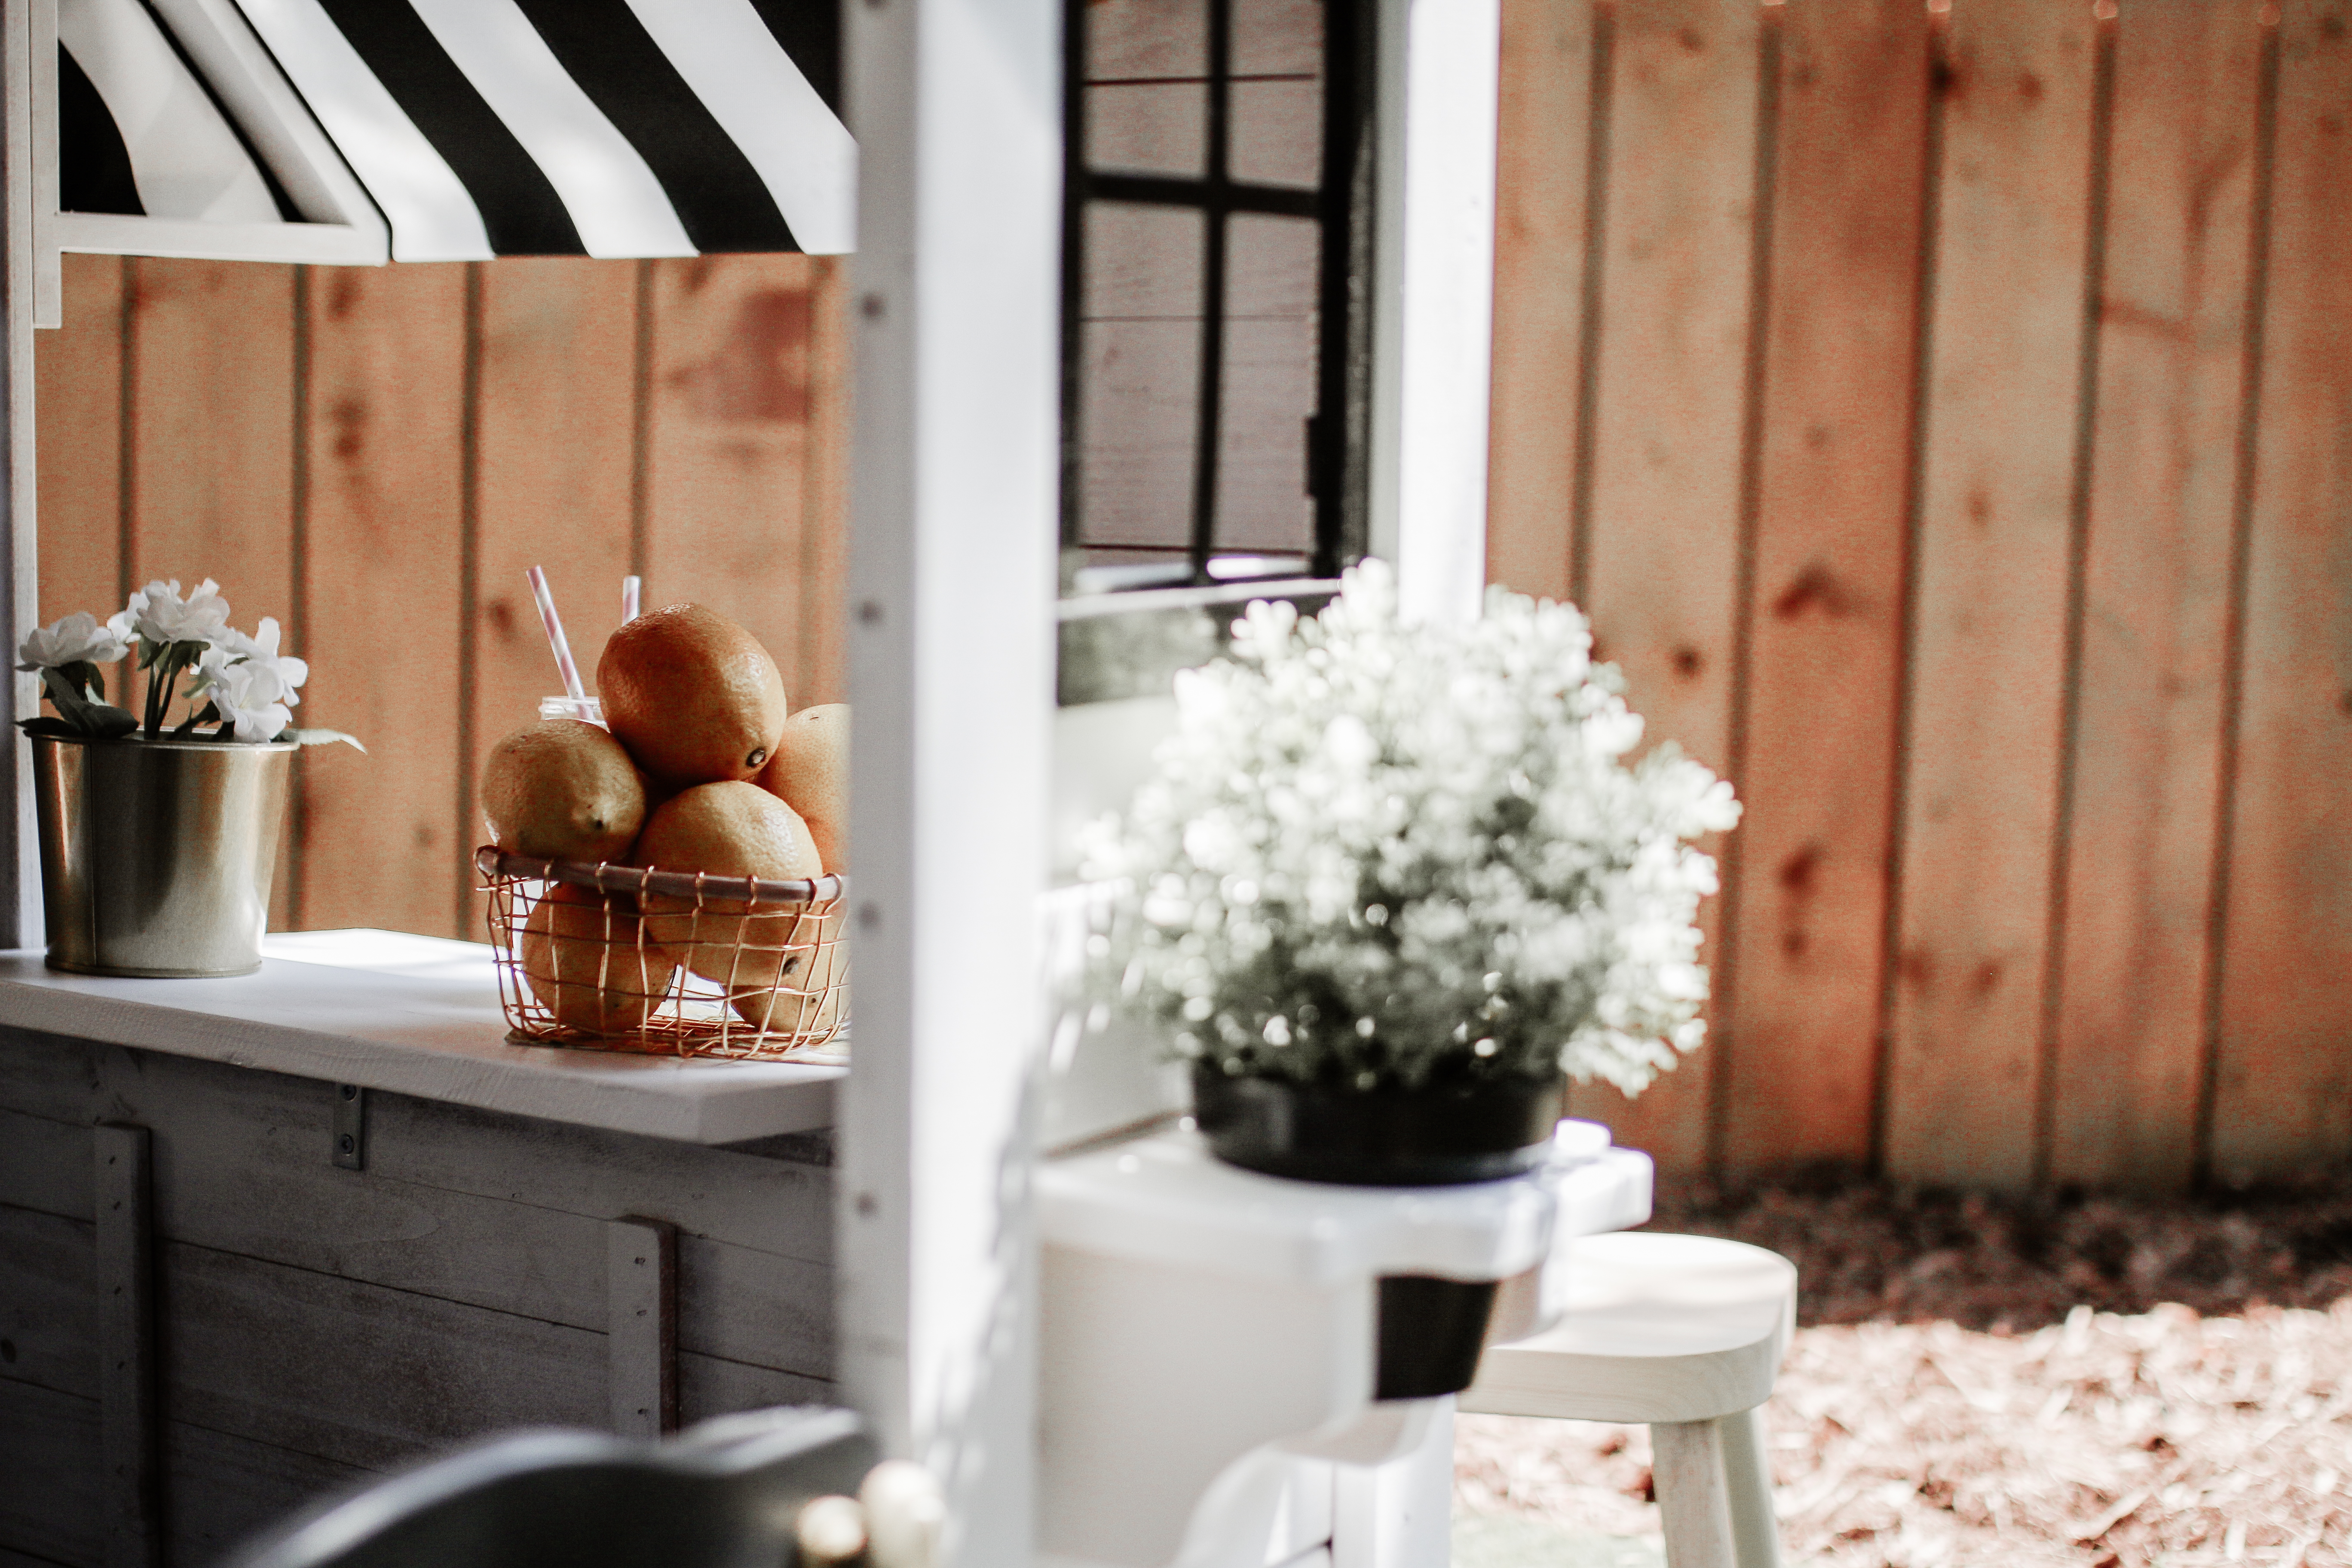
Playhouse | Flooring under playhouse | Artificial grass | Outdoor lanterns | Candles | Ship Bell | Door Mat | Wooden Stools | Wooden Brackets for Awning | Plants (green) | Flowers | Flower Pot (gold) | Plant Pots (white) | Plant Pots (black)
This play house is GORGEOUS! I want an adult size and I can’t believe all the work you put in this. Your kids are super lucky!
I want to live in it, too! 🙂
Love love love this idea! Could you elaborate a little more on the piece of wood you used for the window extension? Size, attachment, etc. I would love to do something like this for my kiddos
Absolutely! I’ll have to measure it once we uncover and clean it this spring, but its basically a pine board and we used right angle metal brackets to attach it to the house.
How many sqft total did you do for the trek and grass? And how much extra did you go beyond the house dimension? I have a playhouse on its way and I am trying to figure out what to put it on!!🥰🥰 Can’t wait!
This is so exciting! Please tag me in your finished product! Measure your playhouse and decide if you want a border of the flooring outside of the edges. I would say we did a total of about 5 ft x 5 ft max (25 sq feet) and part of that was astroturf tiles. I’ll be doing an updated video soon on the playhouse and will try to answer the most commonly asked questions!