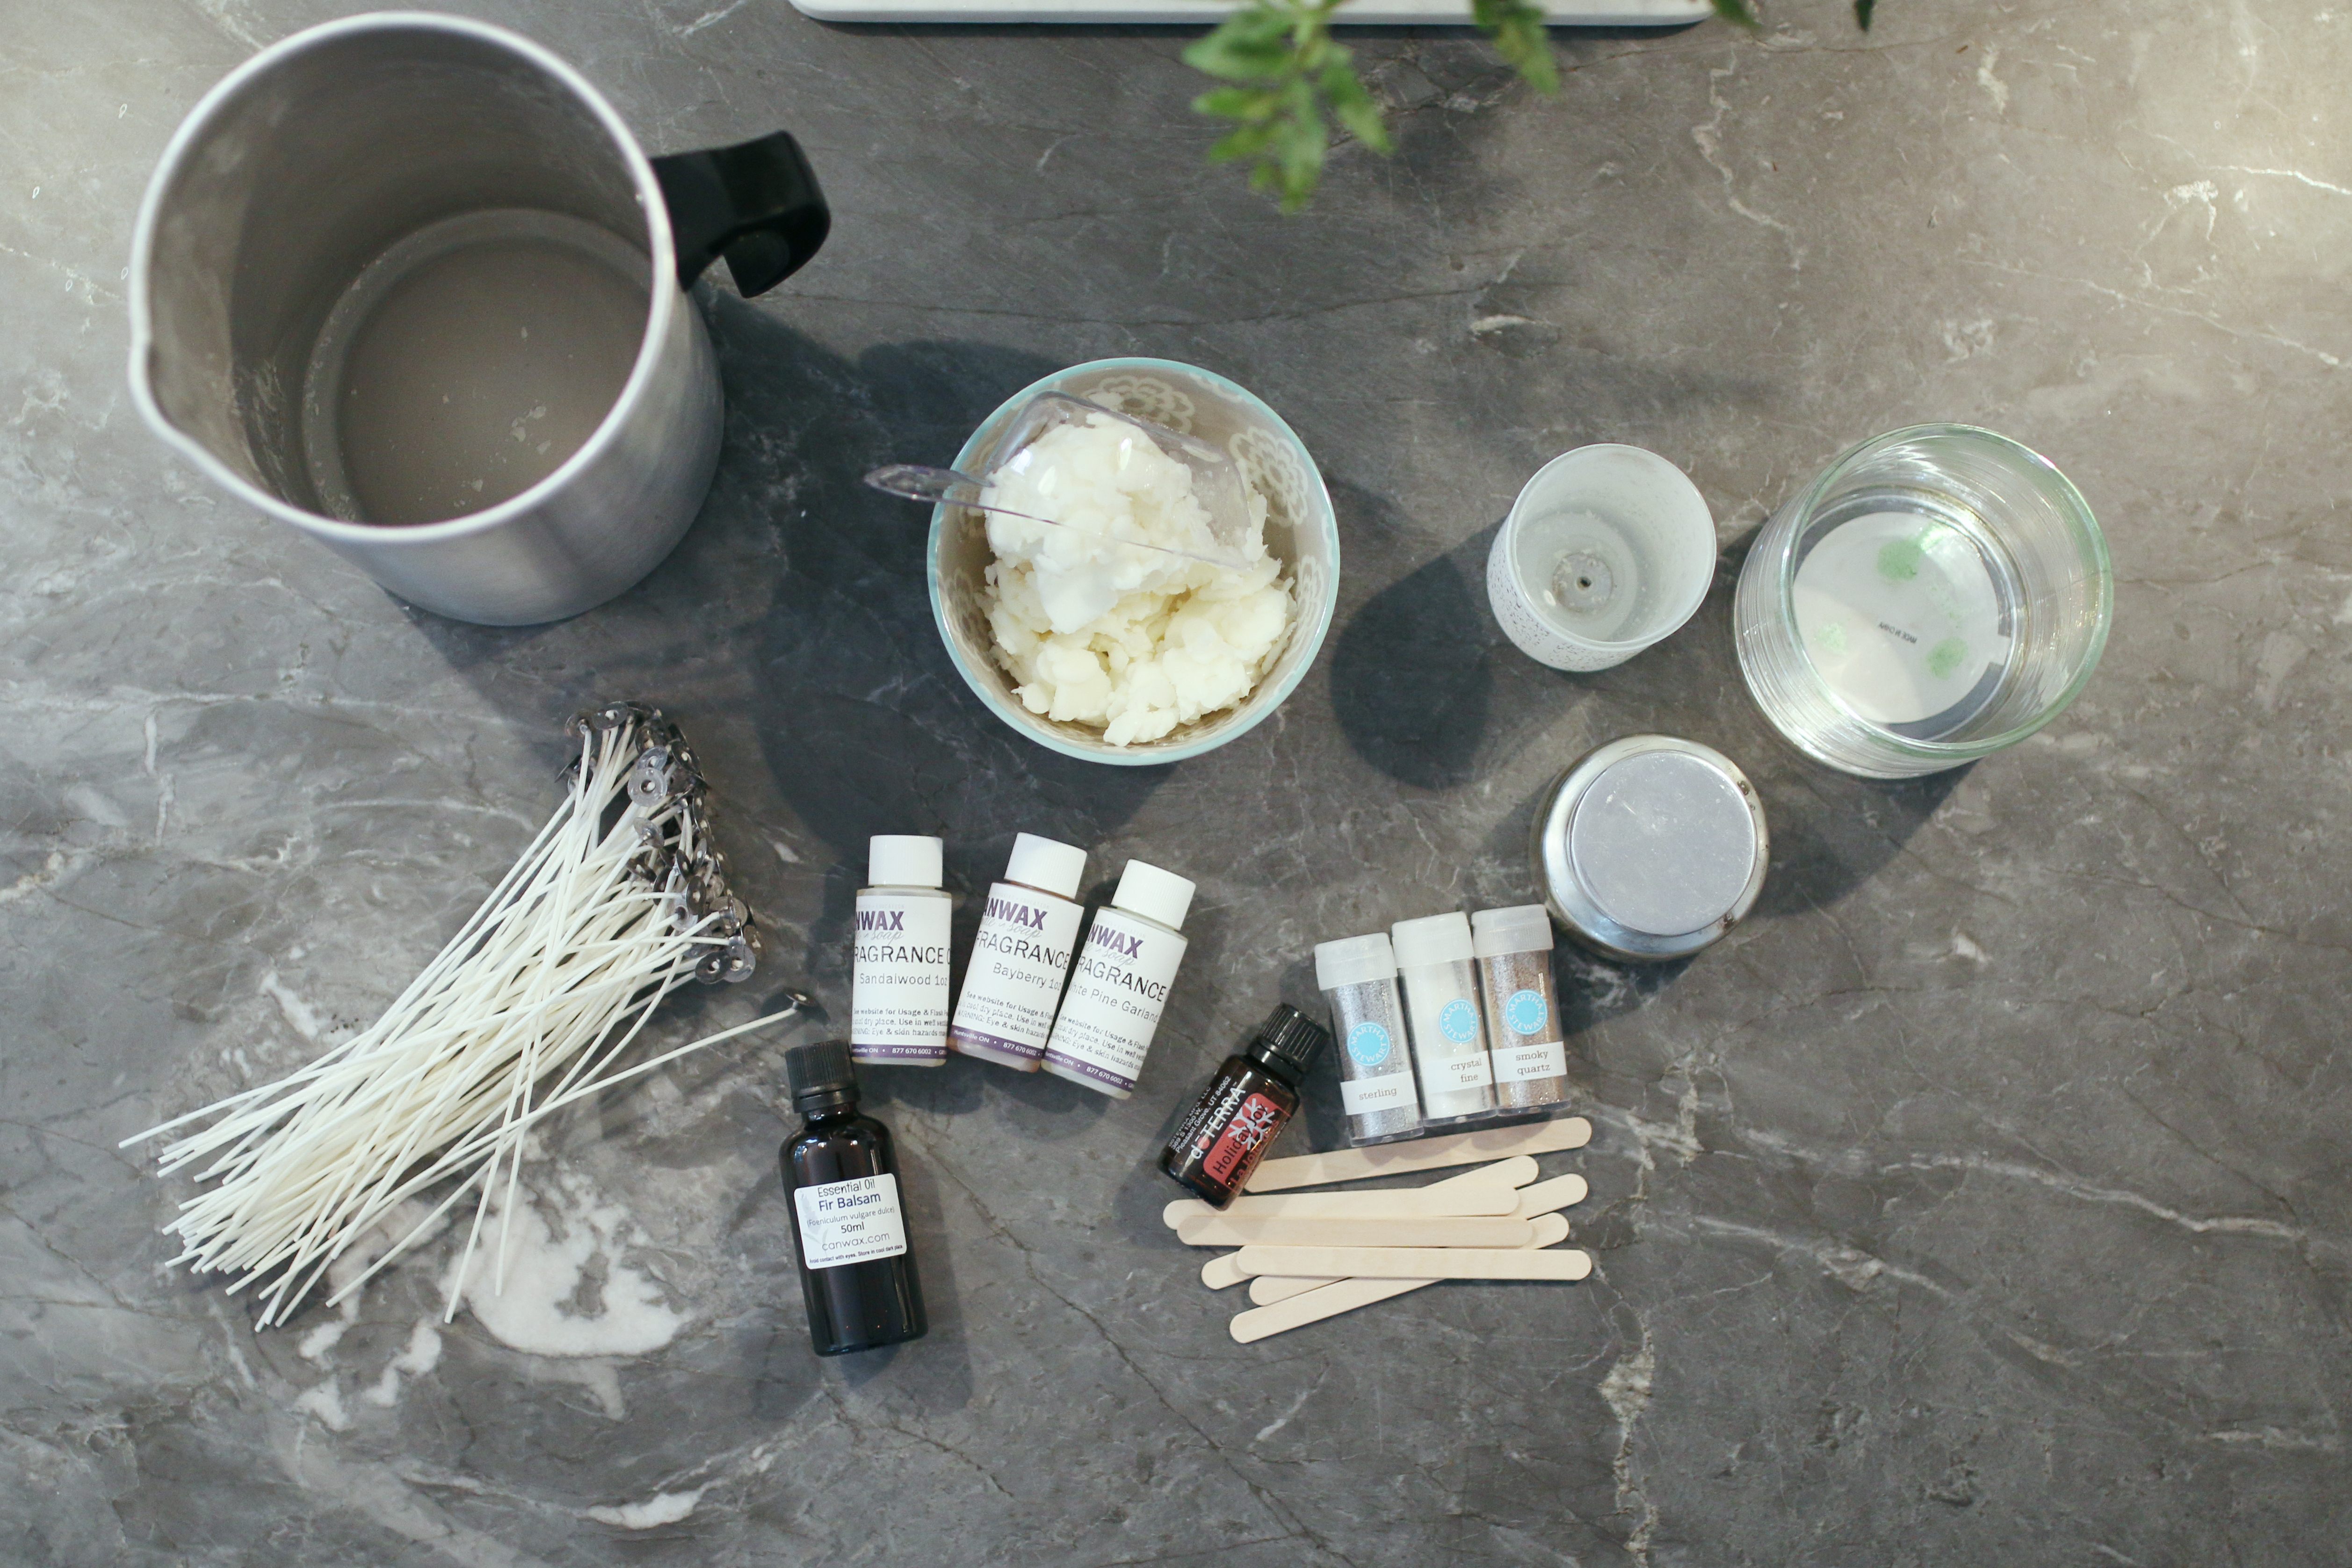
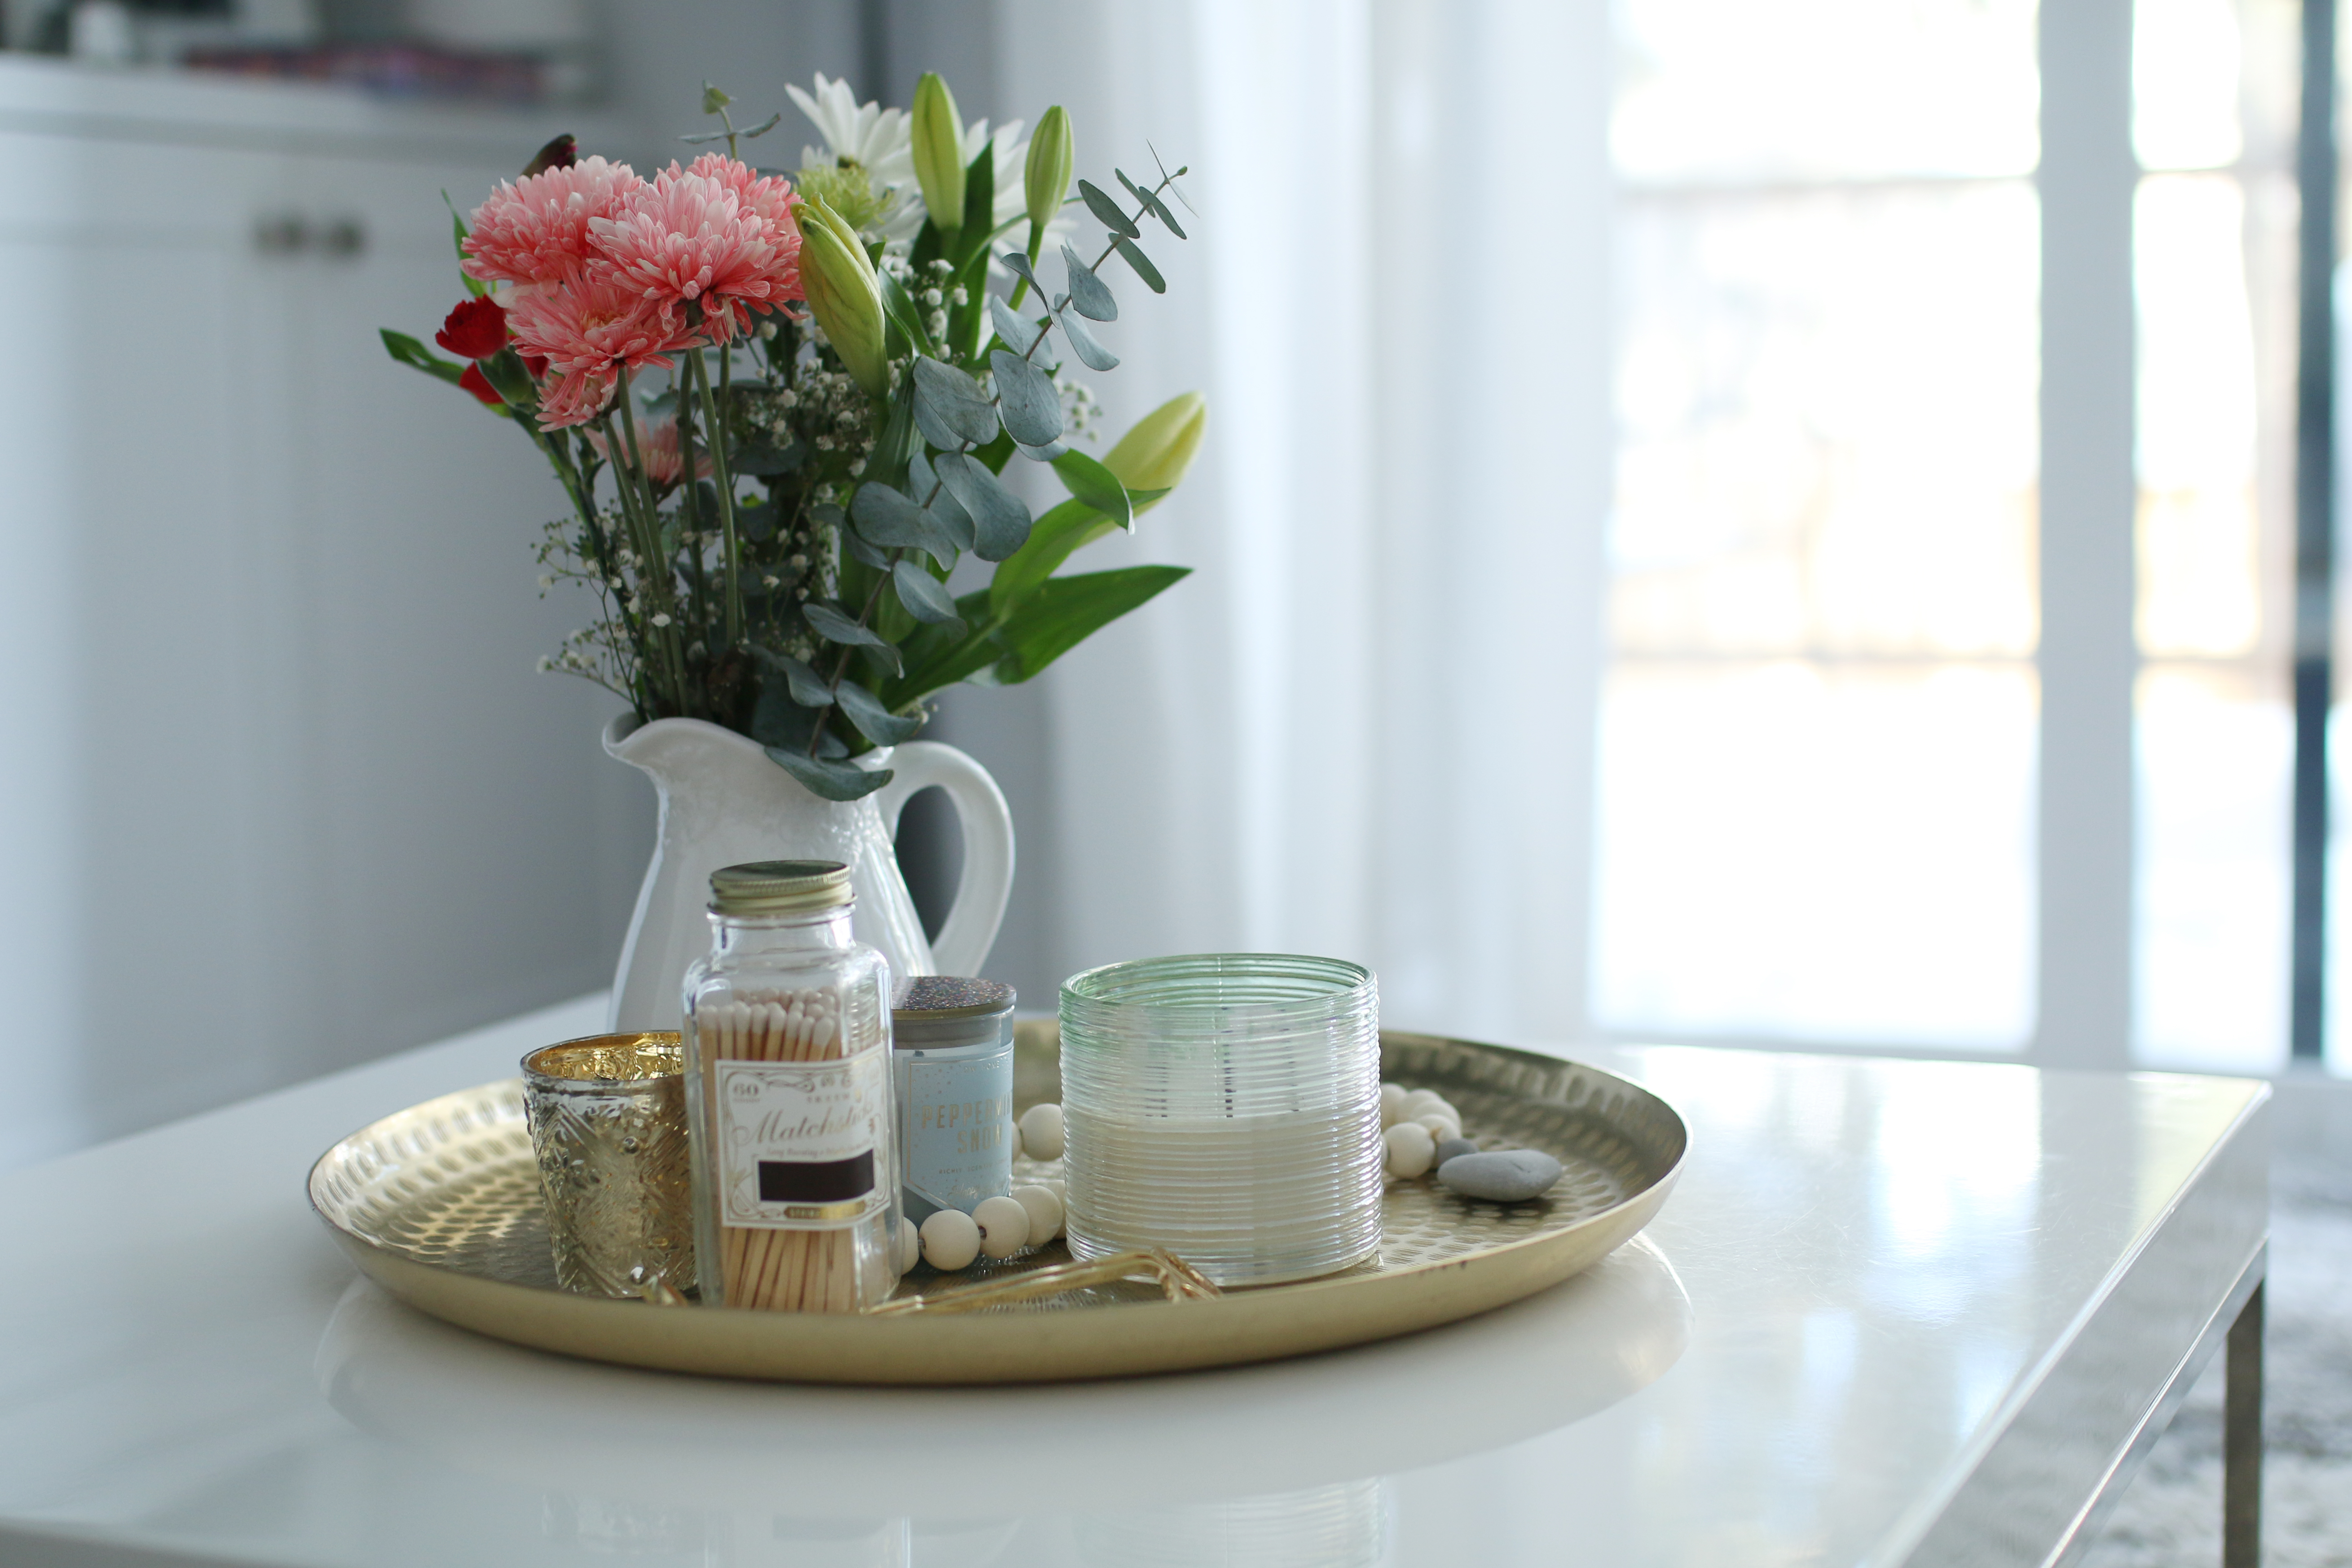
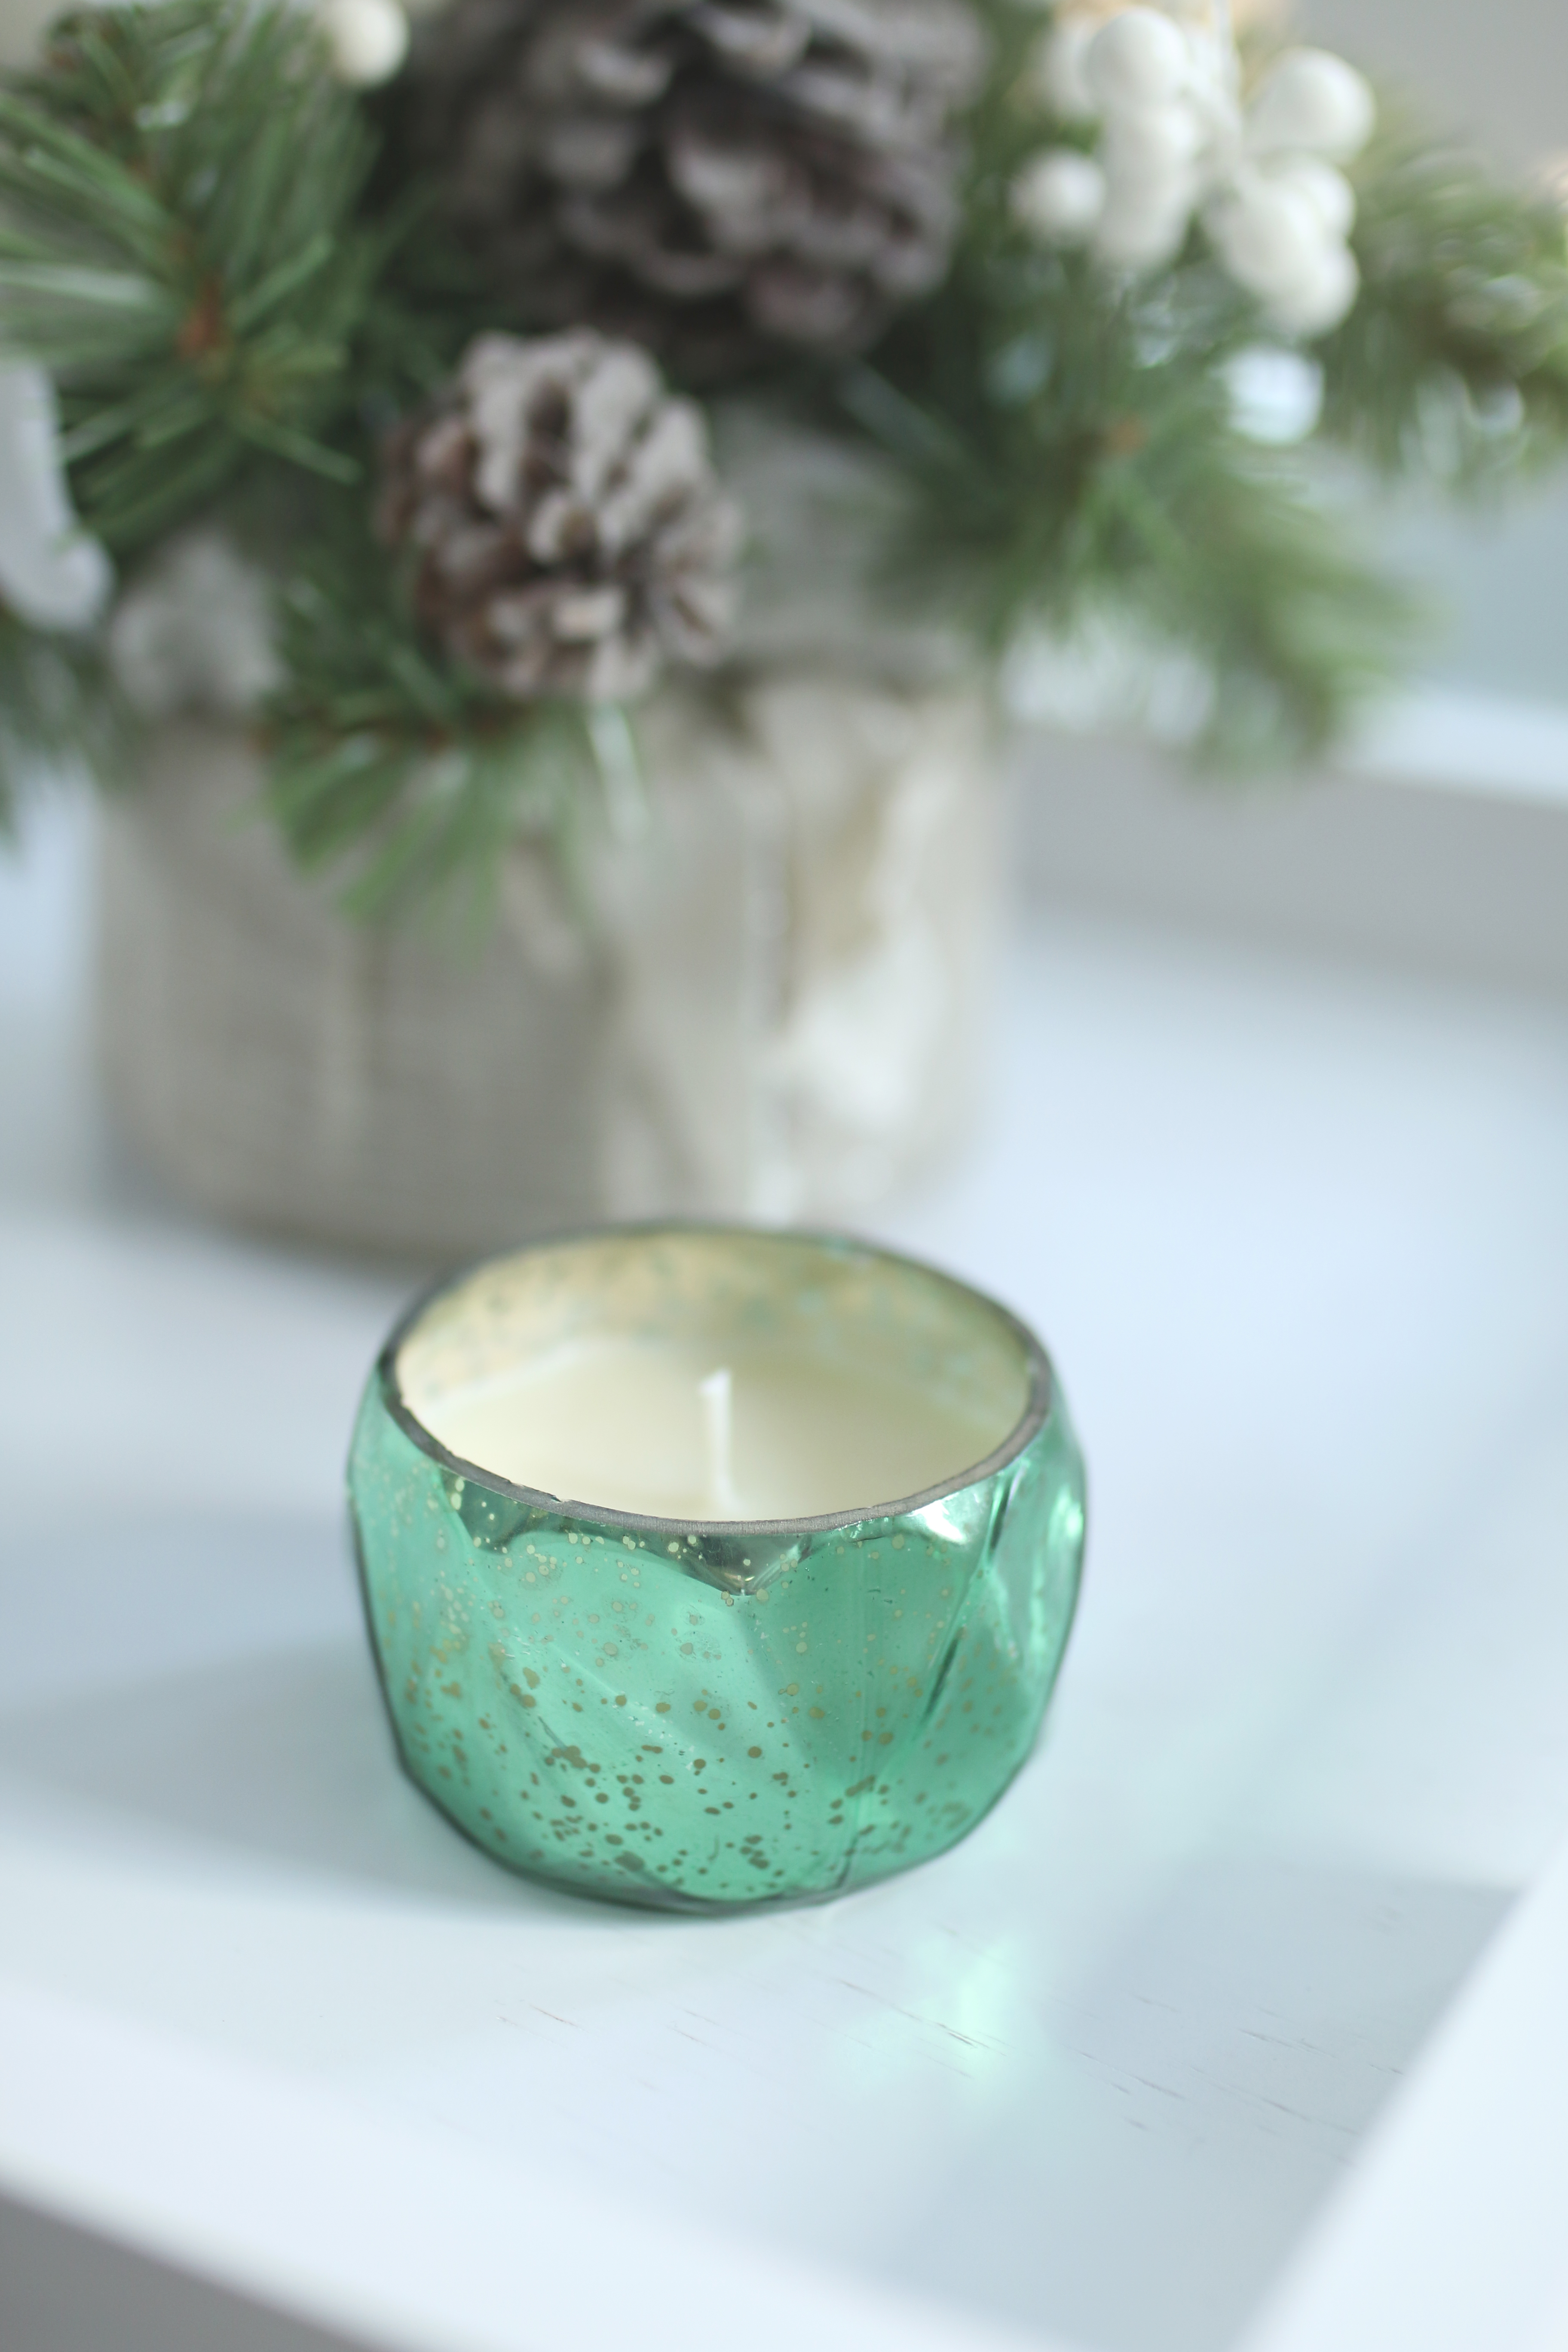
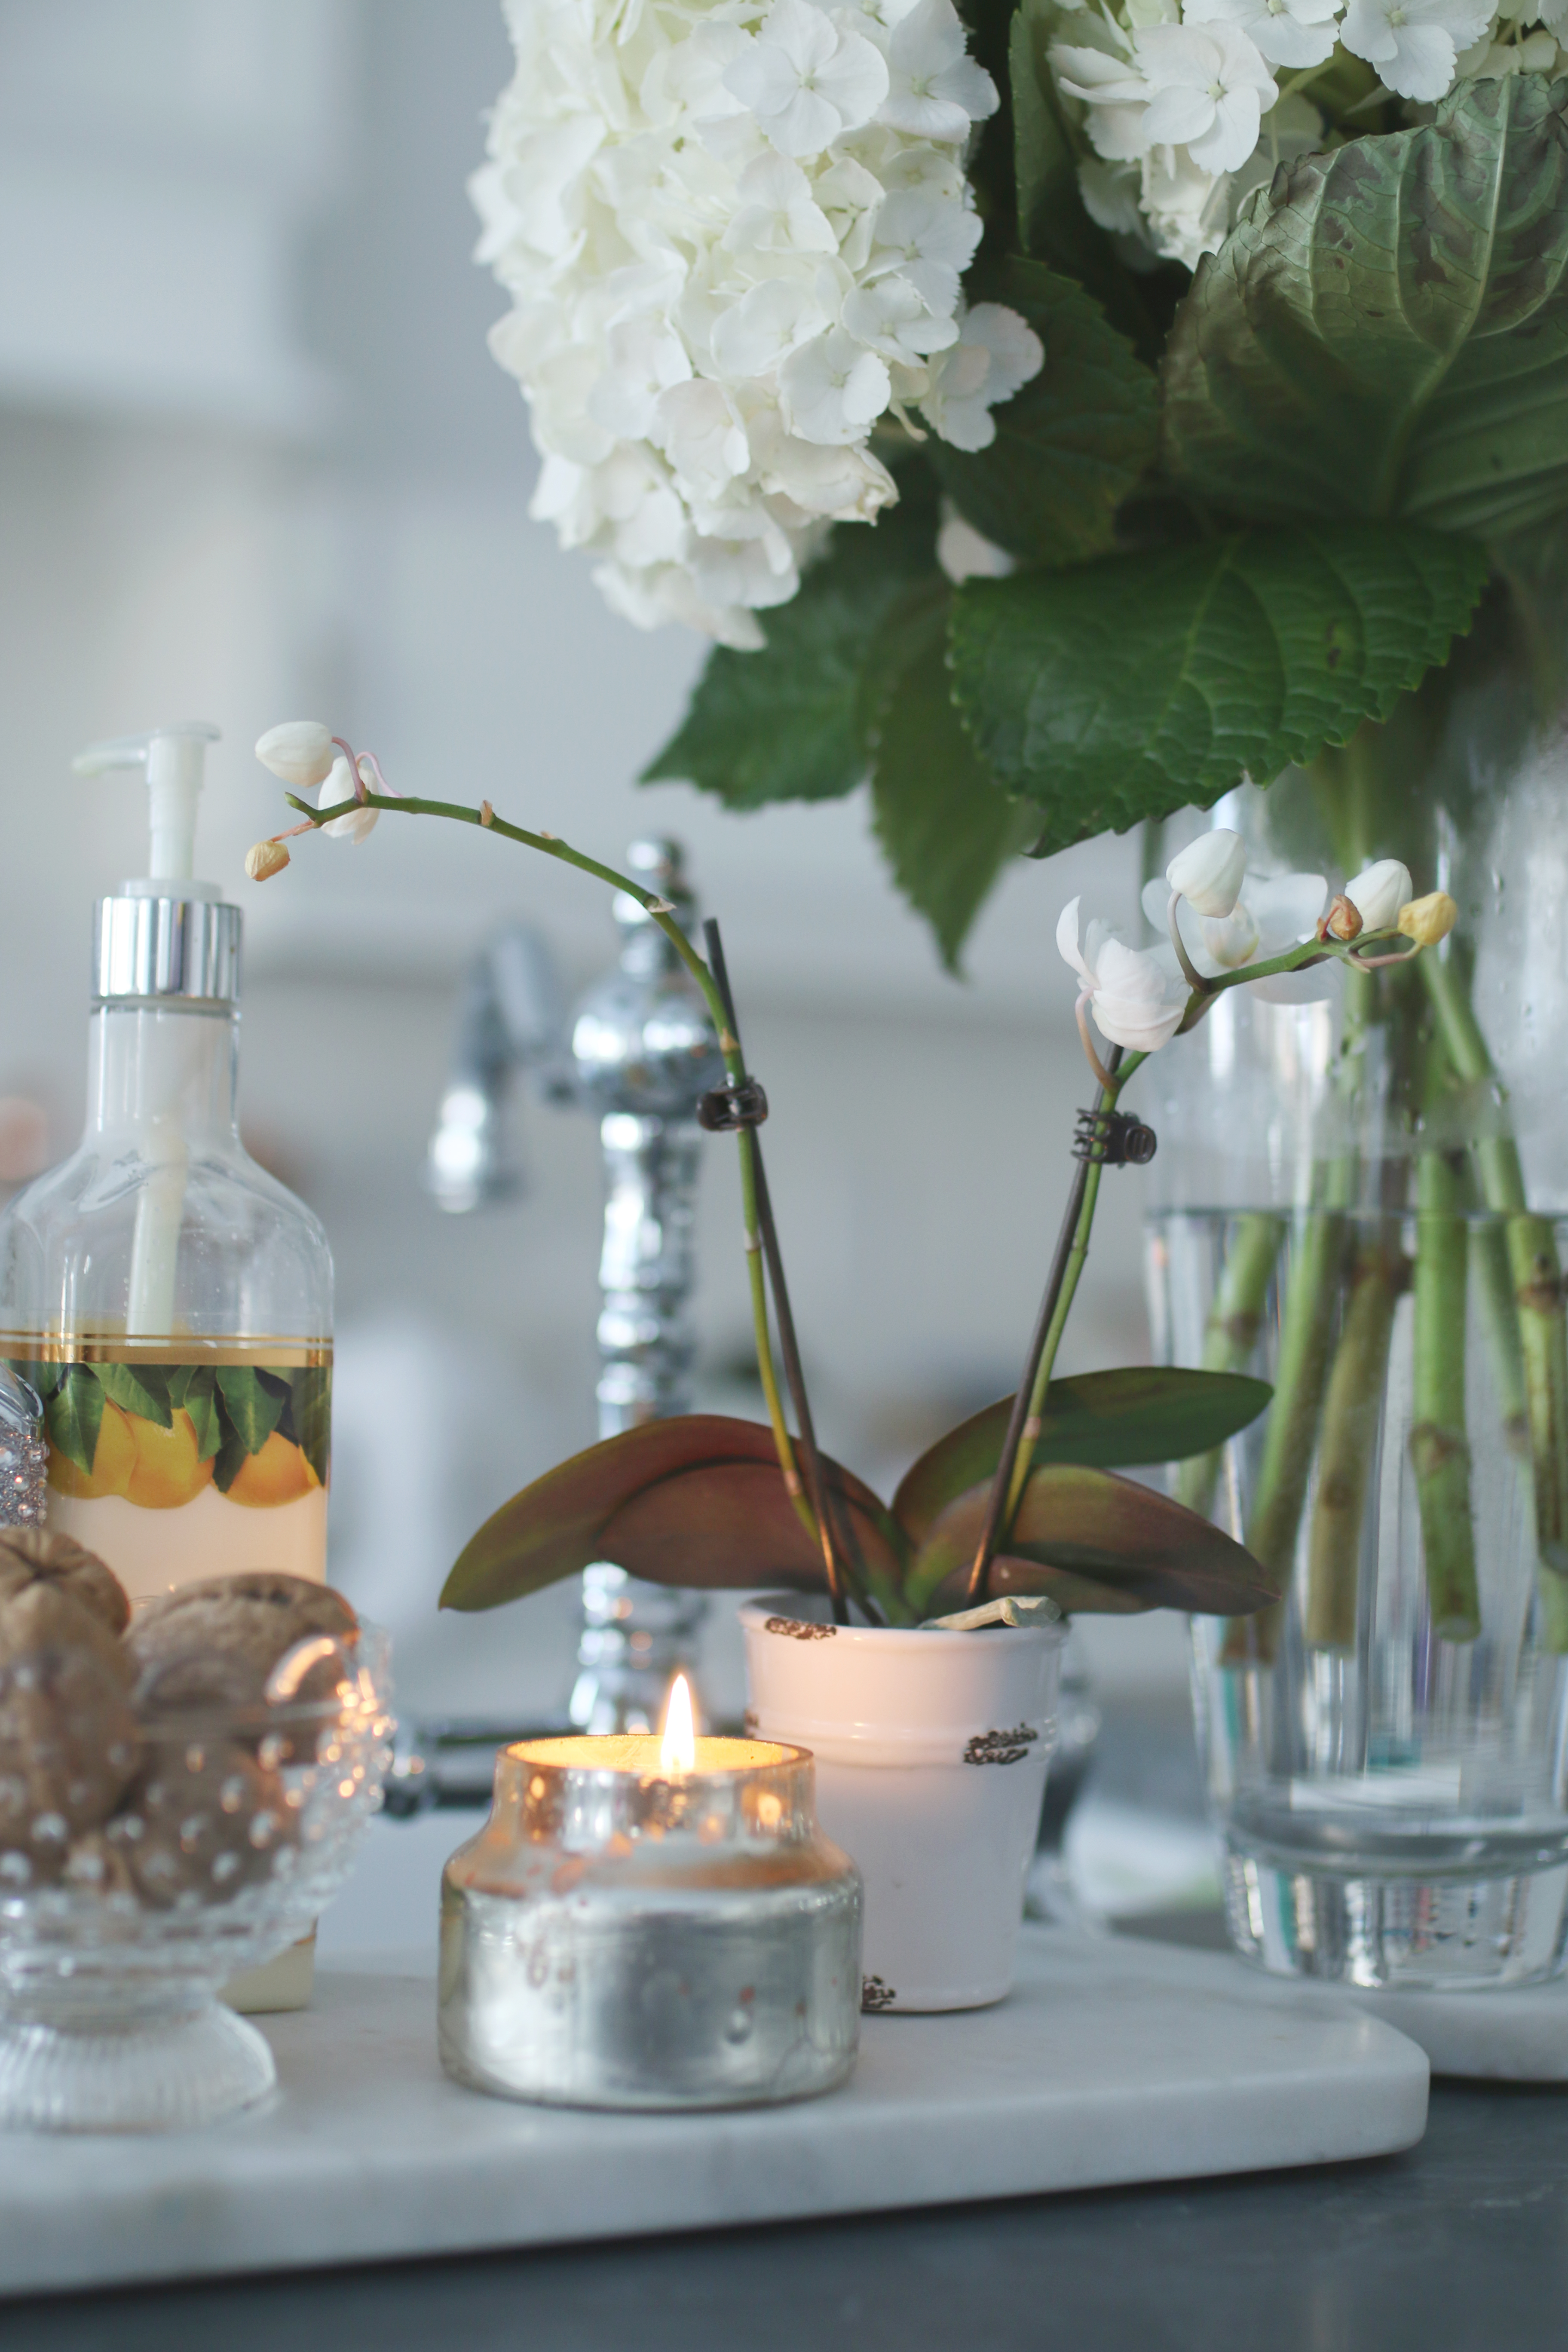
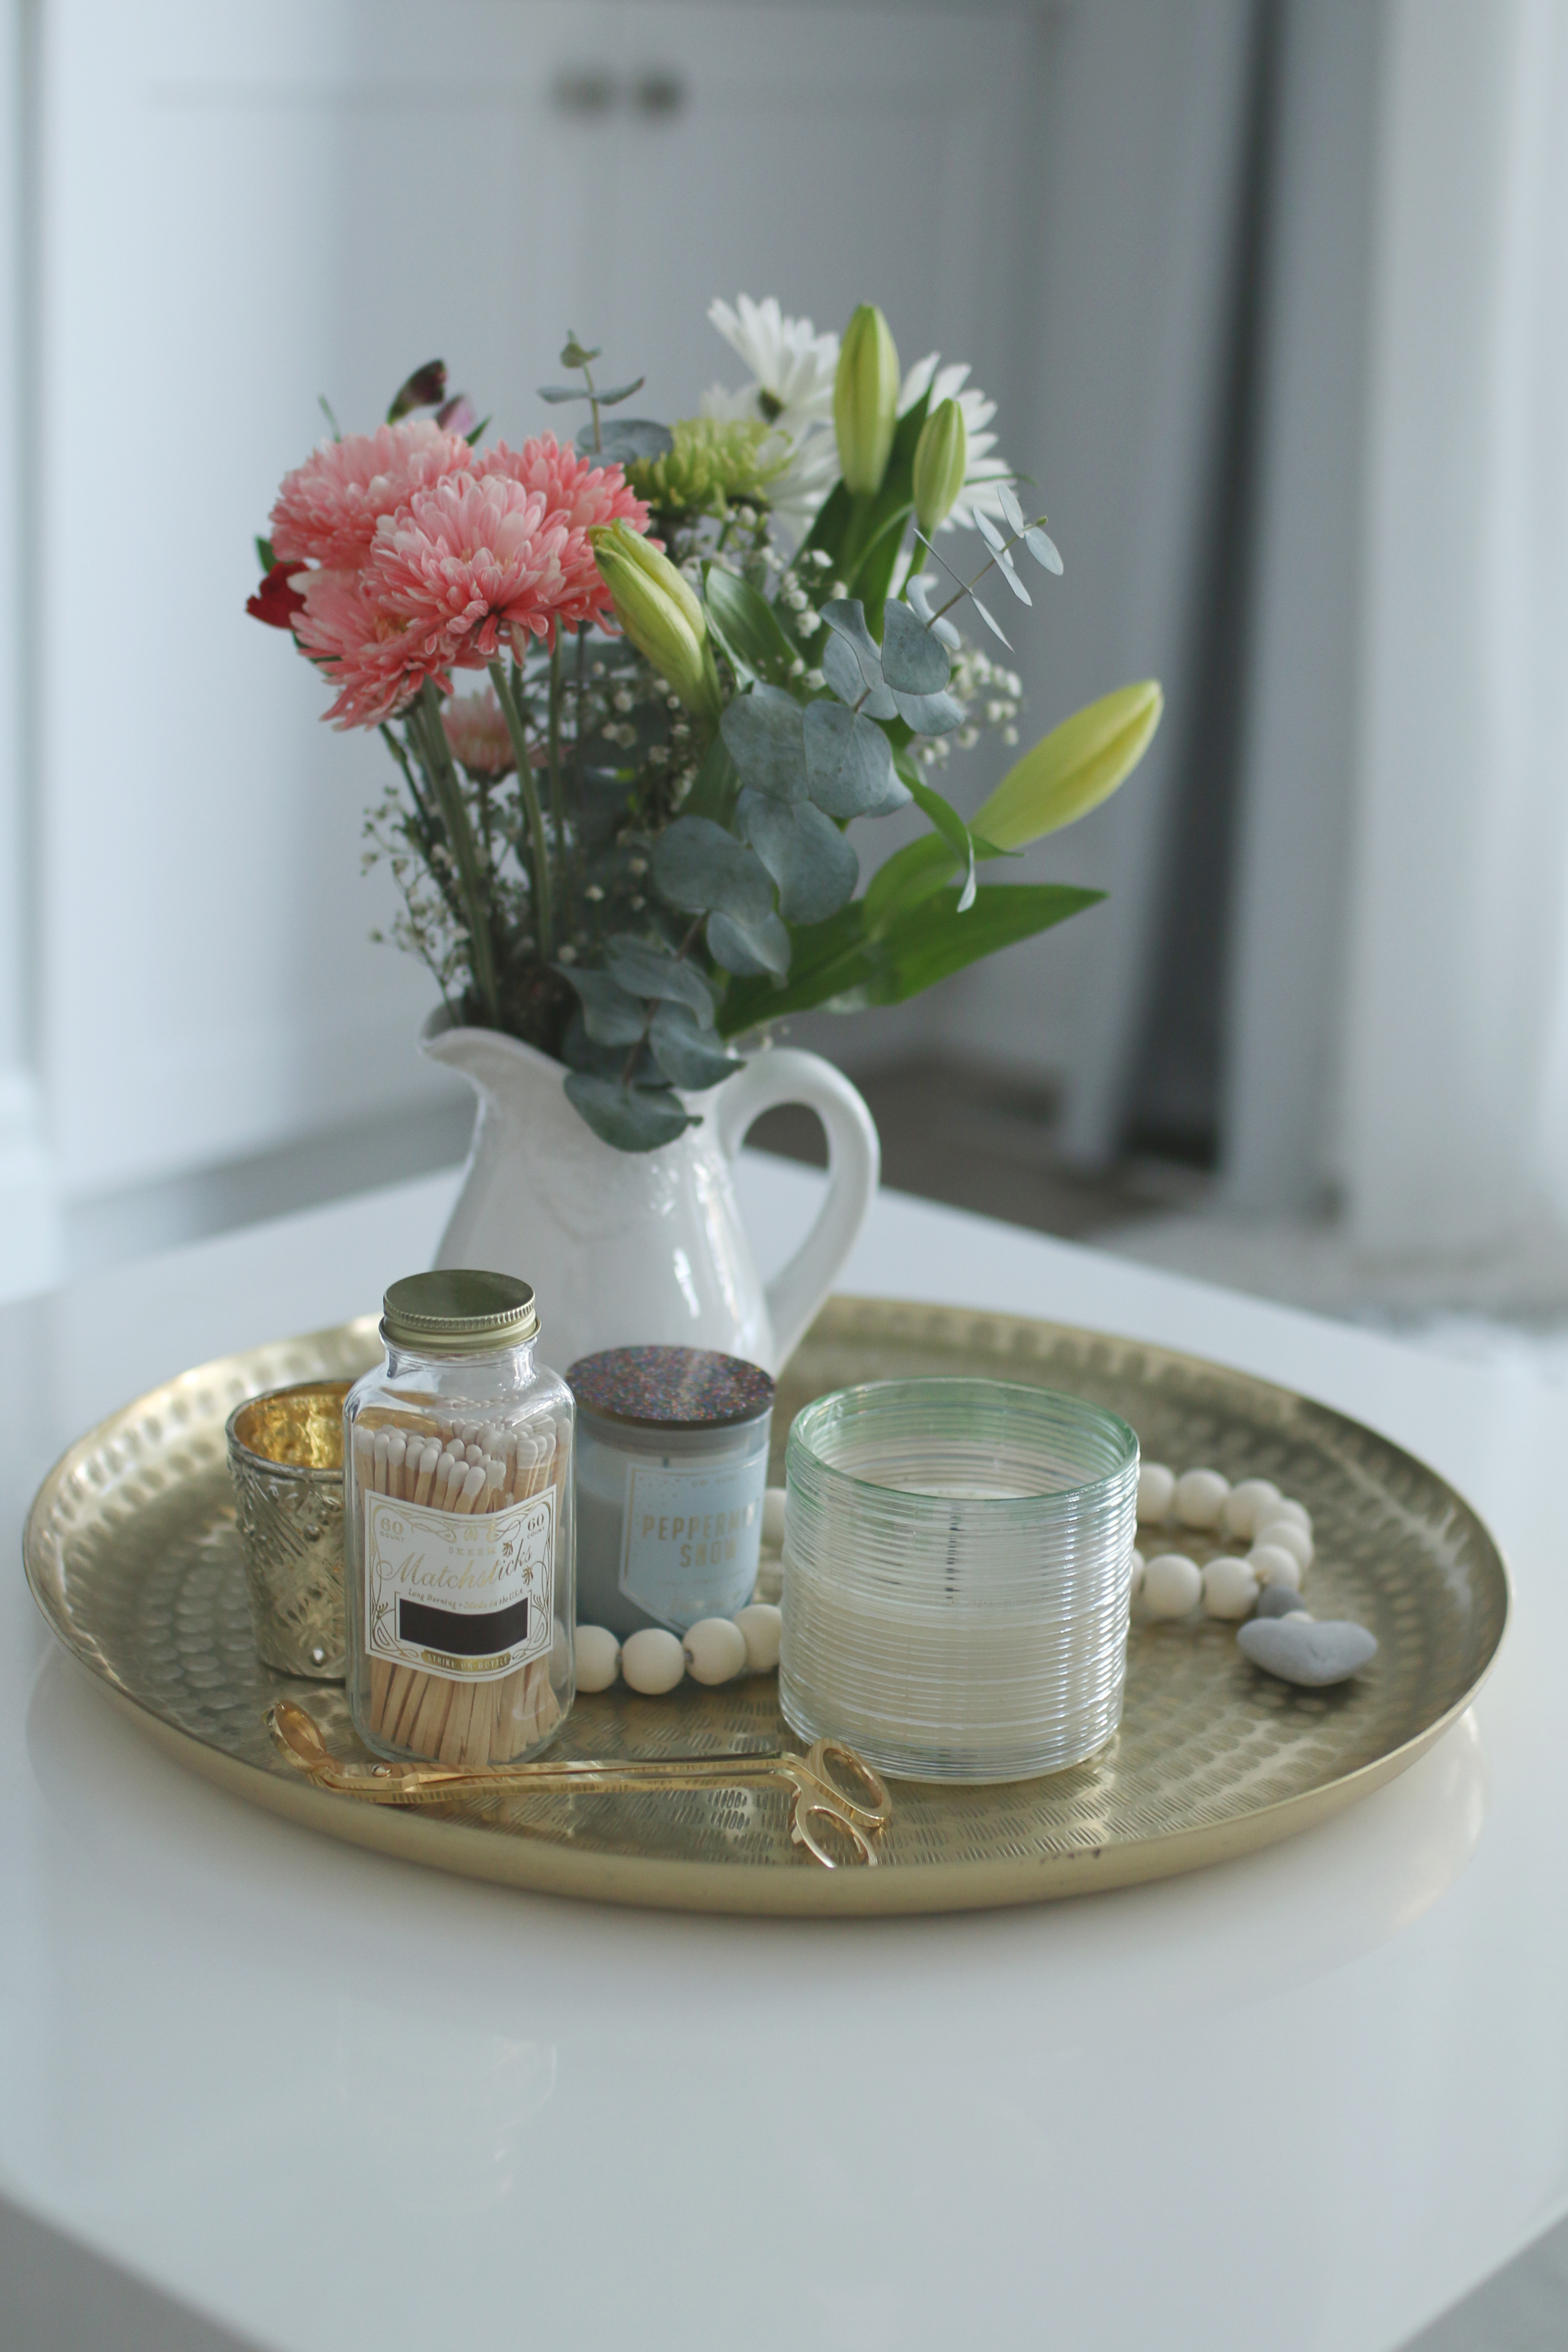
 Happy New Year, everybody! I hope you had a beautiful, restful, food-full holiday and that you’re ready for 2018. Let’s start this year off right with a fun and easy DIY that anyone can do. You will need a few supplies but they’re easy to get and the process is super simple. Links are included as we go. You can buy any vessel you like at a place like a dollar store or craft store, but I actually reuse candles I have already used up and loved. When a candle is done, put it in the freezer for 30 minutes or so and gently use a butter knife to pry out the wax. It should come out easily but be gentle because the glass itself will be brittle.
Let’s dive right in!
What You’ll Need
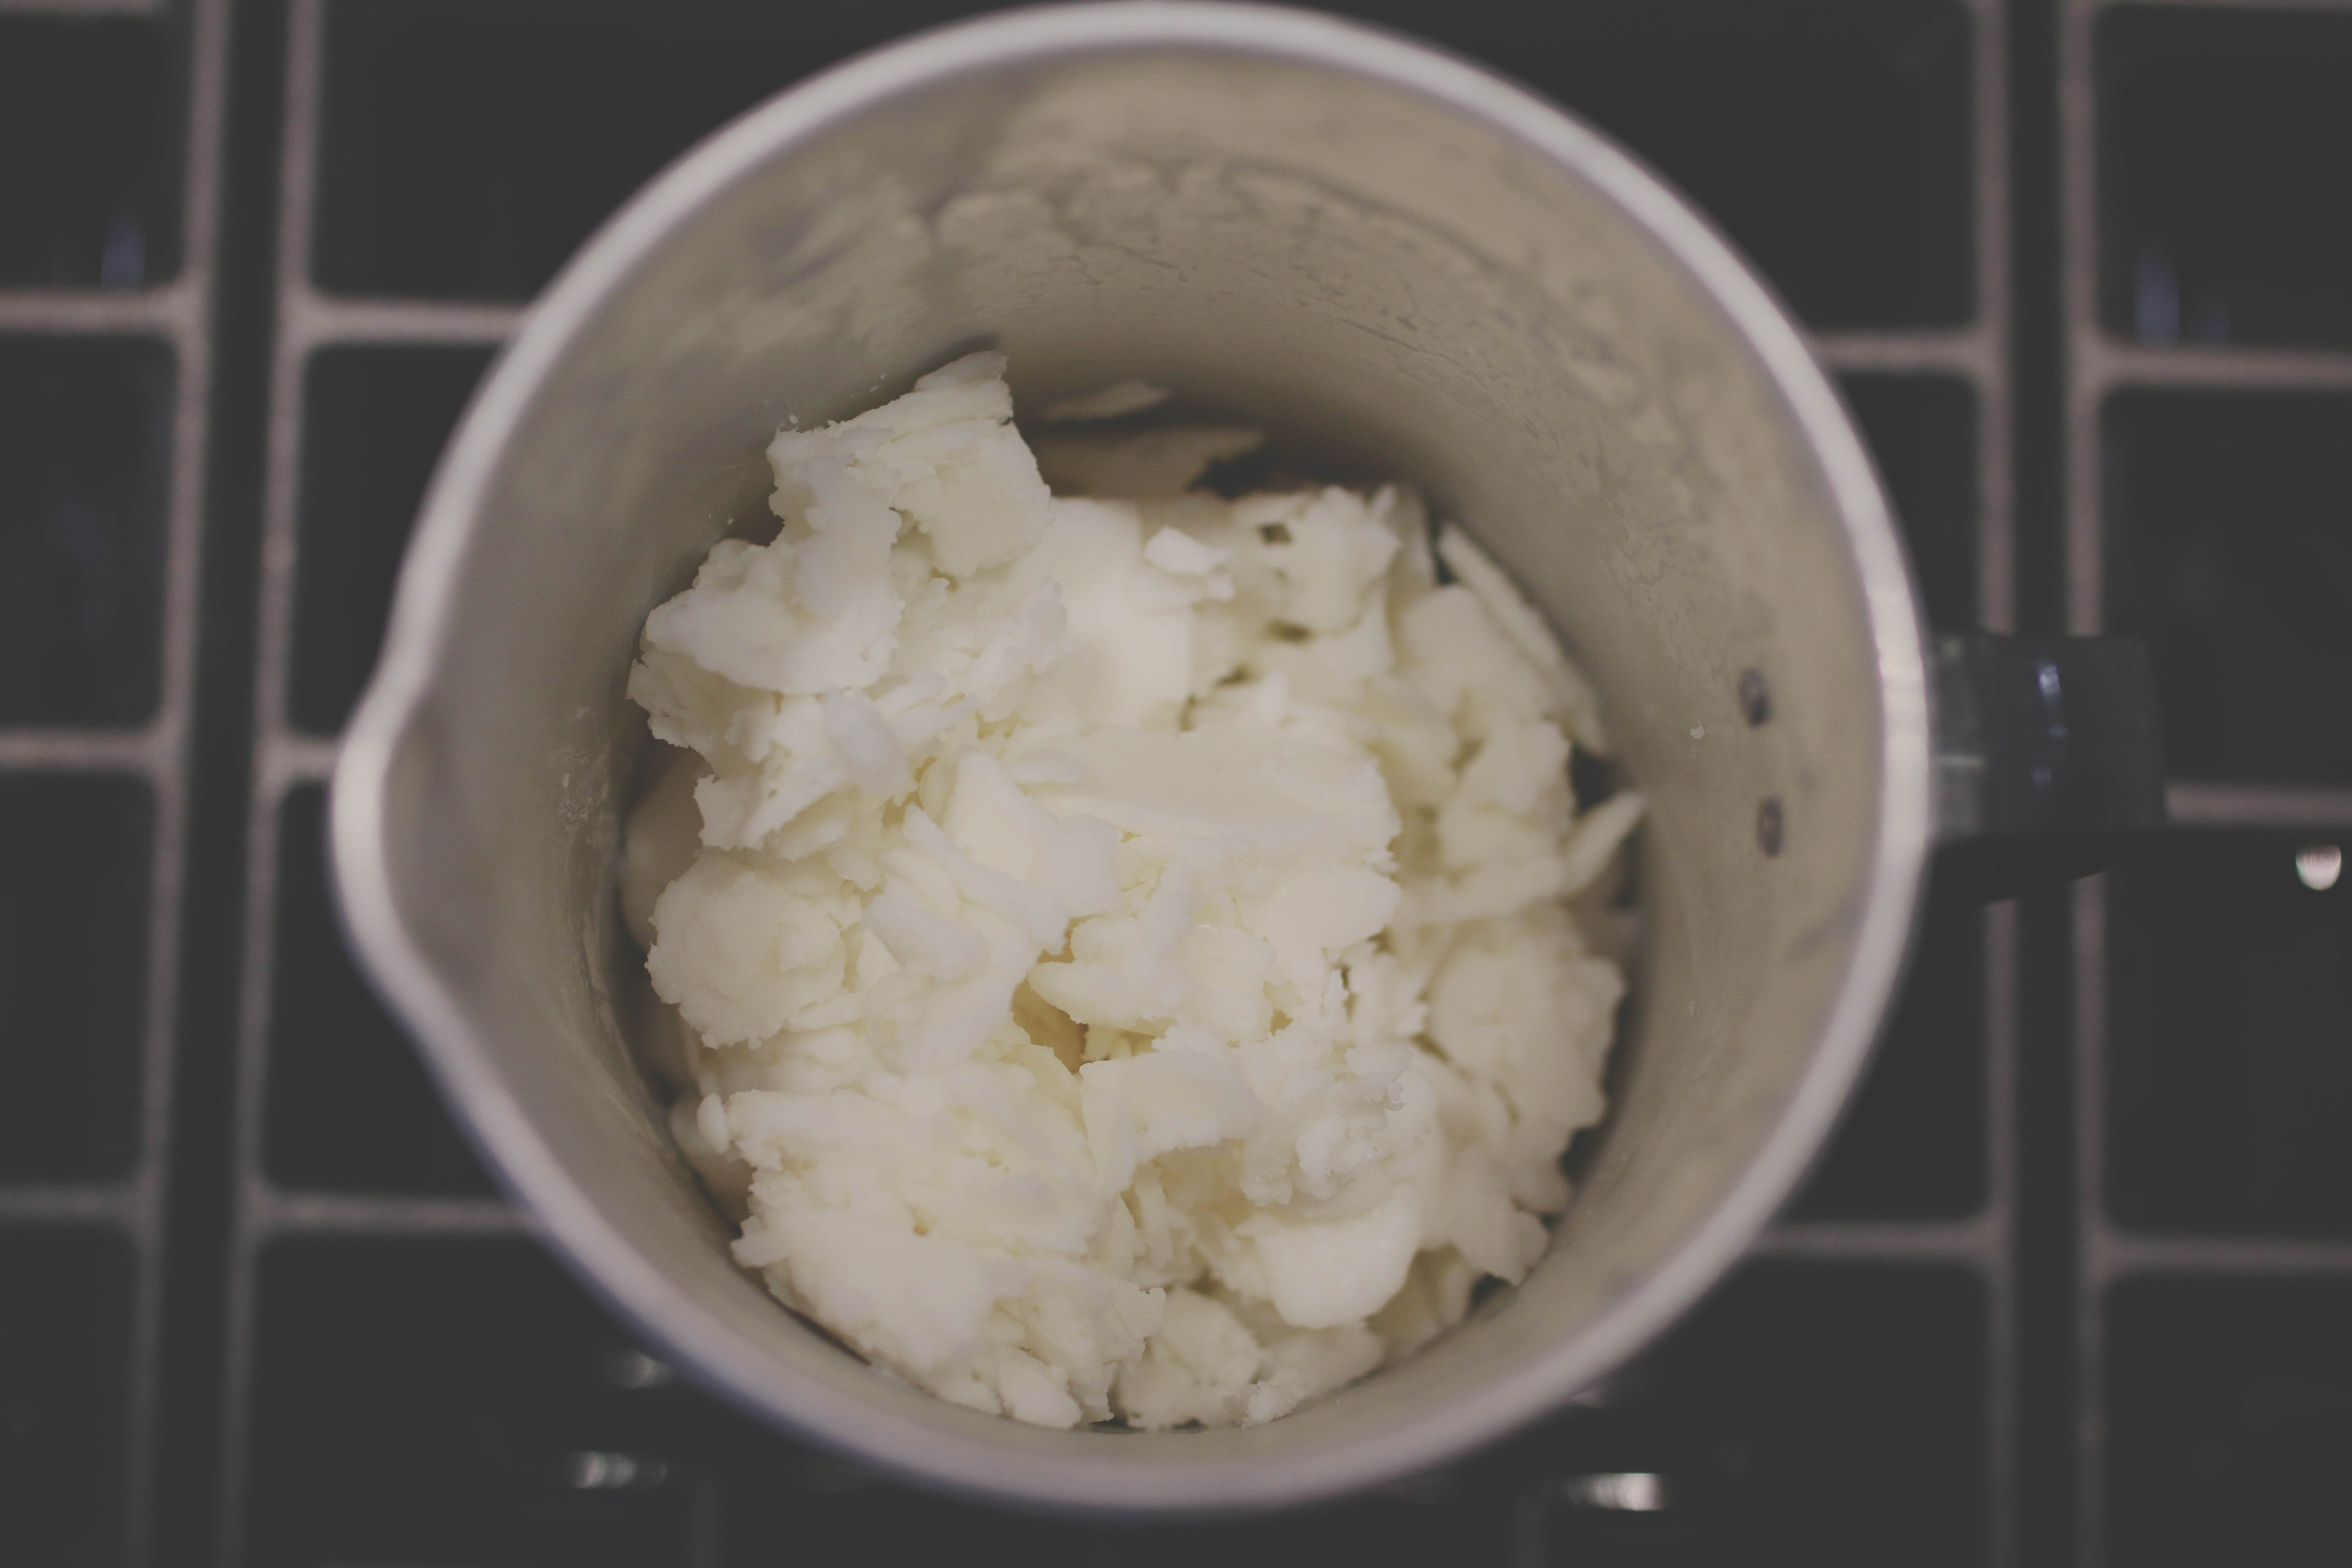
- candle wax
- I use soy, coconut, or a coconut soy blend from CANWAX
- You can also buy beeswax pellets if you prefer
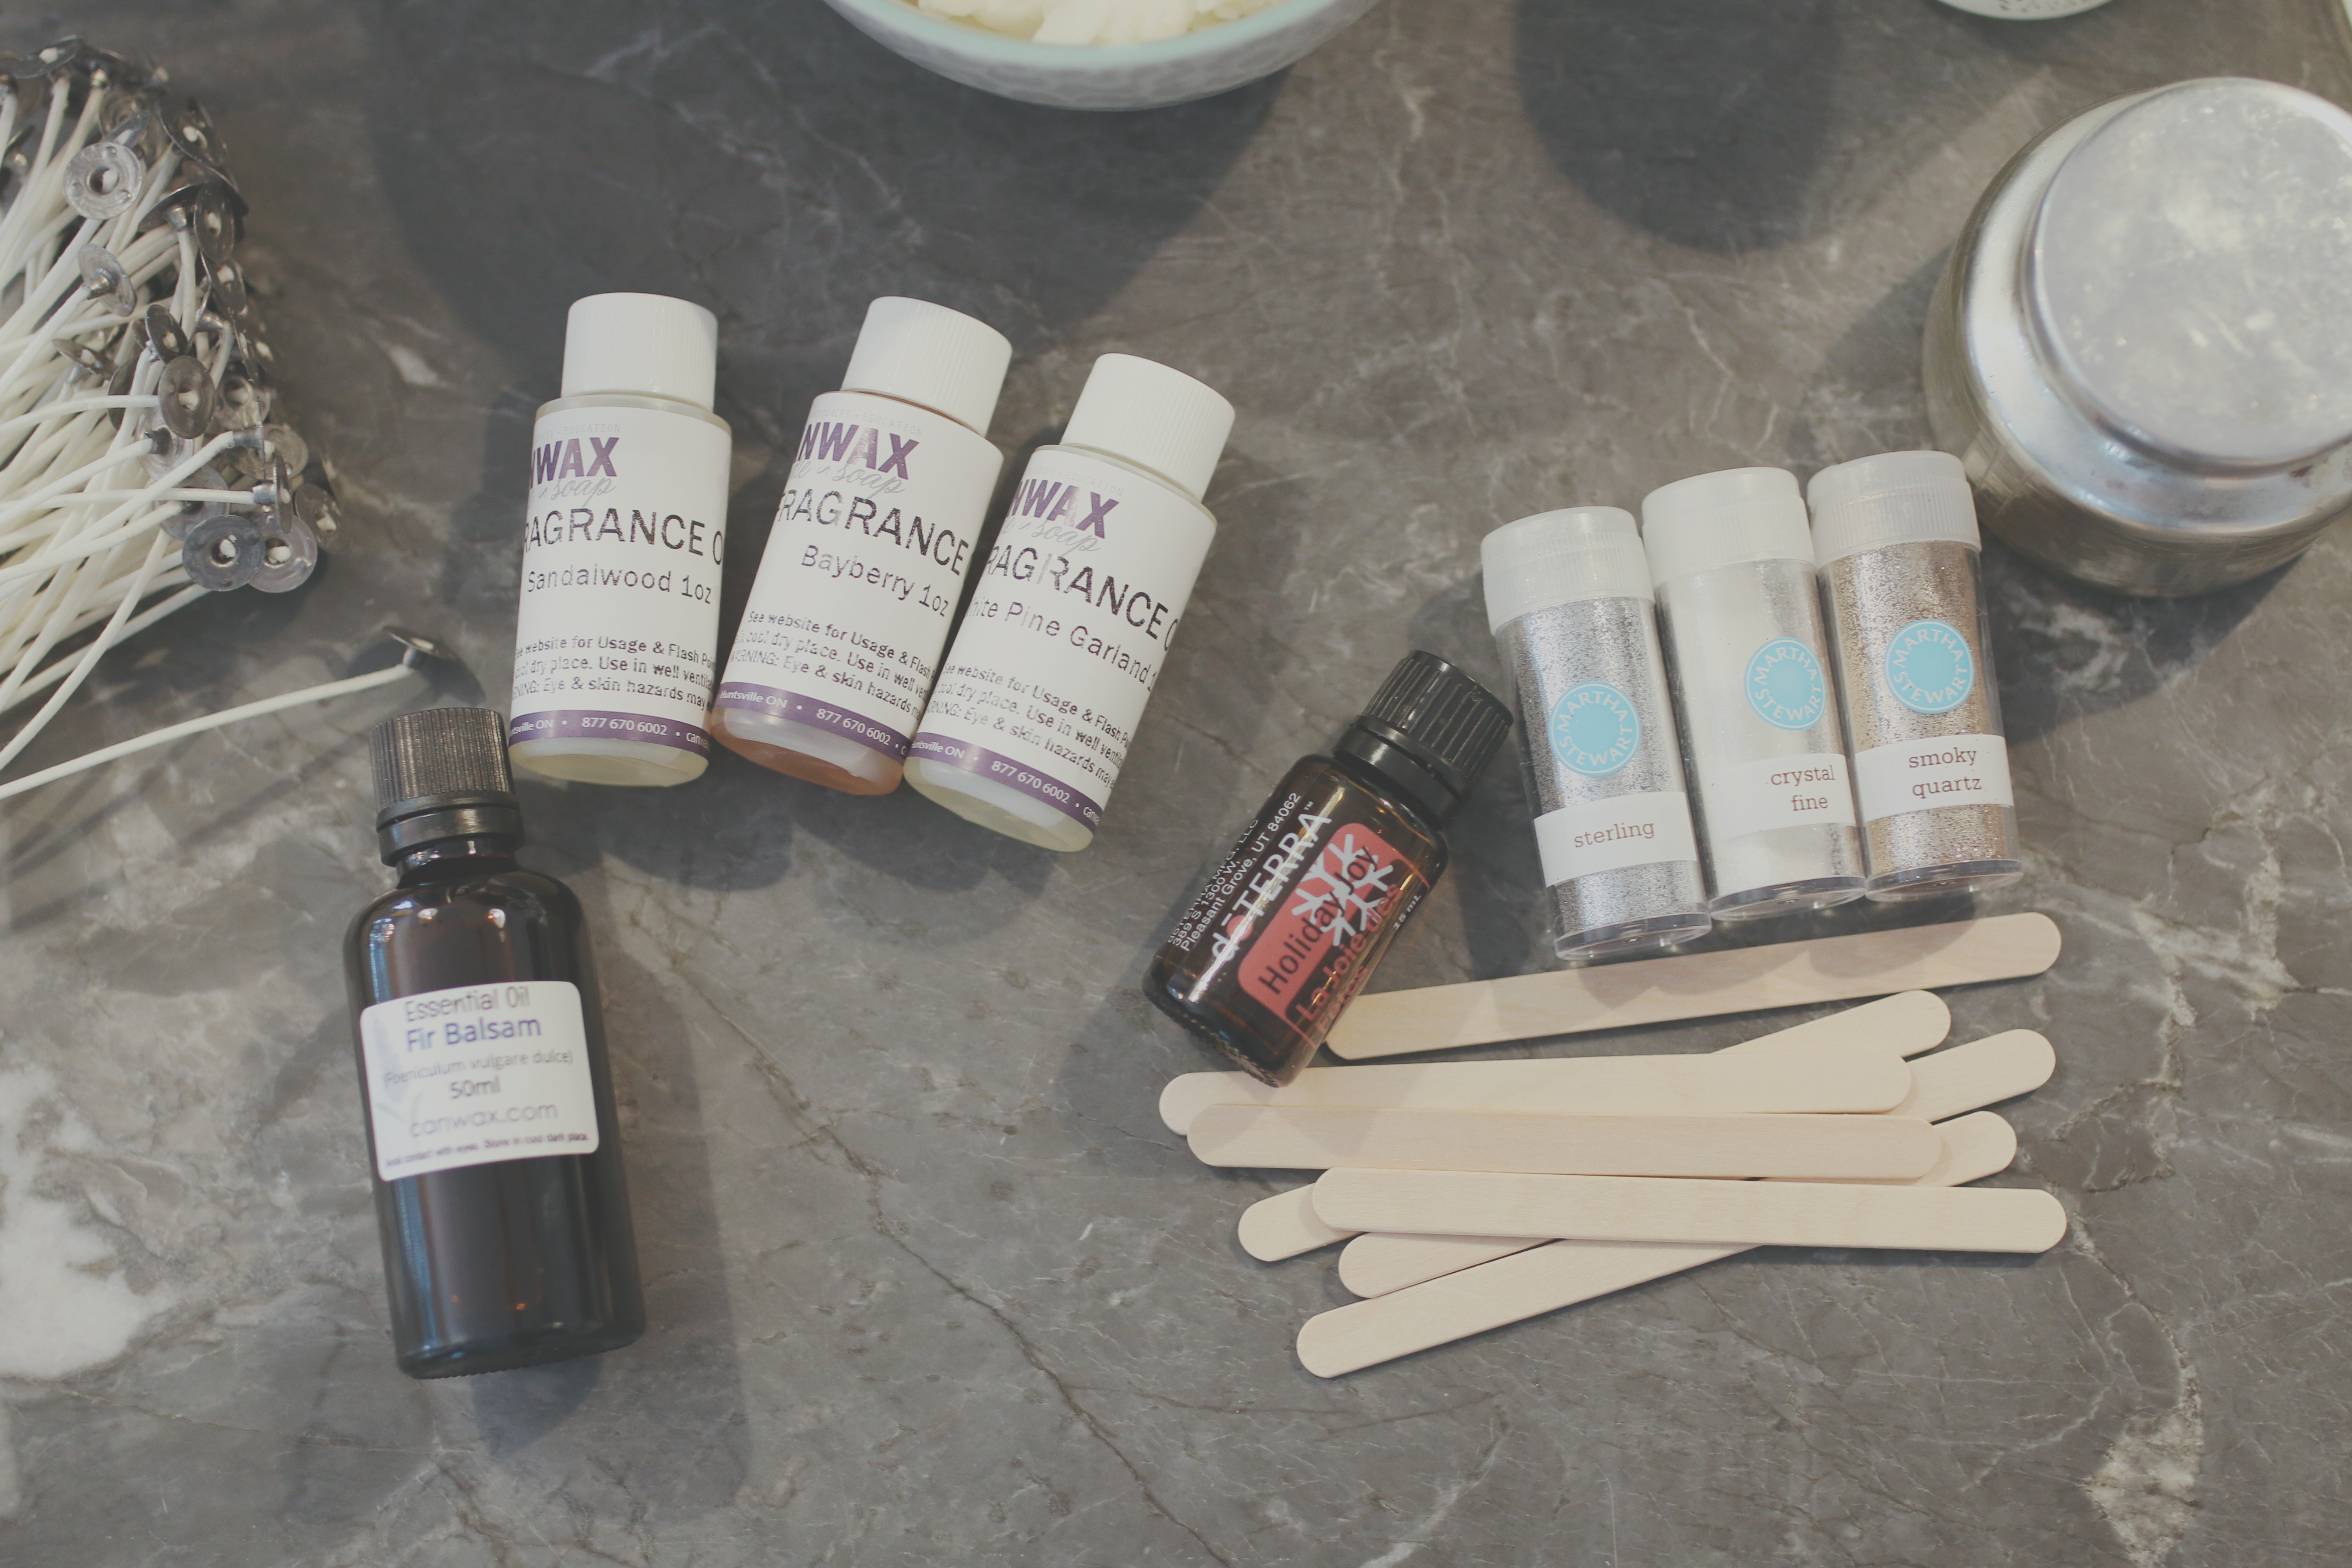
- candle scents or essential oils
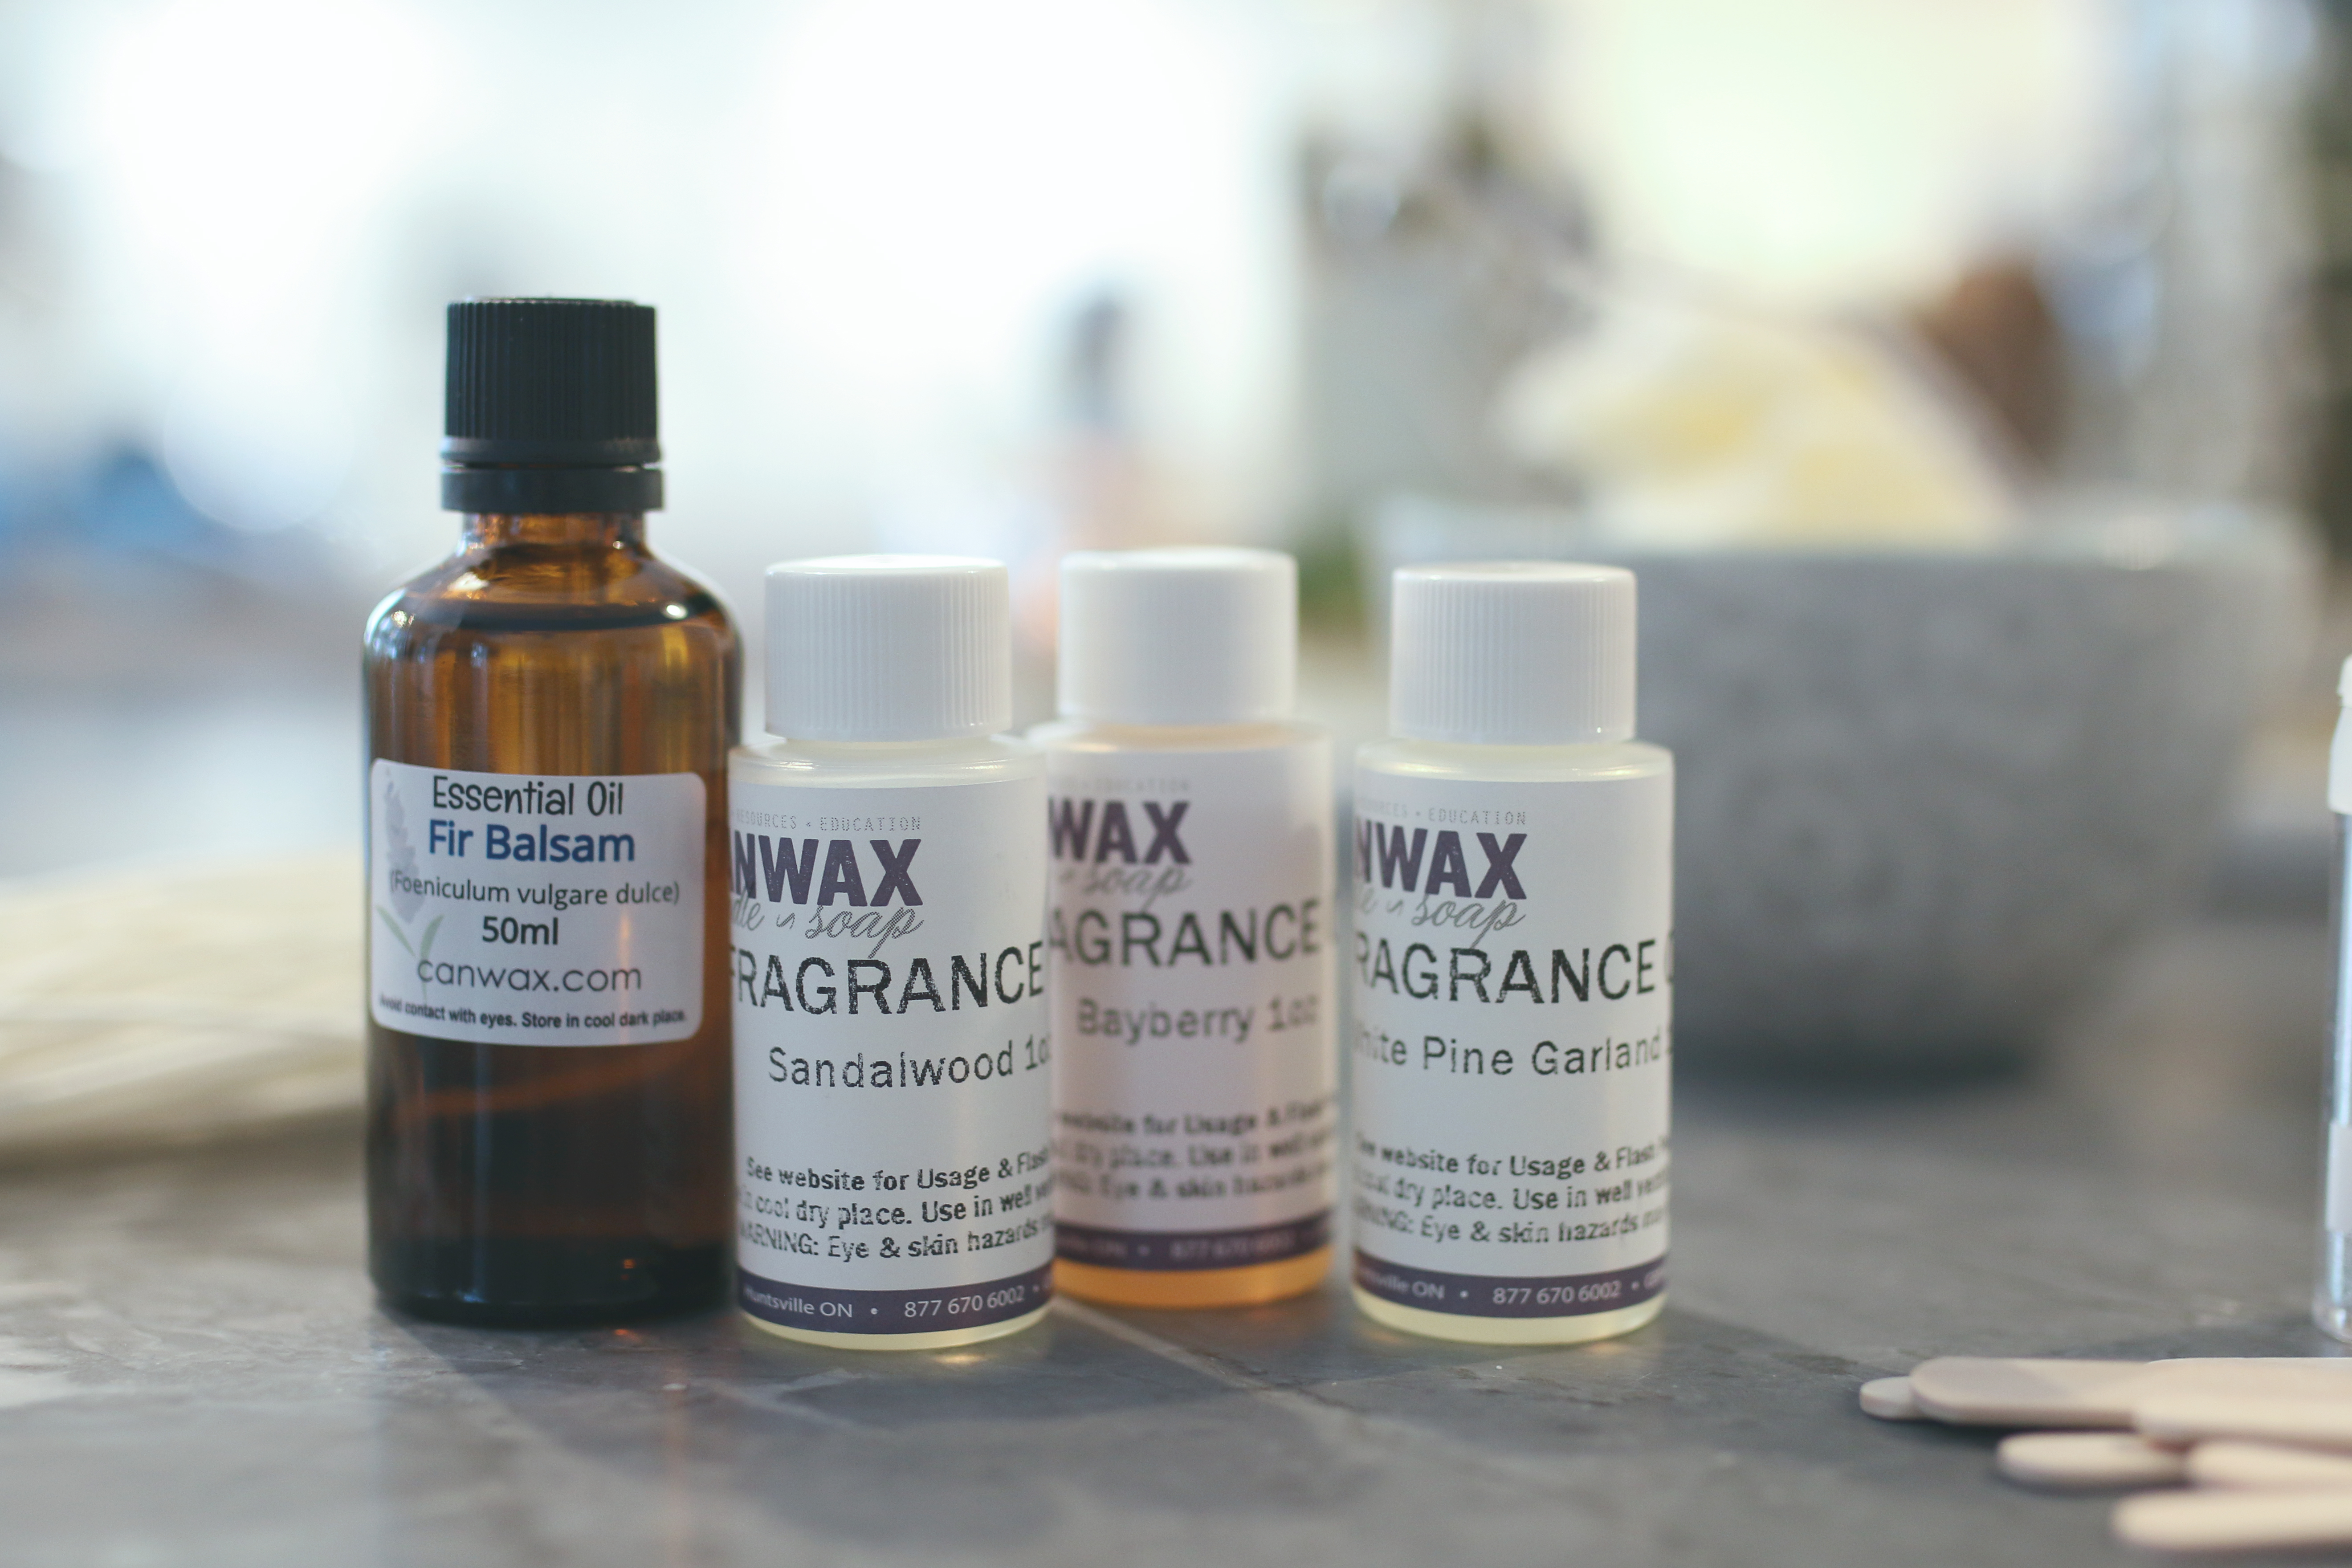
- CANWAX sells great candle scents (I picked up a few ‘wintery’ fragrances that I know I love)
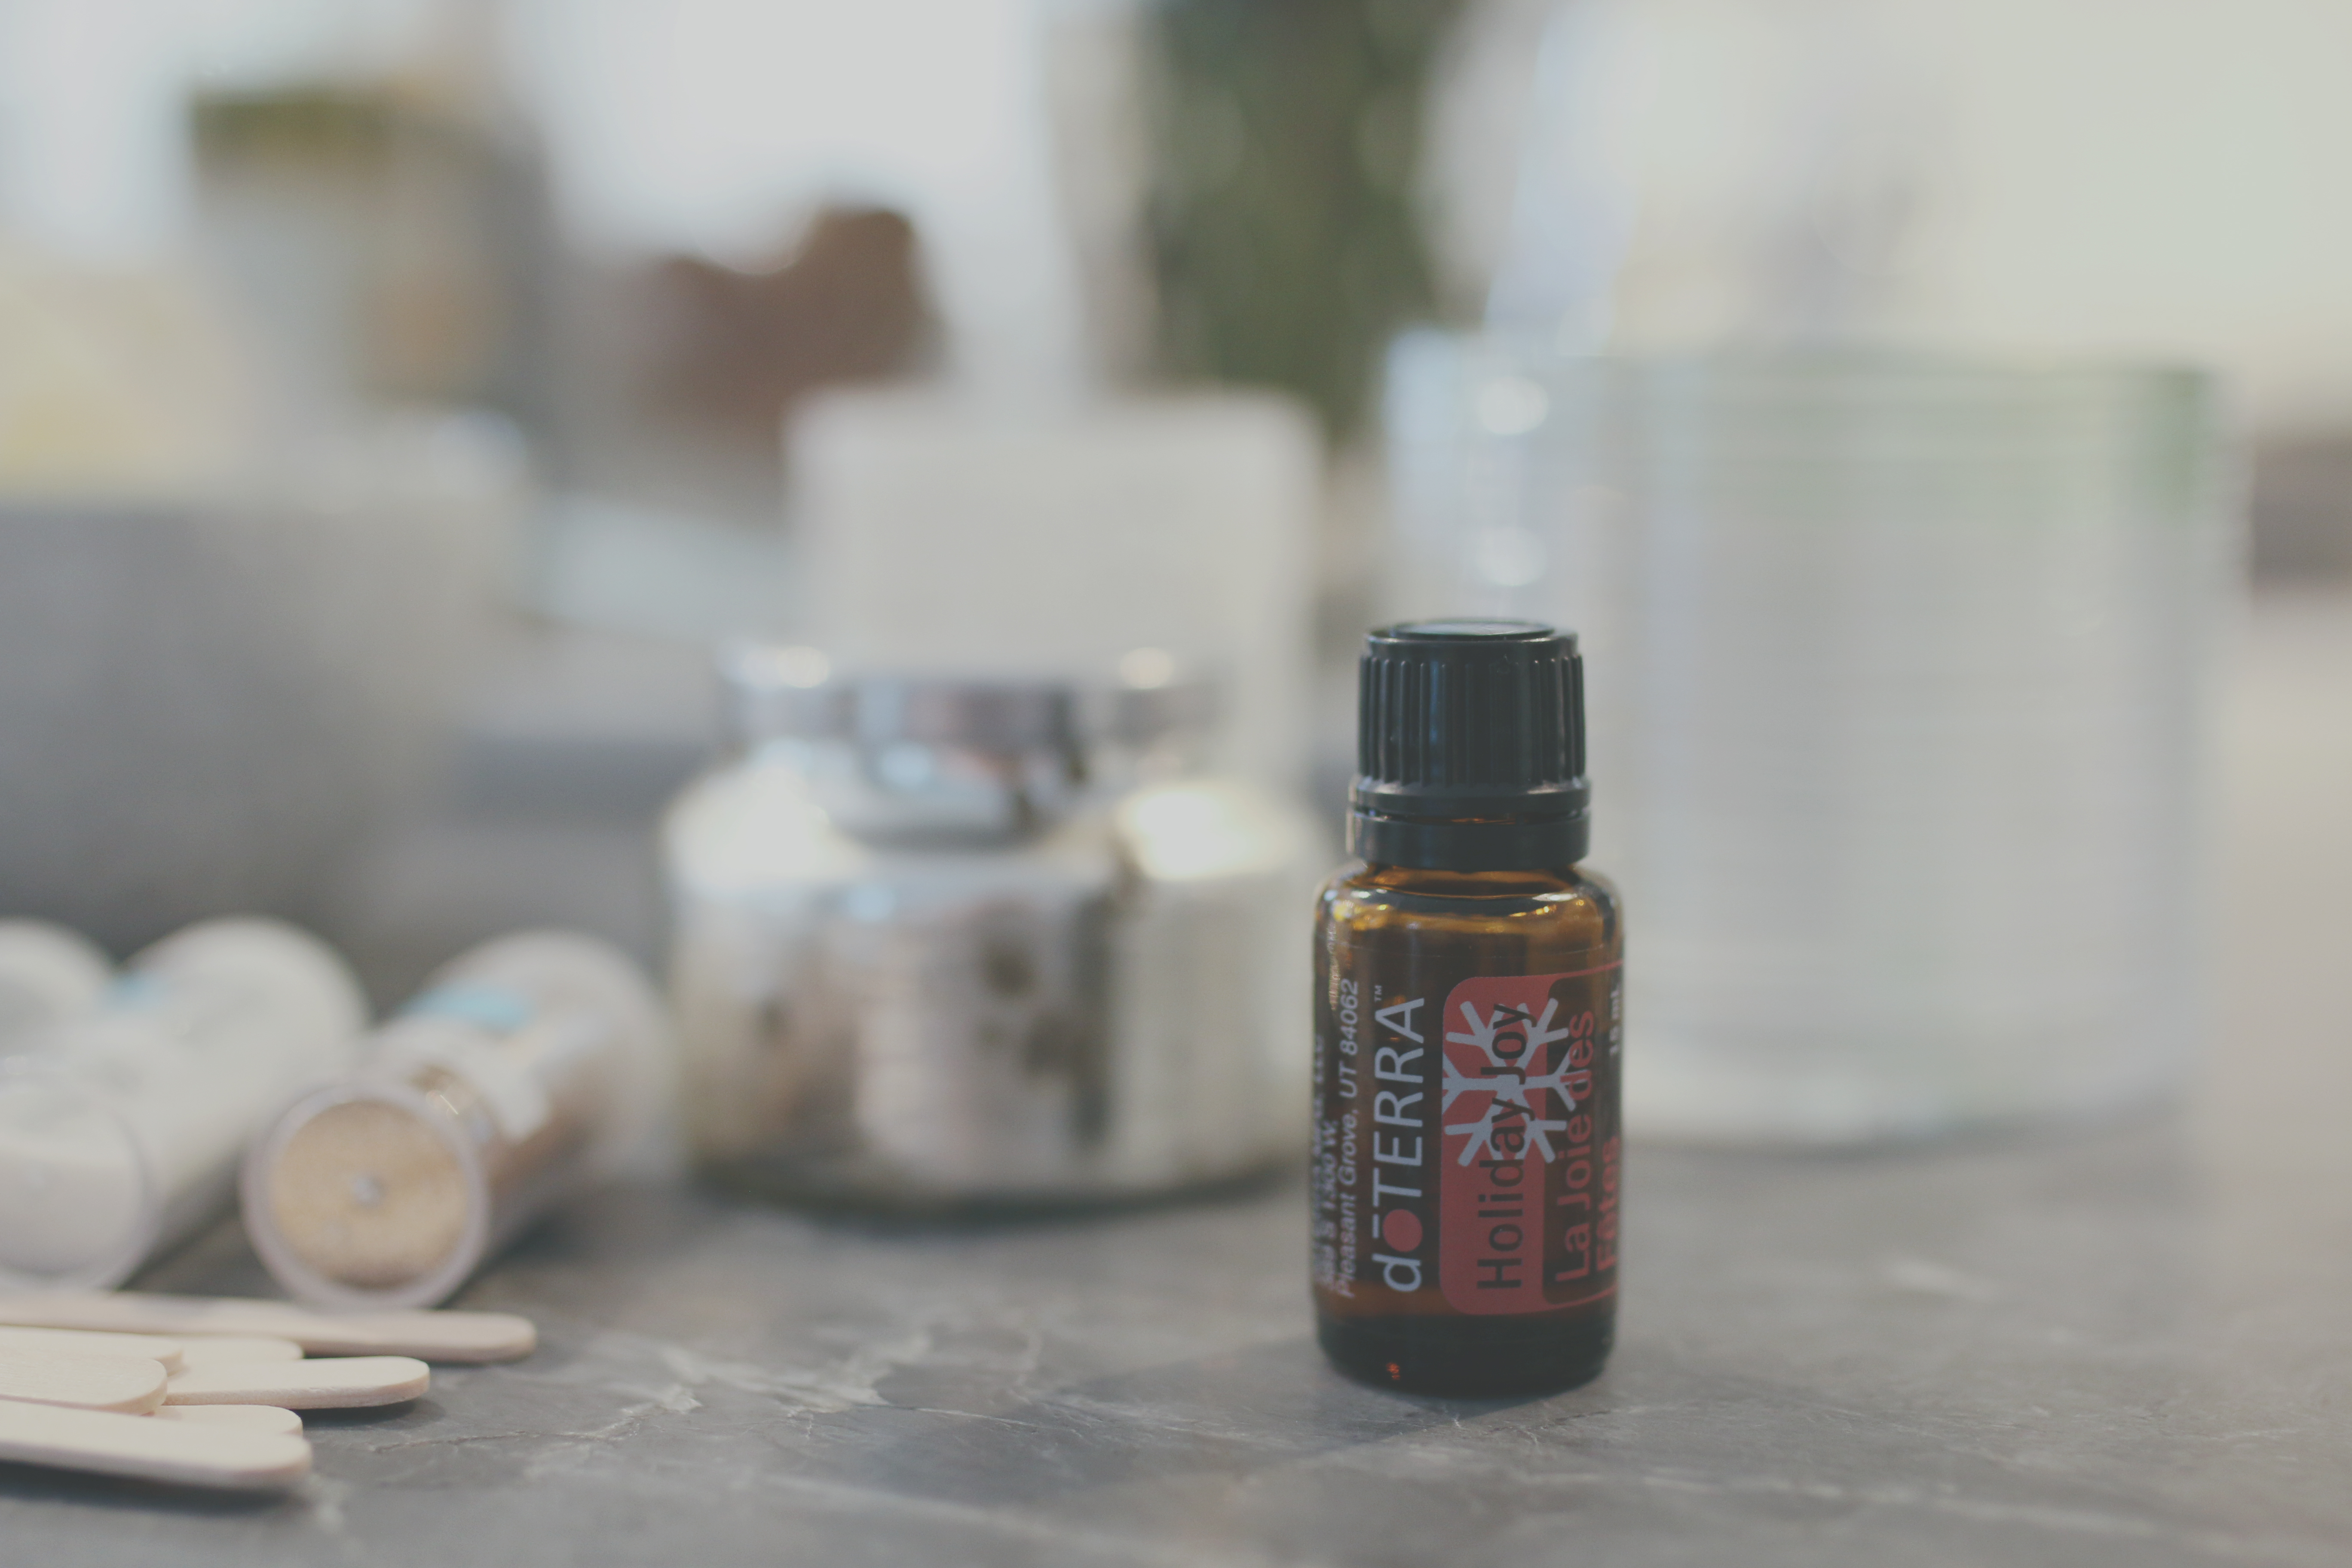
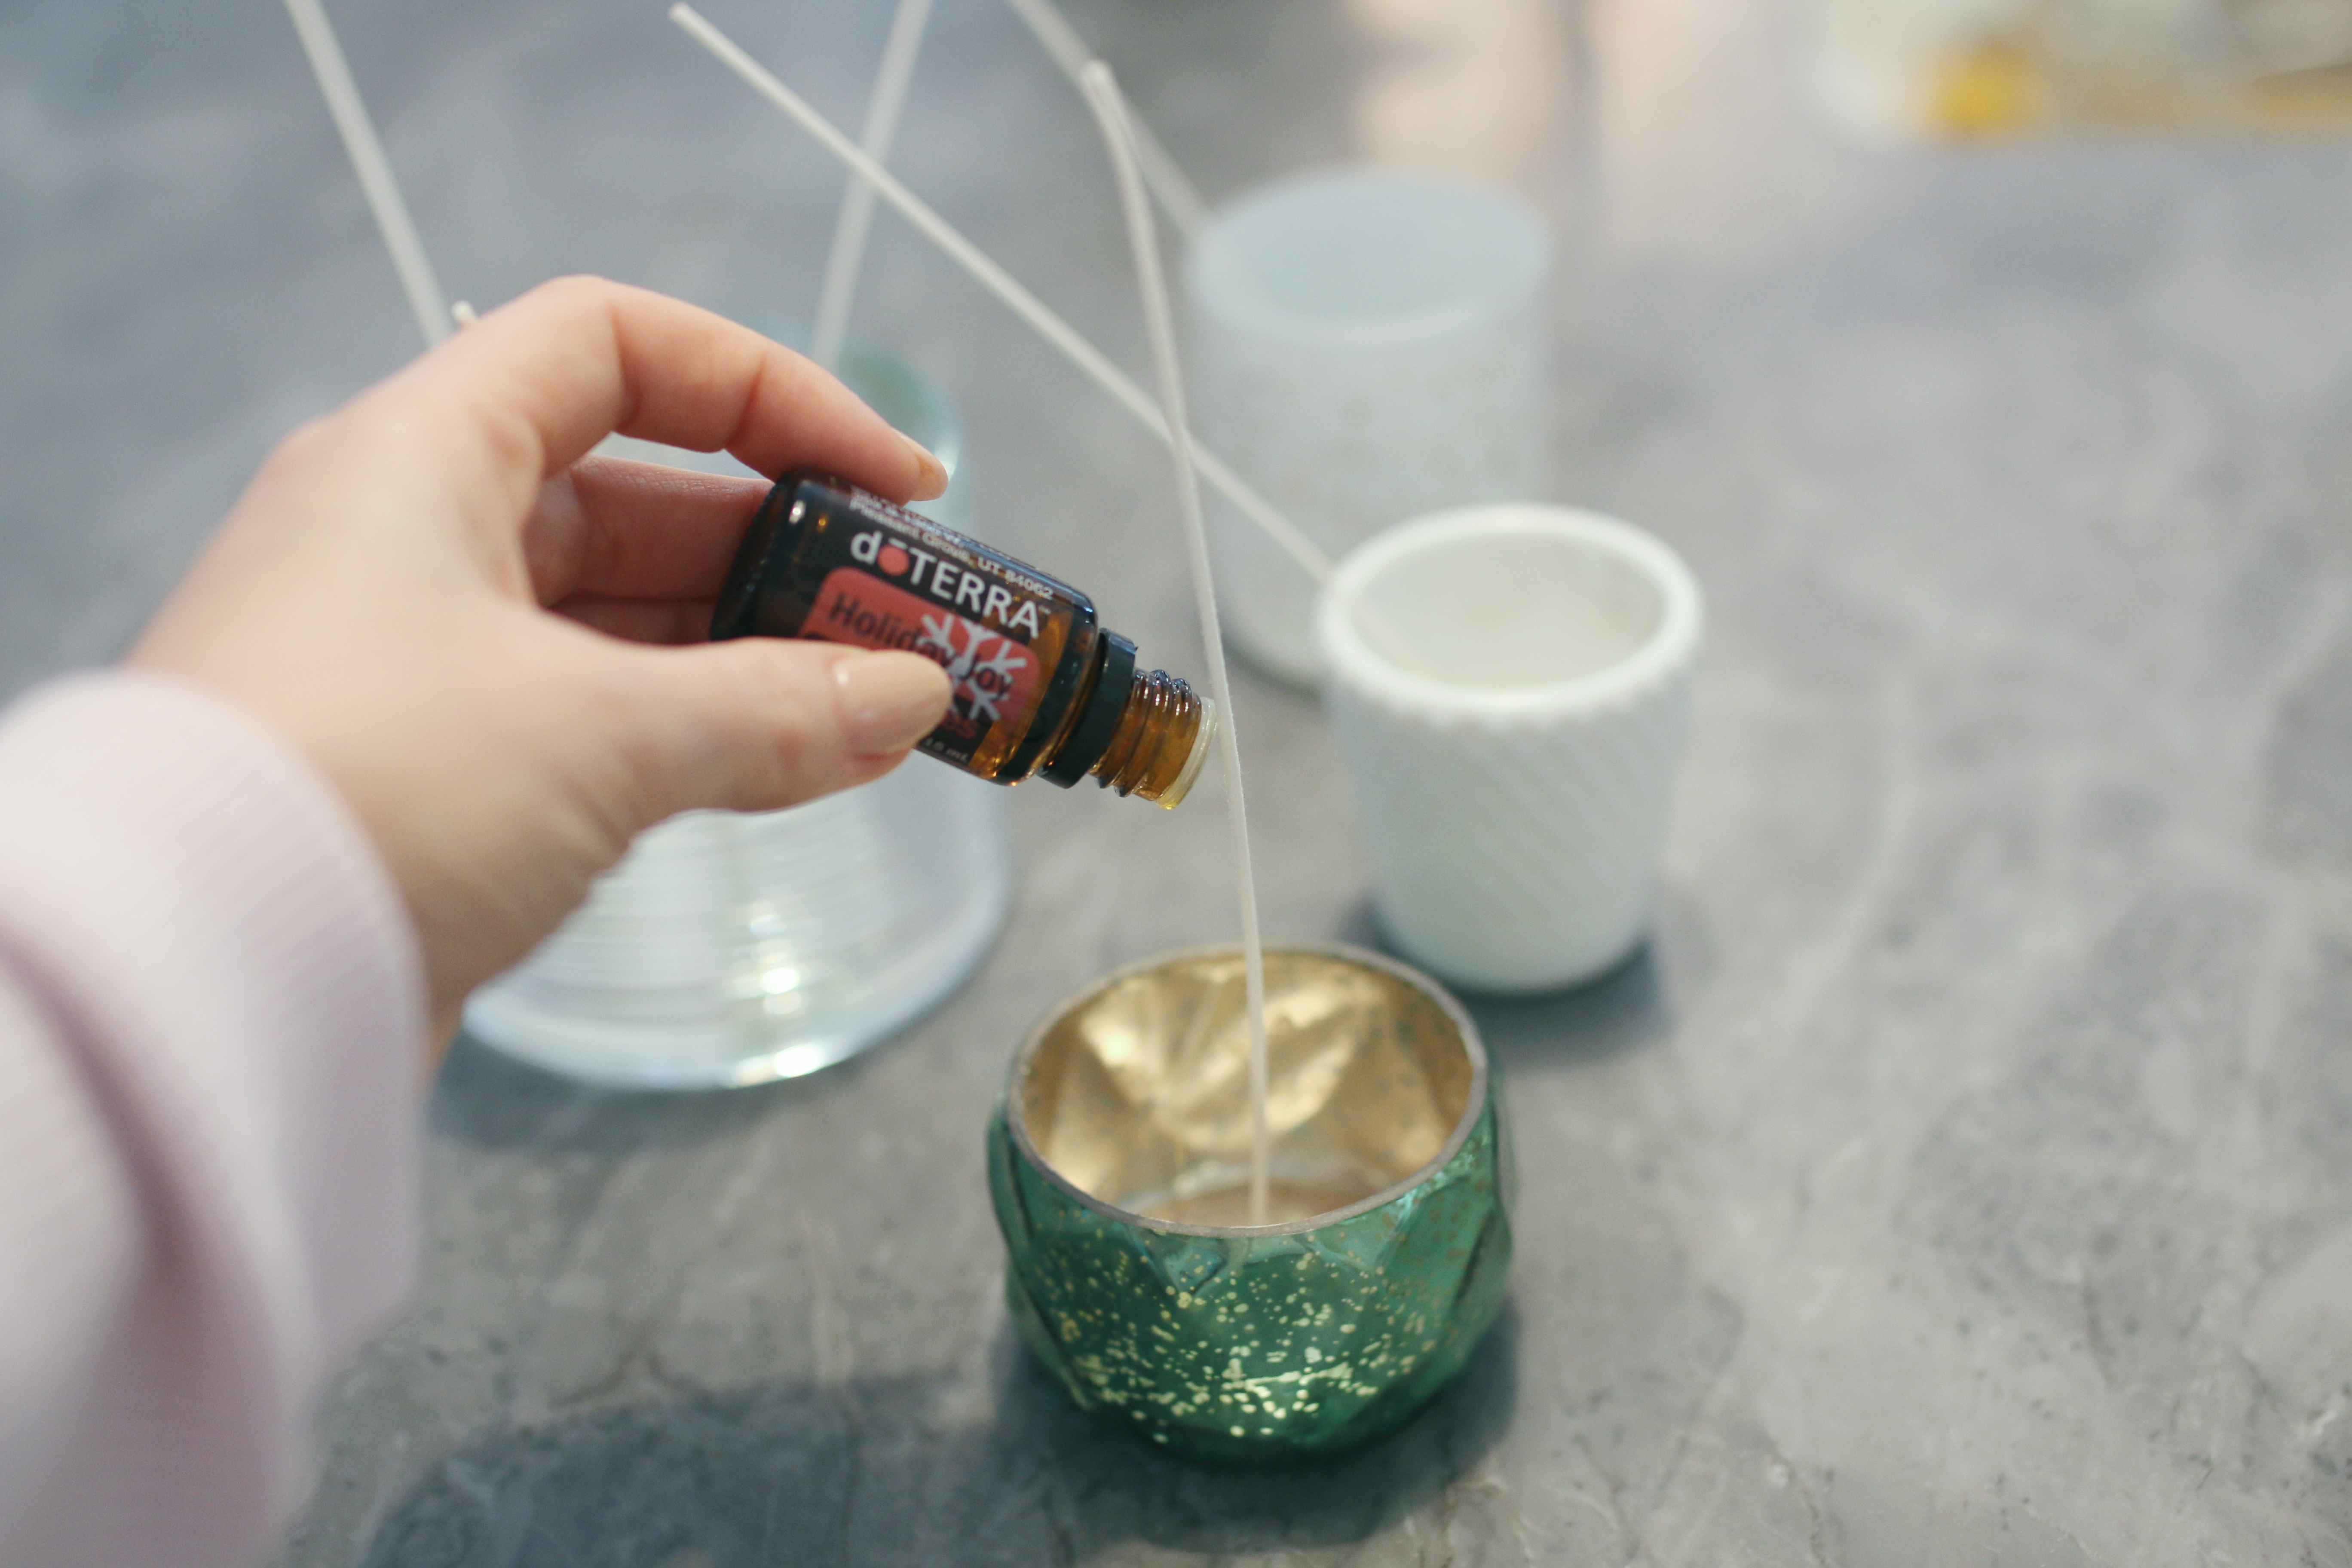
- My go-to for doTerra oils is my friend Sarah from Peaceful Leaf Essential Oils – and for these candles I used the “Holiday Joy” blend
- Wicks
- I just bought a mega pack from Amazon because I know I’ll use them. These are the long length ones which give you flexibility on candle sizes. You just trim them down when you’re done
- Glue gun and glue sticks
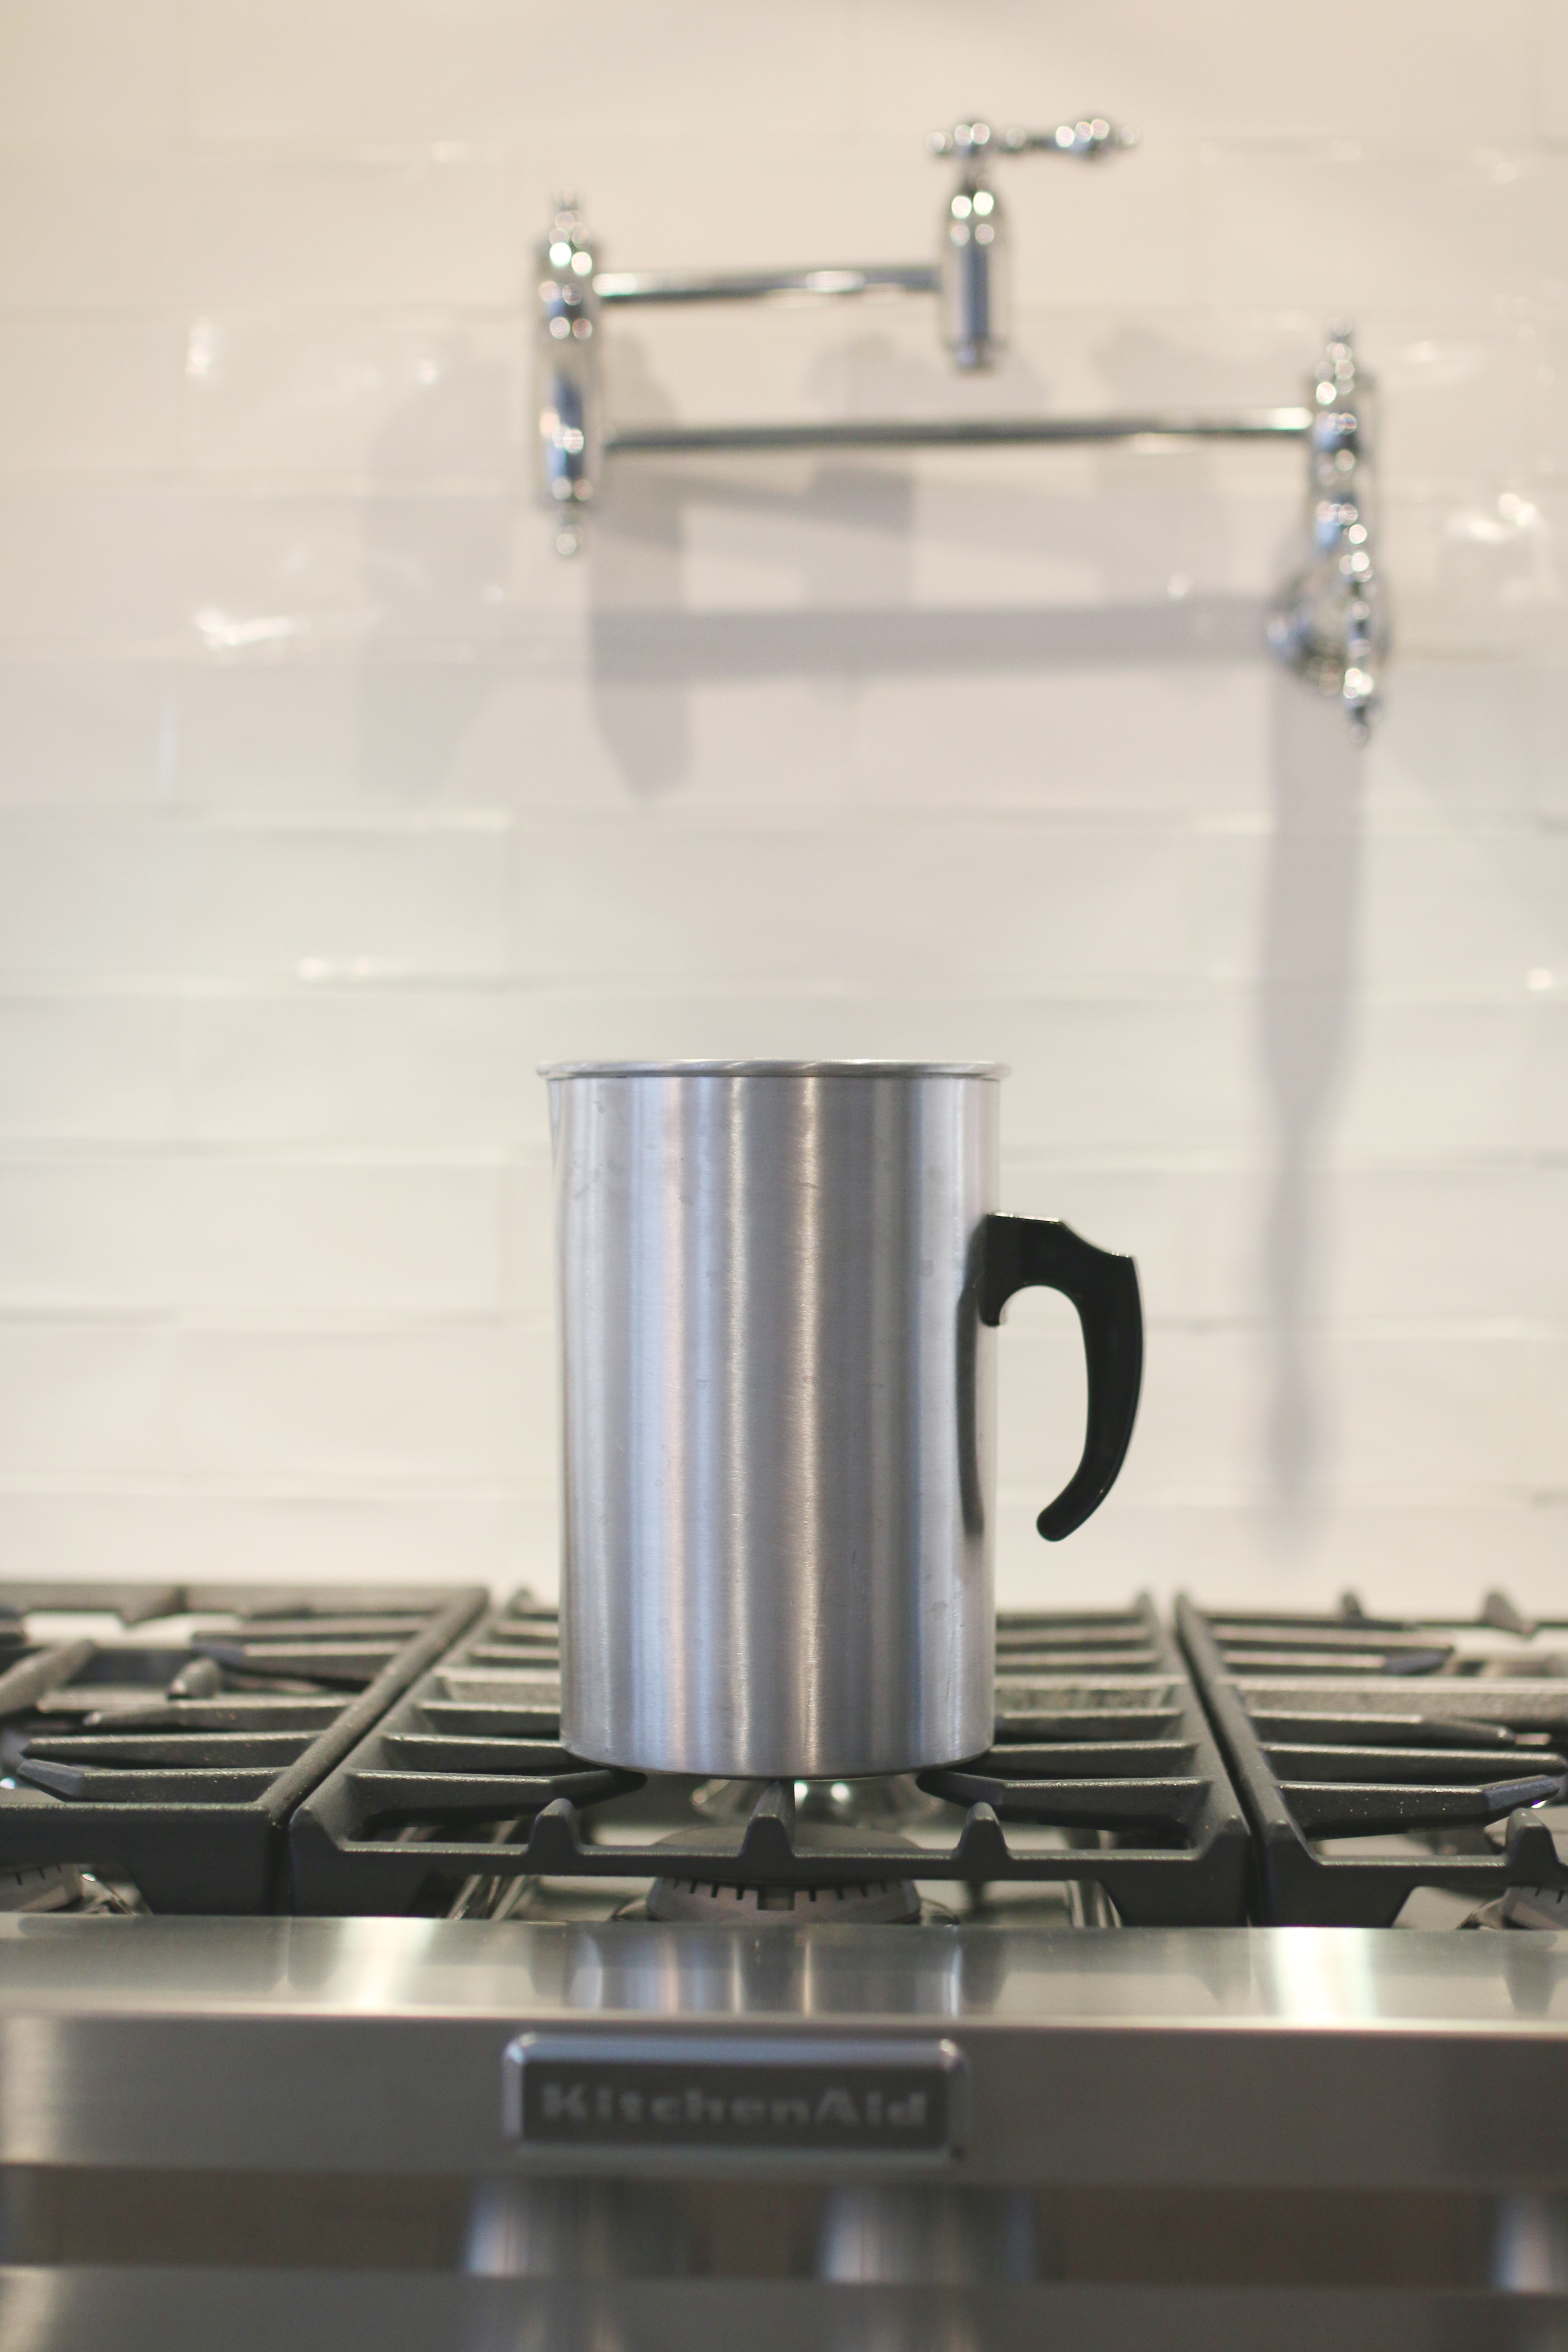
- Wax melting pot or an old pot devoted only to candle-making
- Popsicle sticks
- Wooden spoon
- Tape
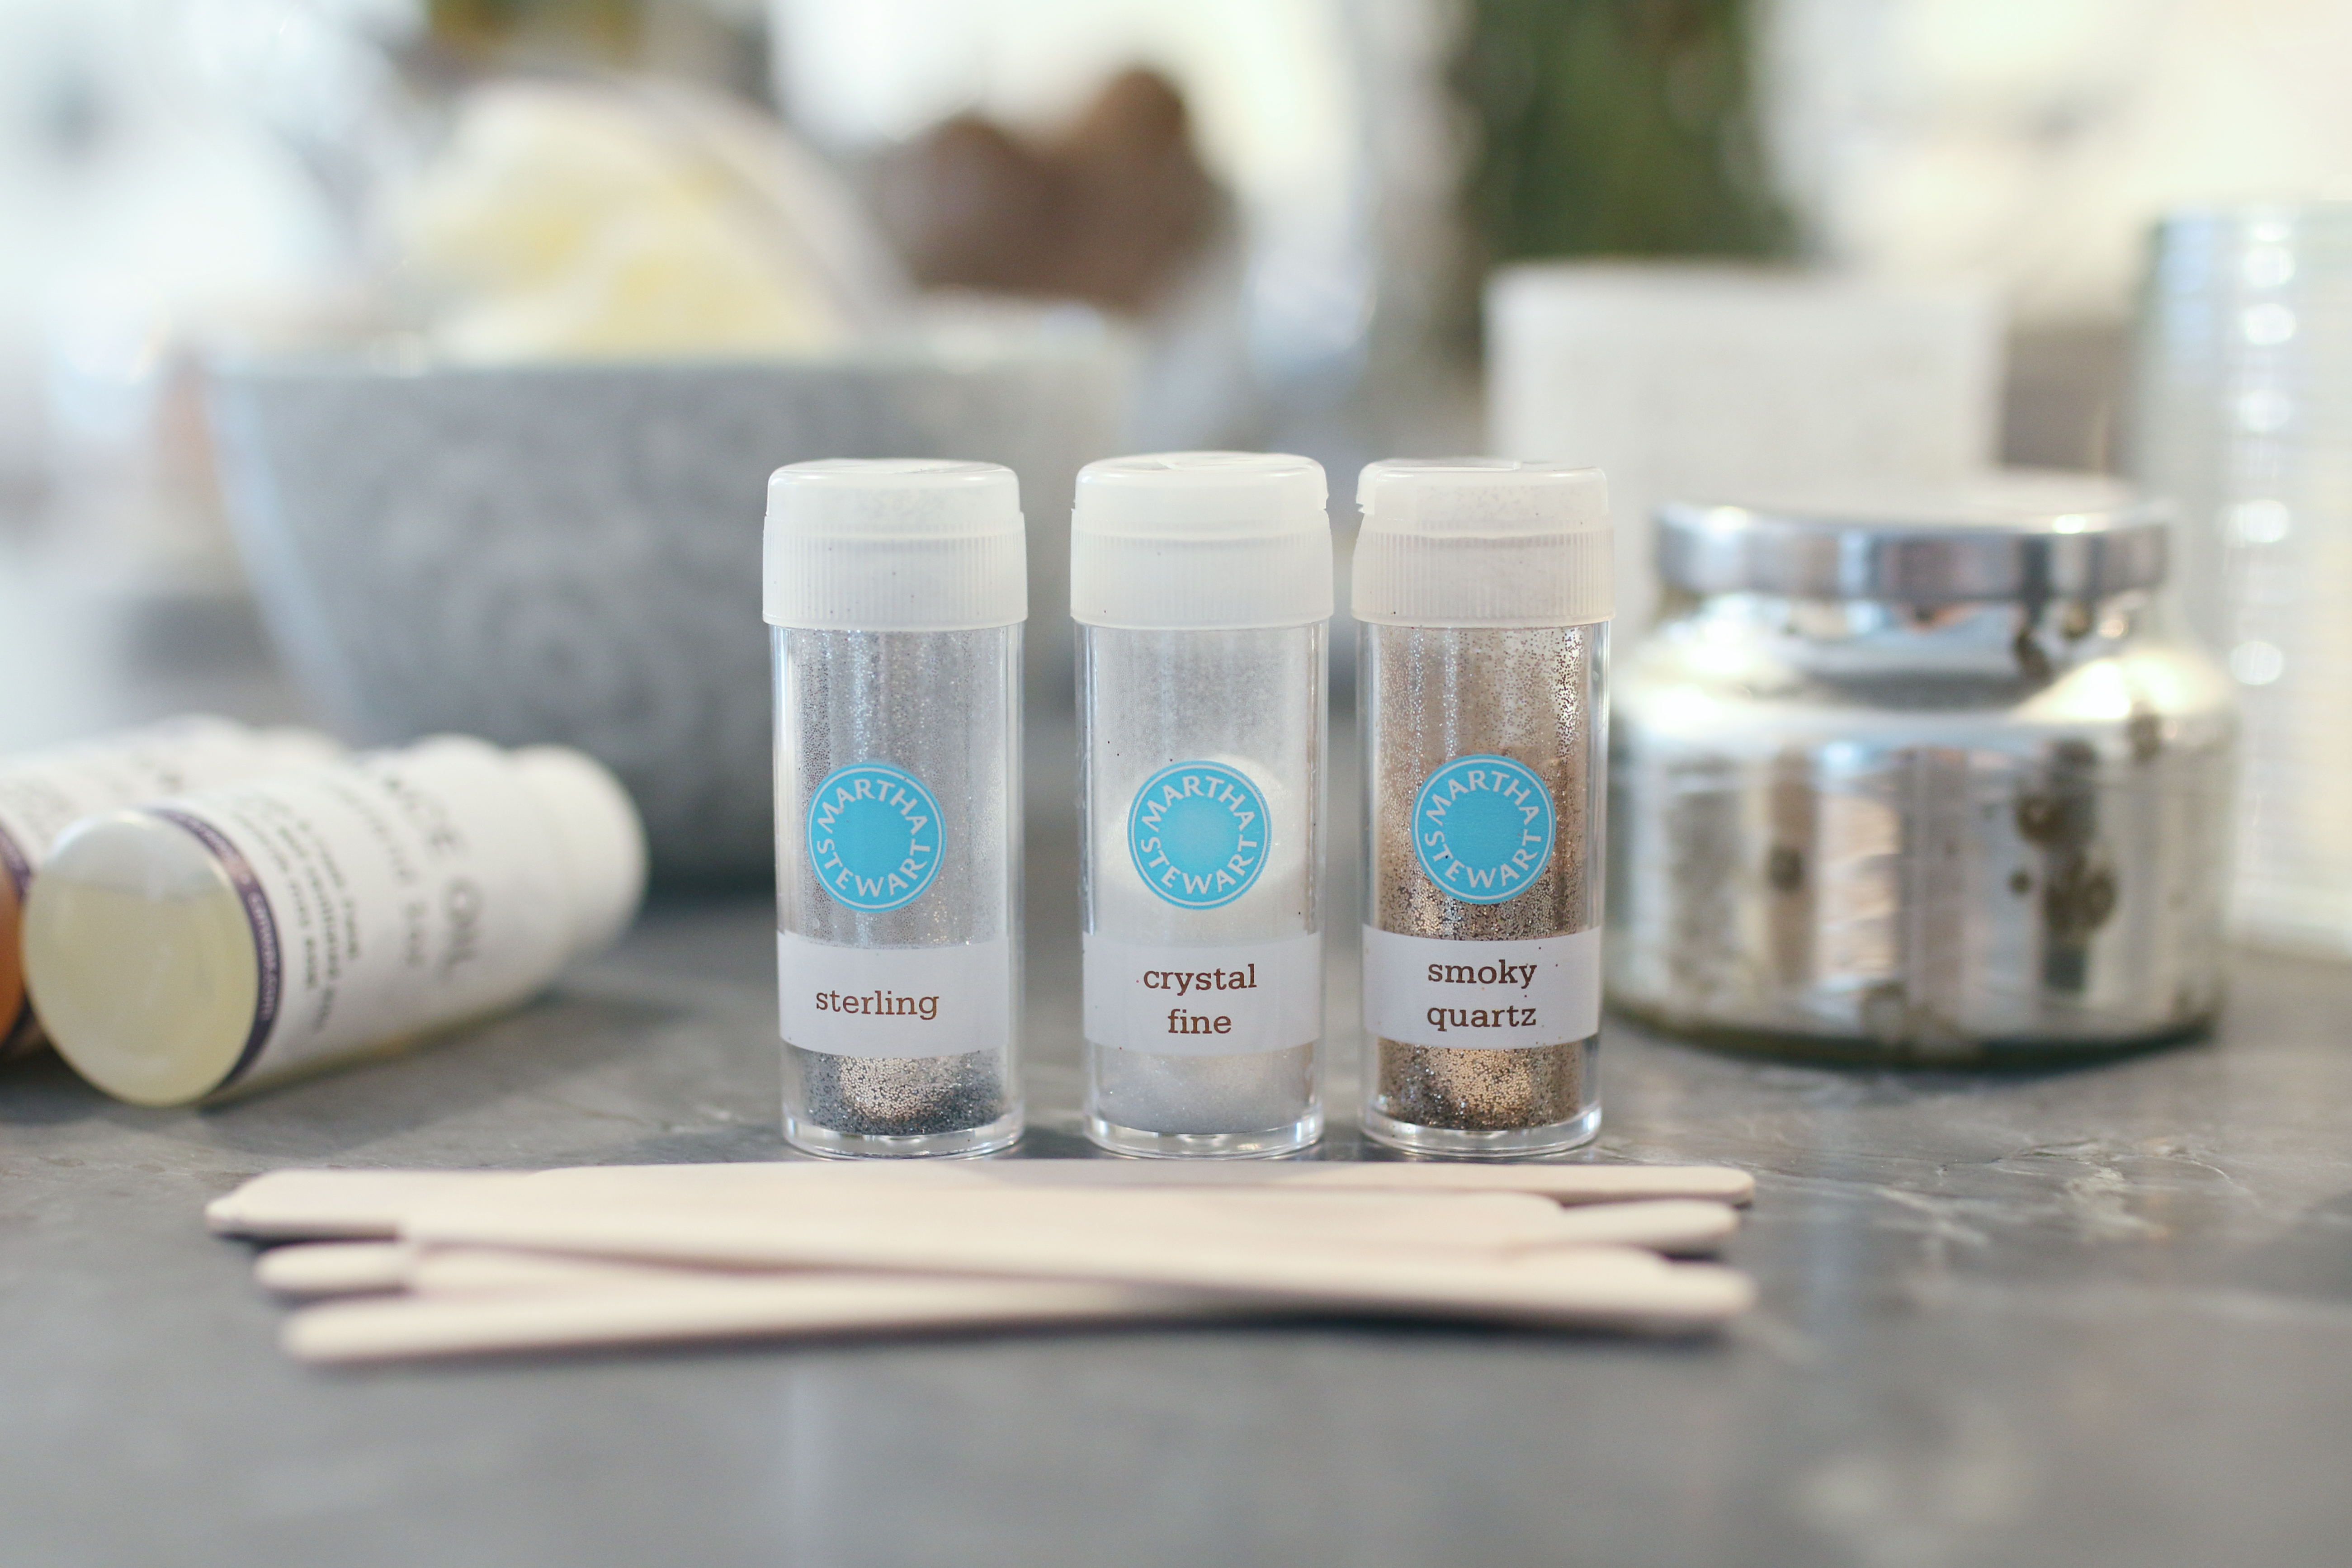
- Glitter (optional)
How To
- Put a bunch of your wax flakes or pellets into your wax melting pot. Just eyeball it but keep in mind that they melt down to a fraction of the volume you expect! The reason you need a devoted pot for this is that once you melt the wax into a vessel, no matter how much you wash it, there will always be a residue. I bought mine at Michaels.
- Plug in your glue gun to warm up while you move onto the next step.
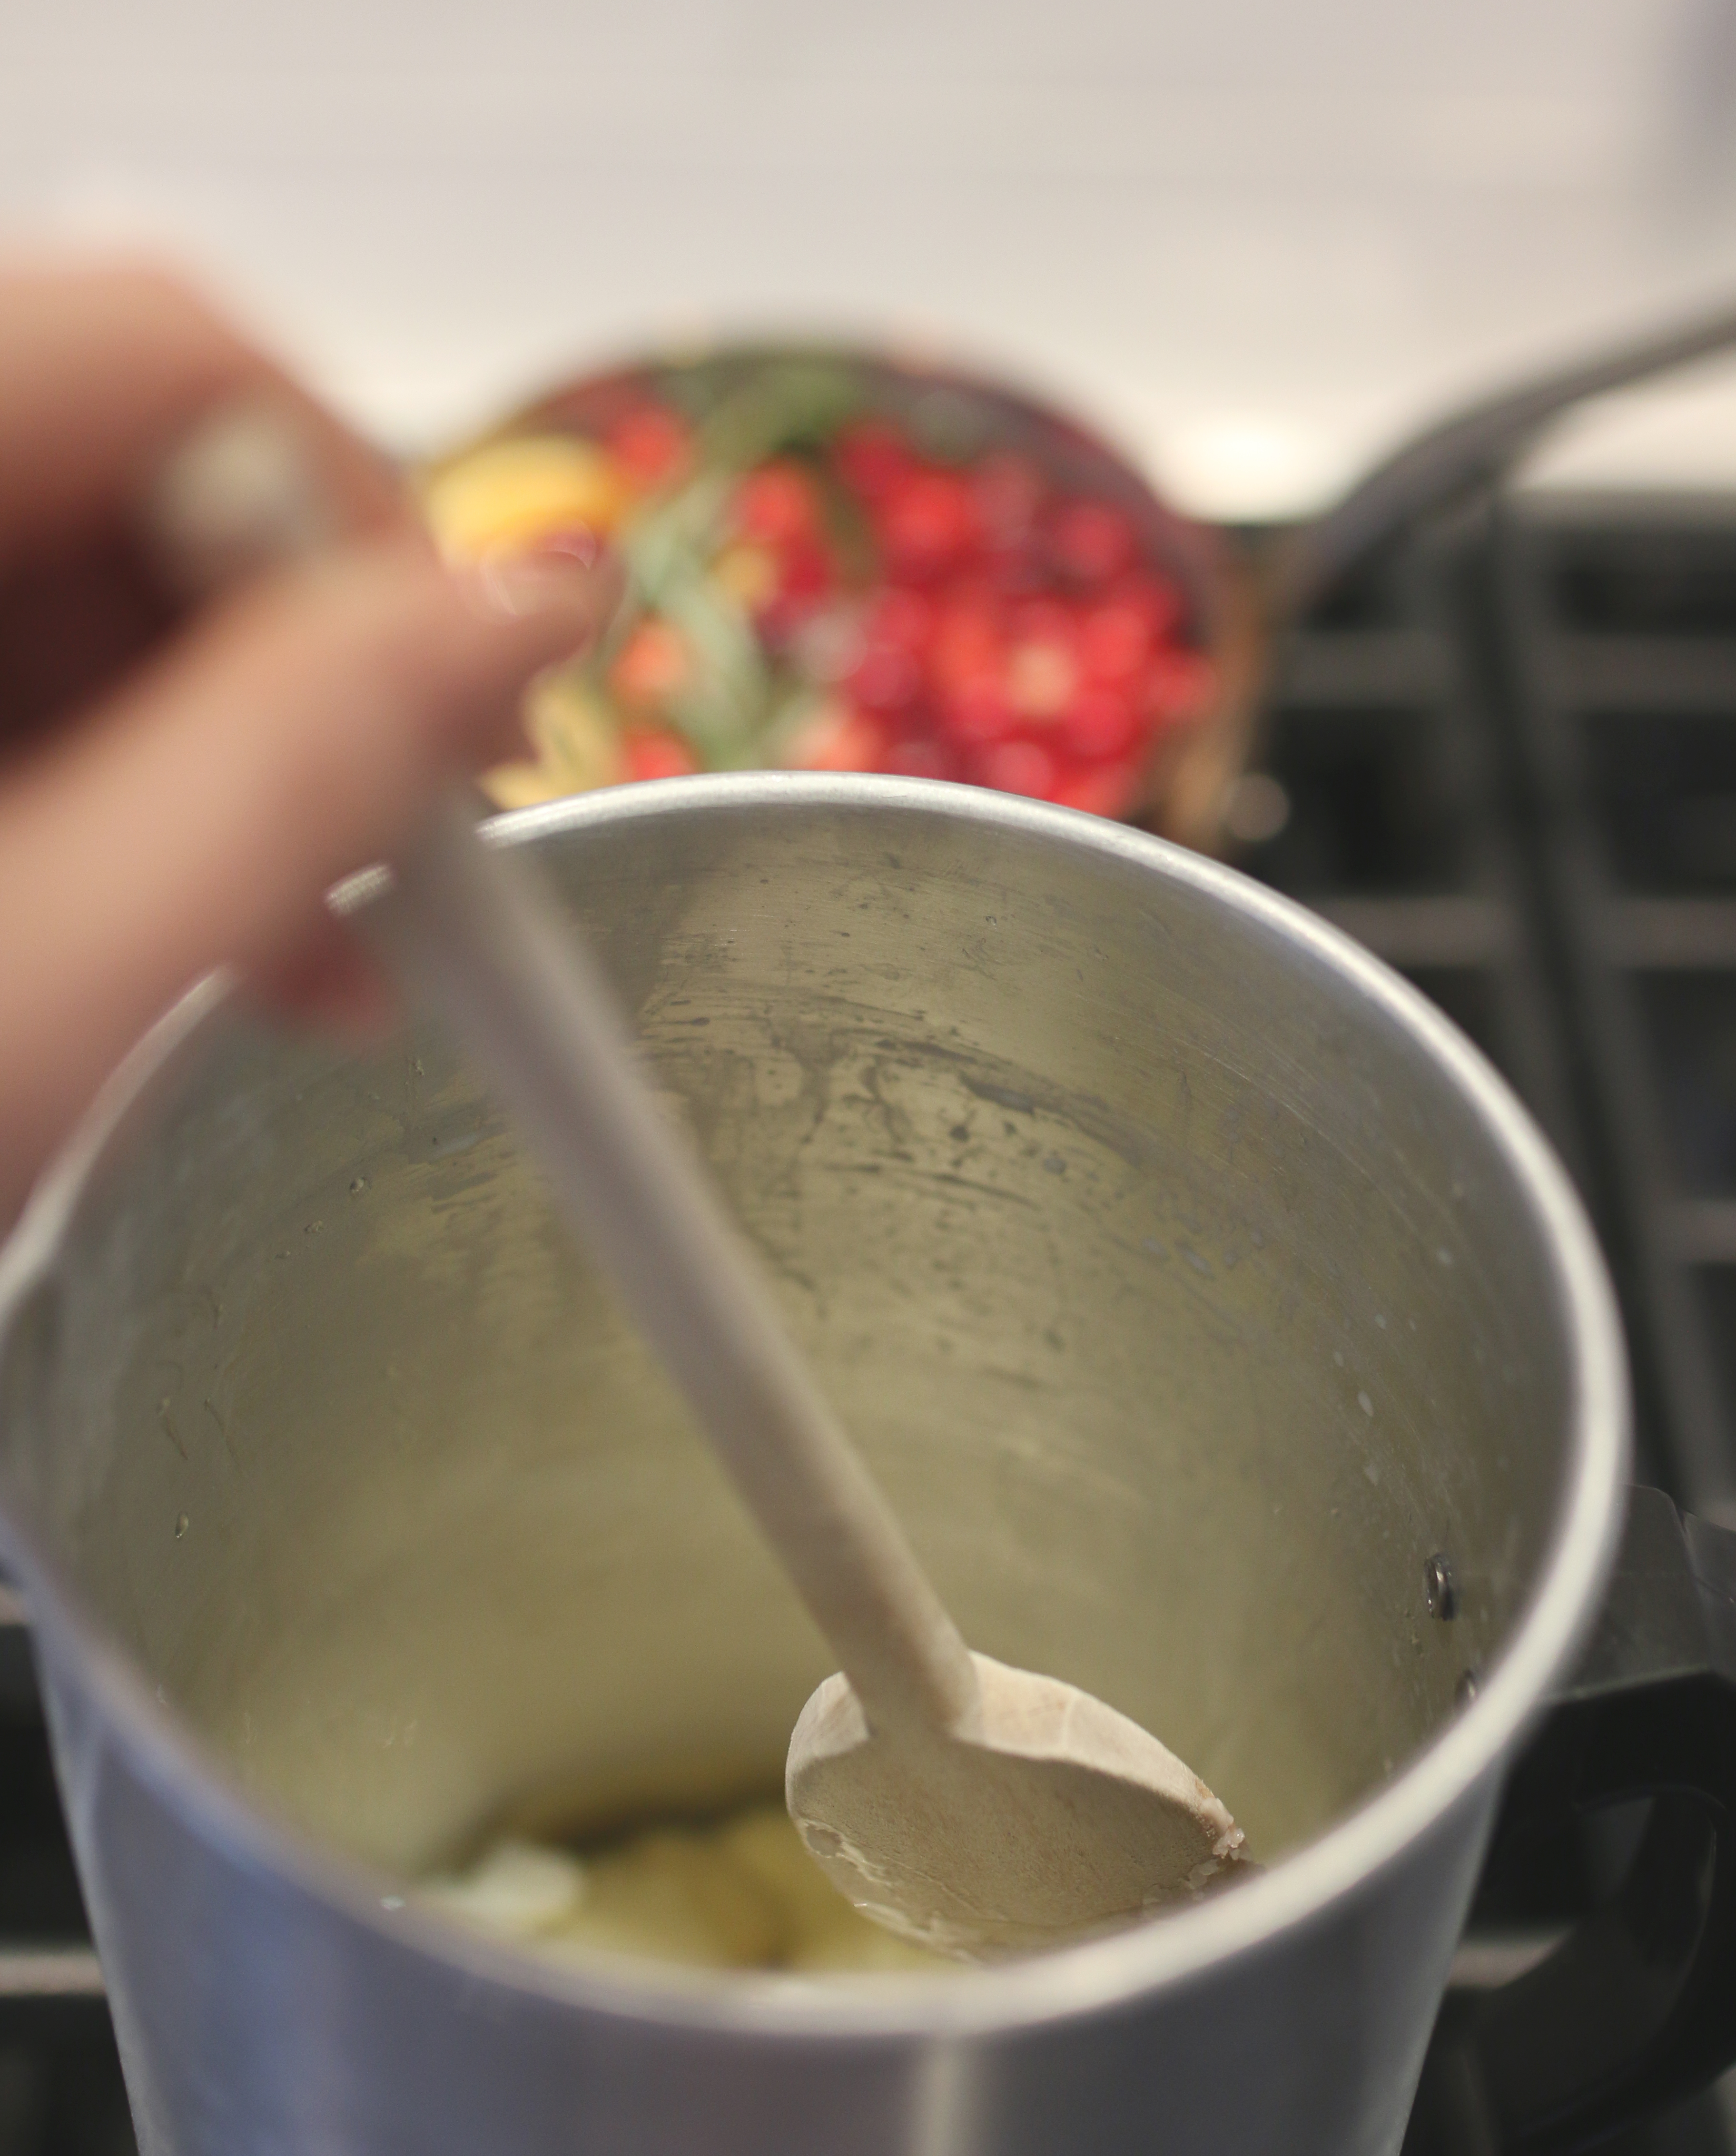
- Put the warmer on your stovetop and start melting it on low. Keep stirring with your wooden spoon and keep an eye on it. You don’t want it to boil or burn.
- If you are making just one candle or you’re making several with the same scent, you can add your scent into the mix. If not, don’t add scent into the warmer.
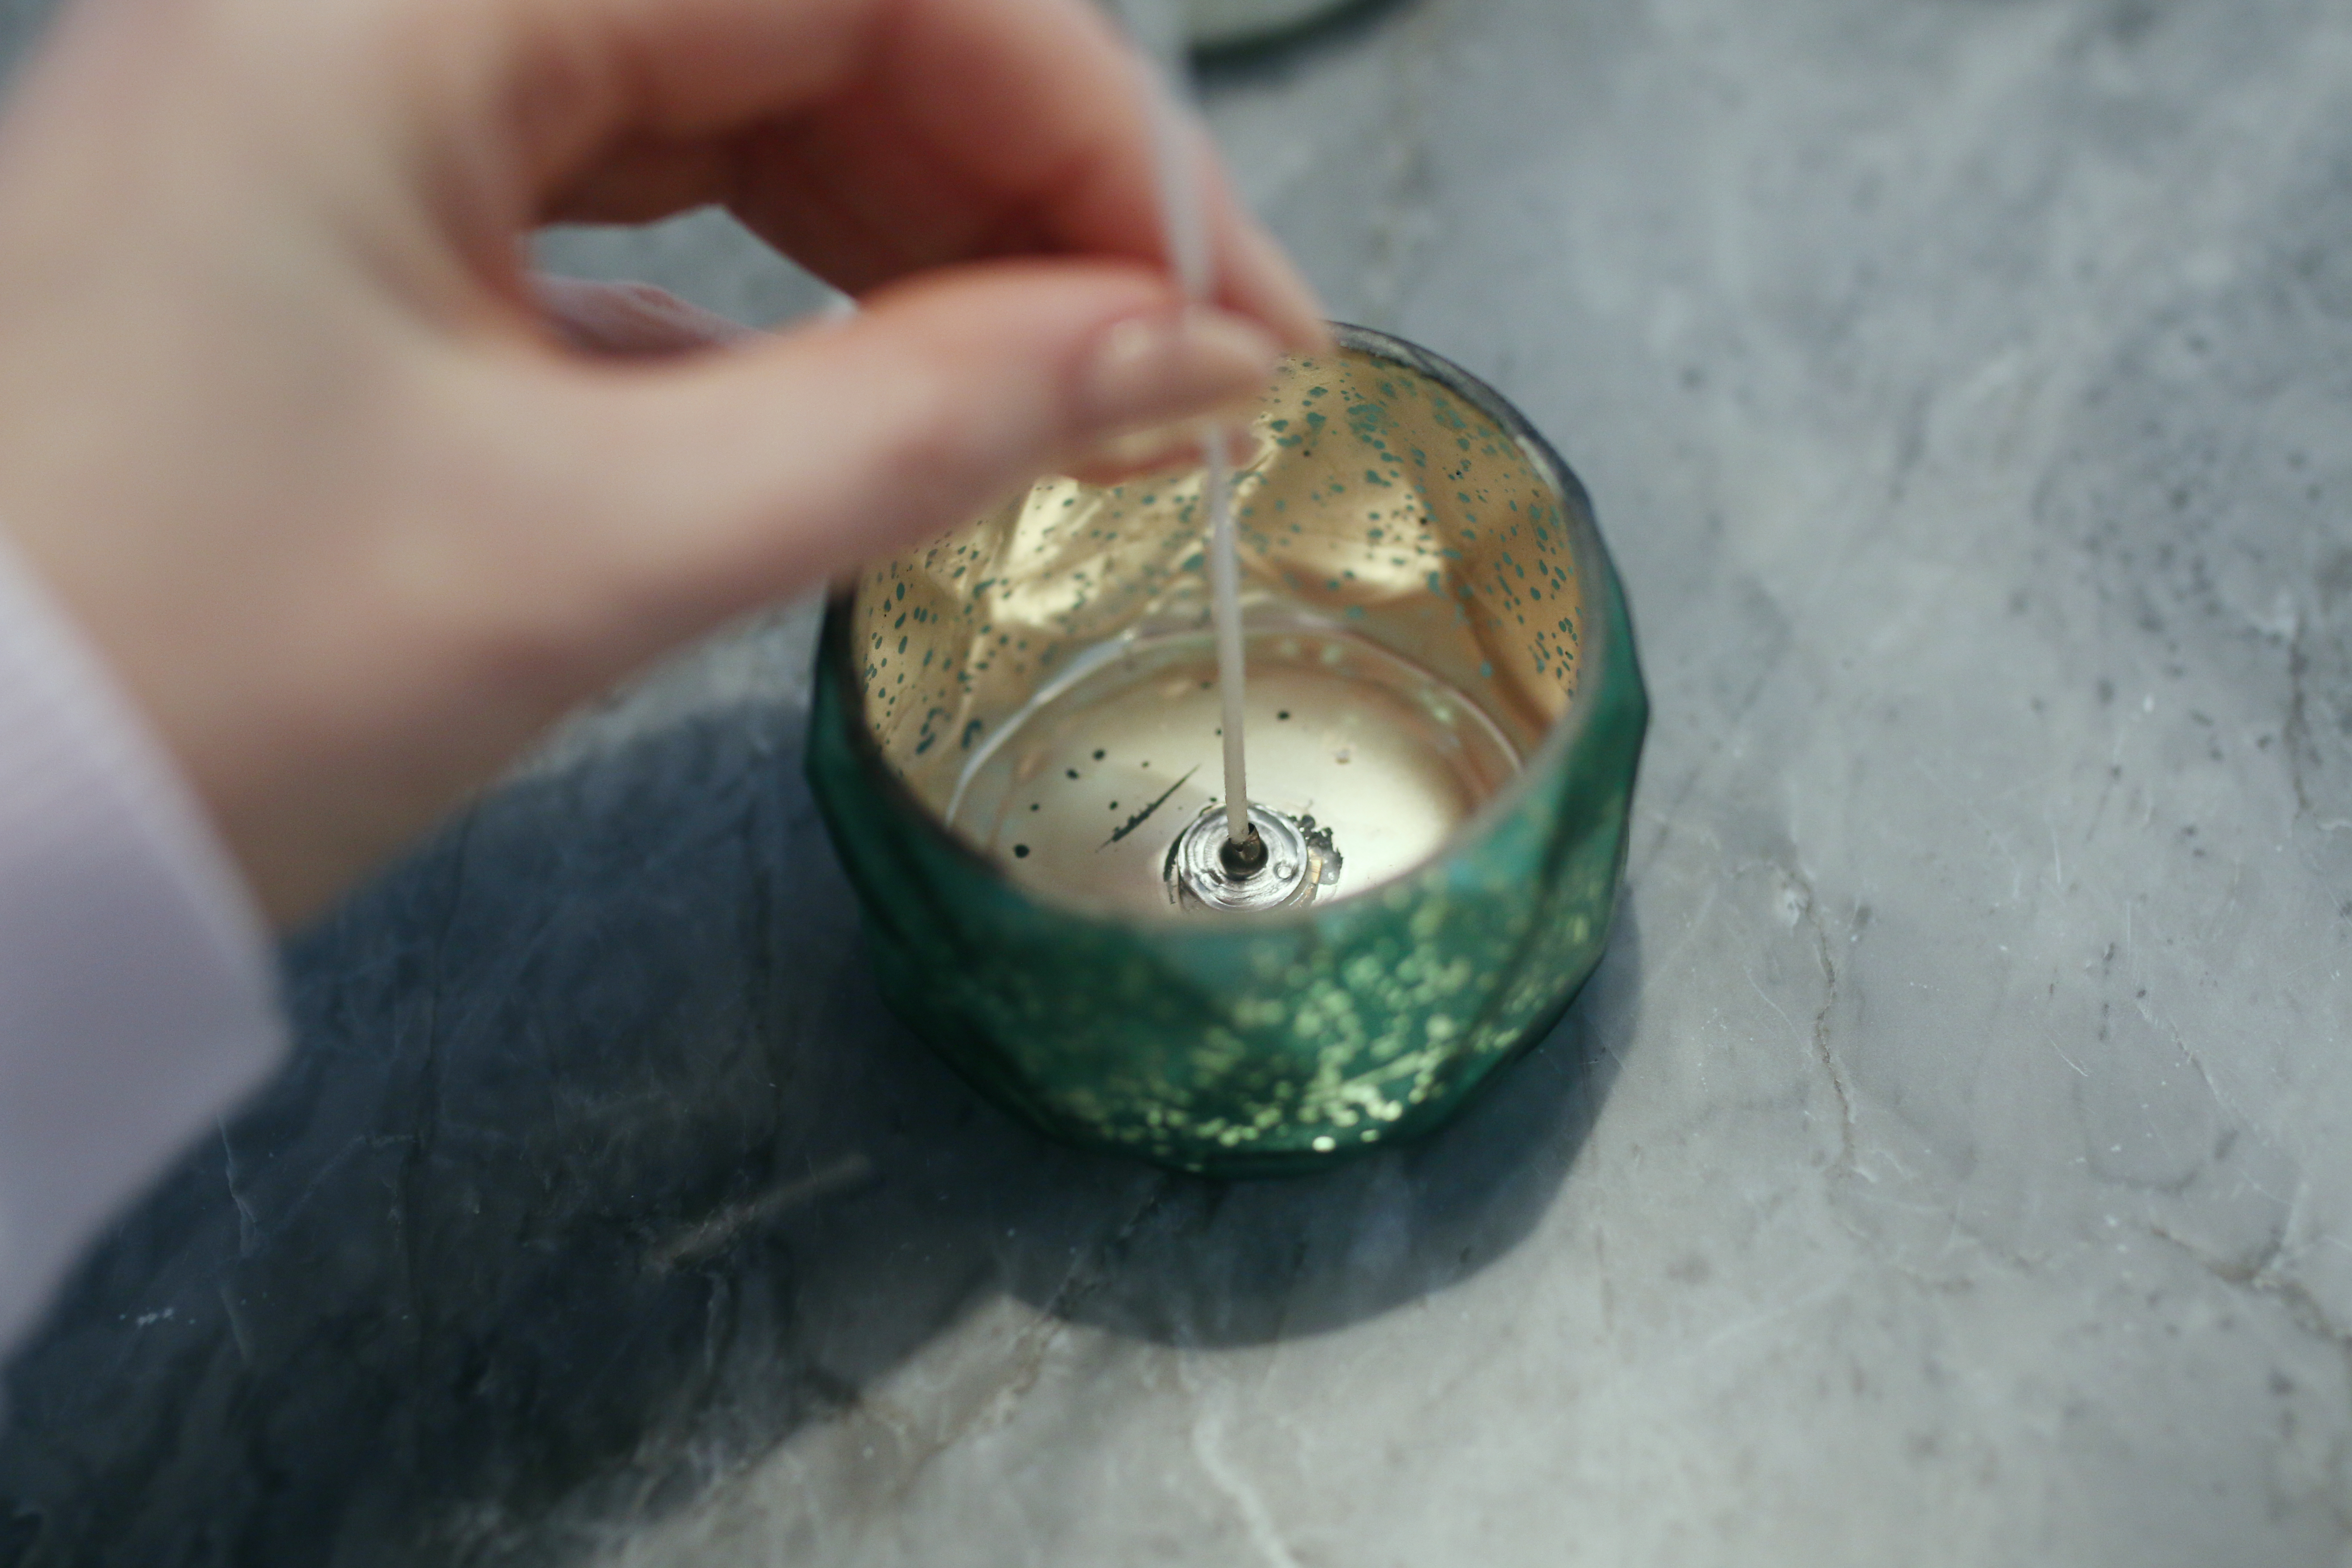
- As the wax is melting, start glueing wicks into the bottoms of your various vessels and hold them in place until they stick.
- Now it is time to add your scents. If you’re using several different scents, add them directly to the candle vessels and NOT into the wax warmer. Add a few drops of scents and feel free to mix. I learned from a friend who is sort of an expert in this field that if you’re combining candle scents and essential oils you’ll need to really stir well or they won’t blend in as the wax solidifies.
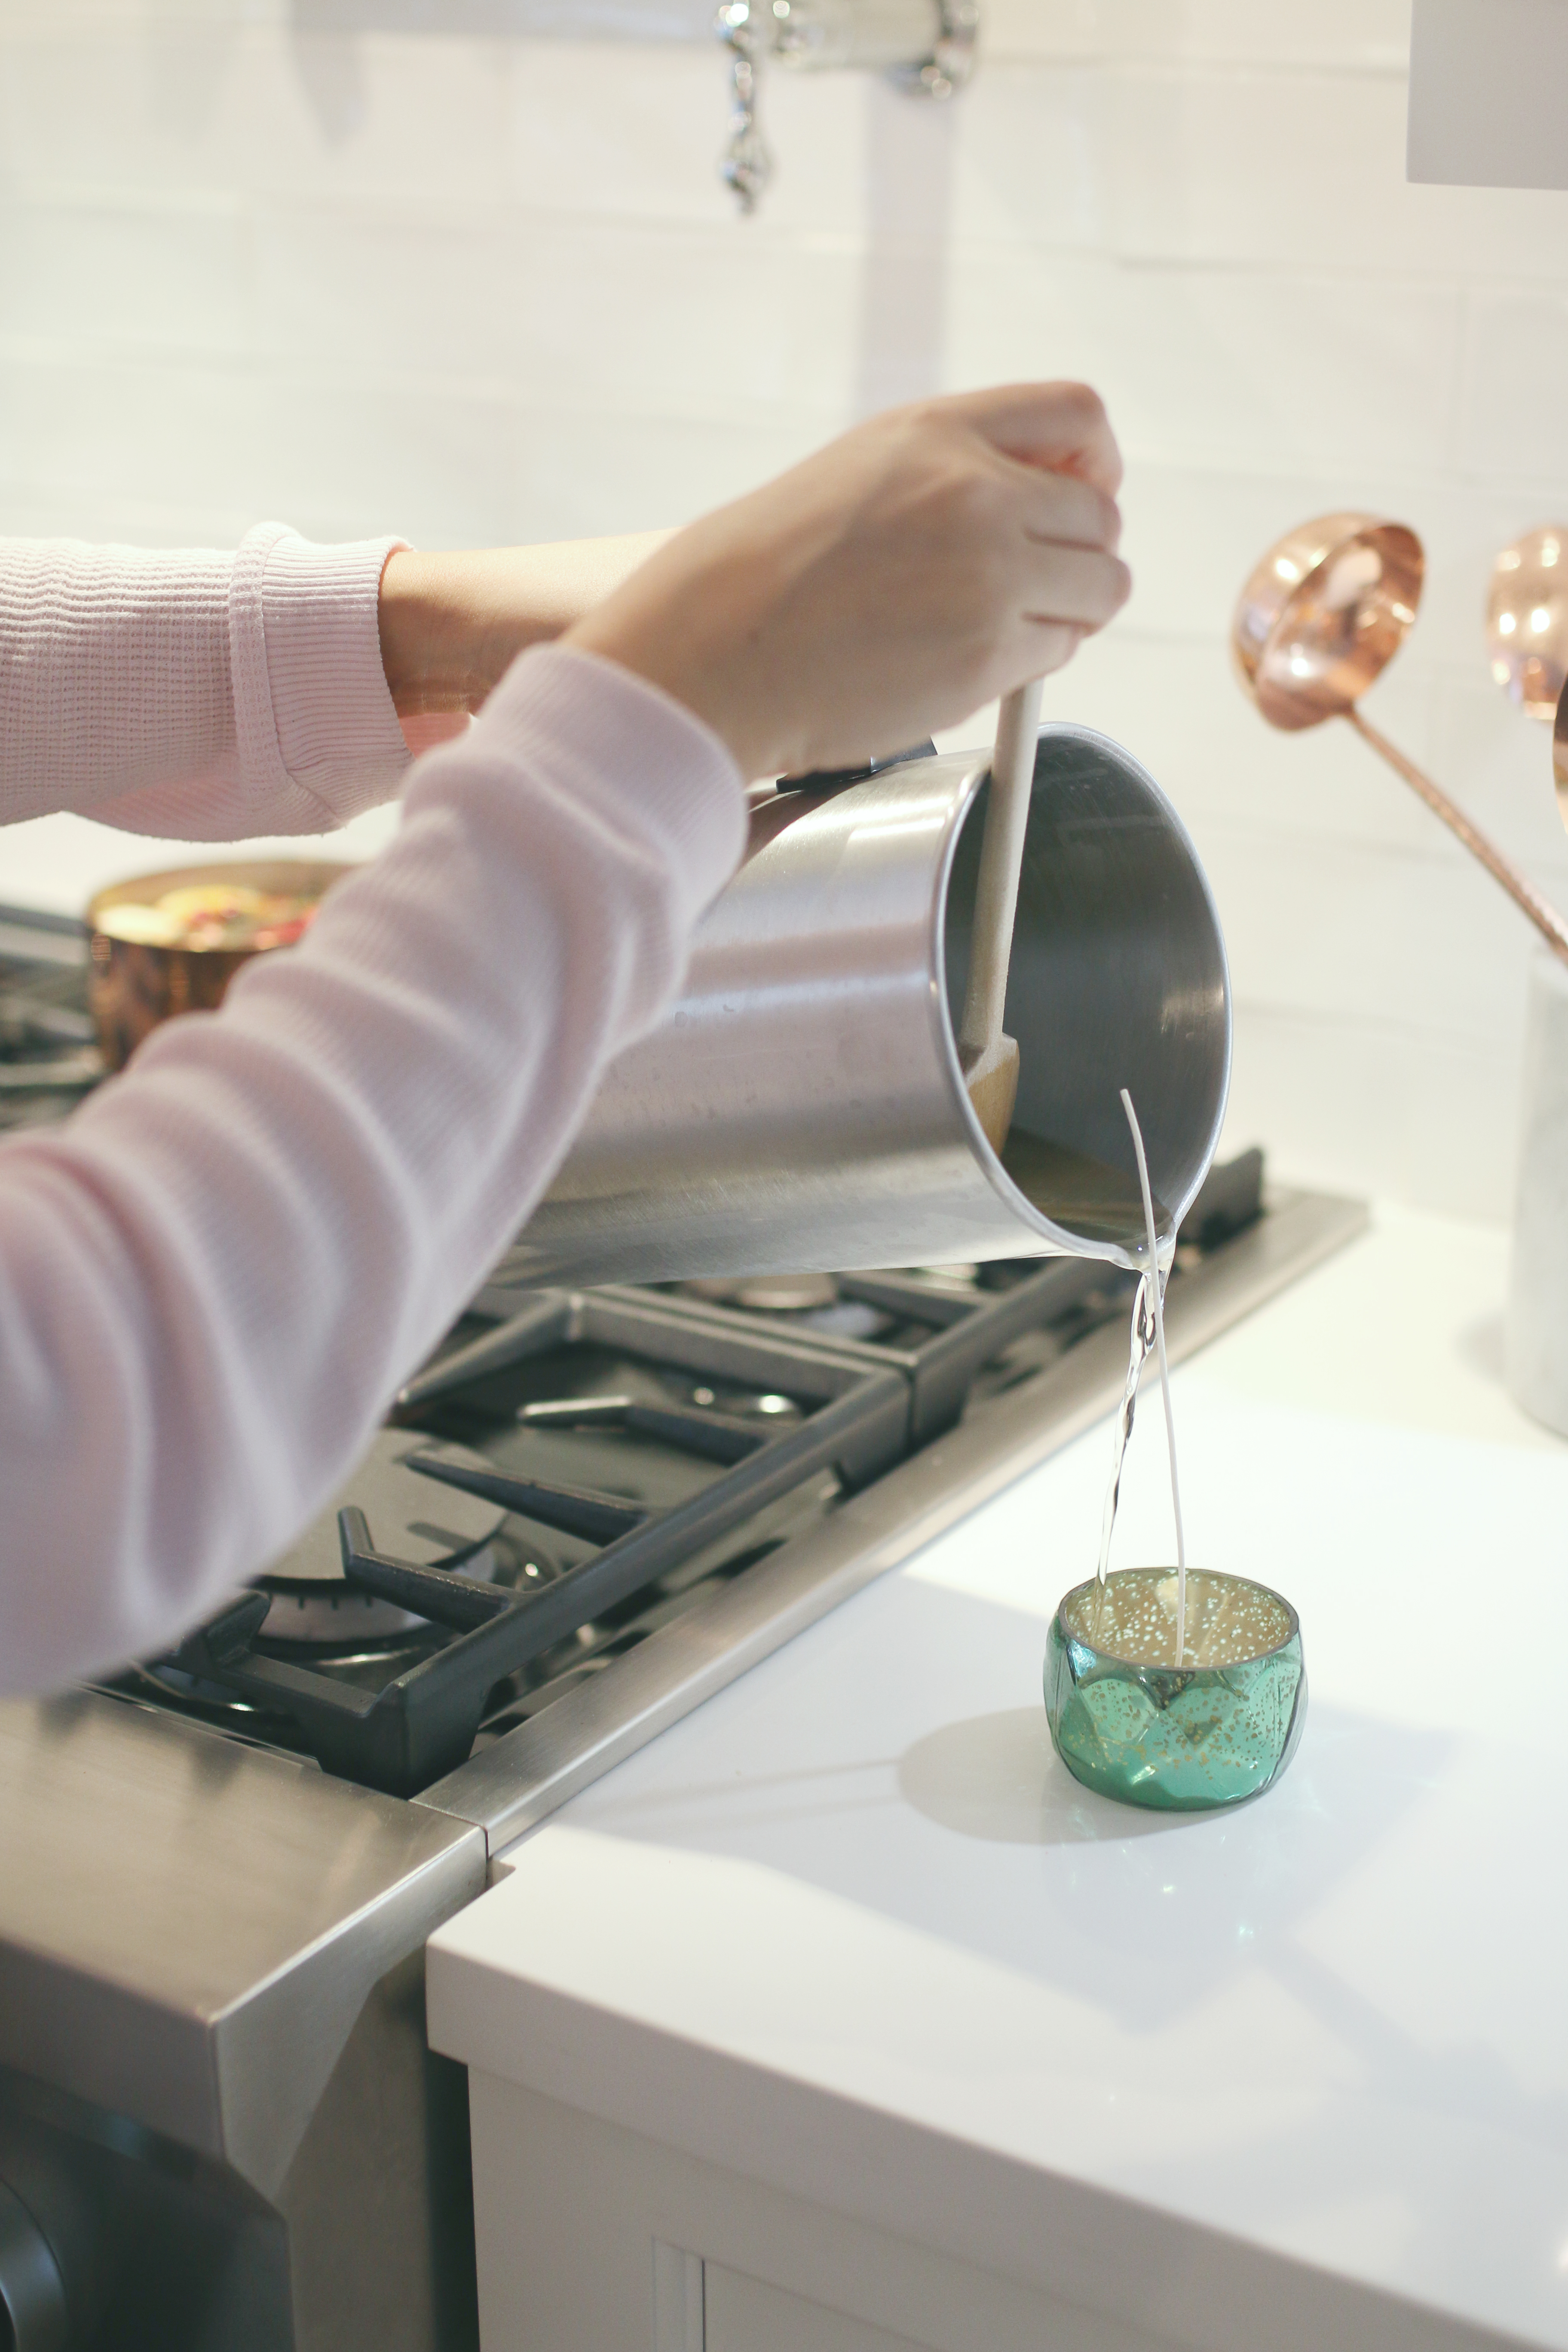
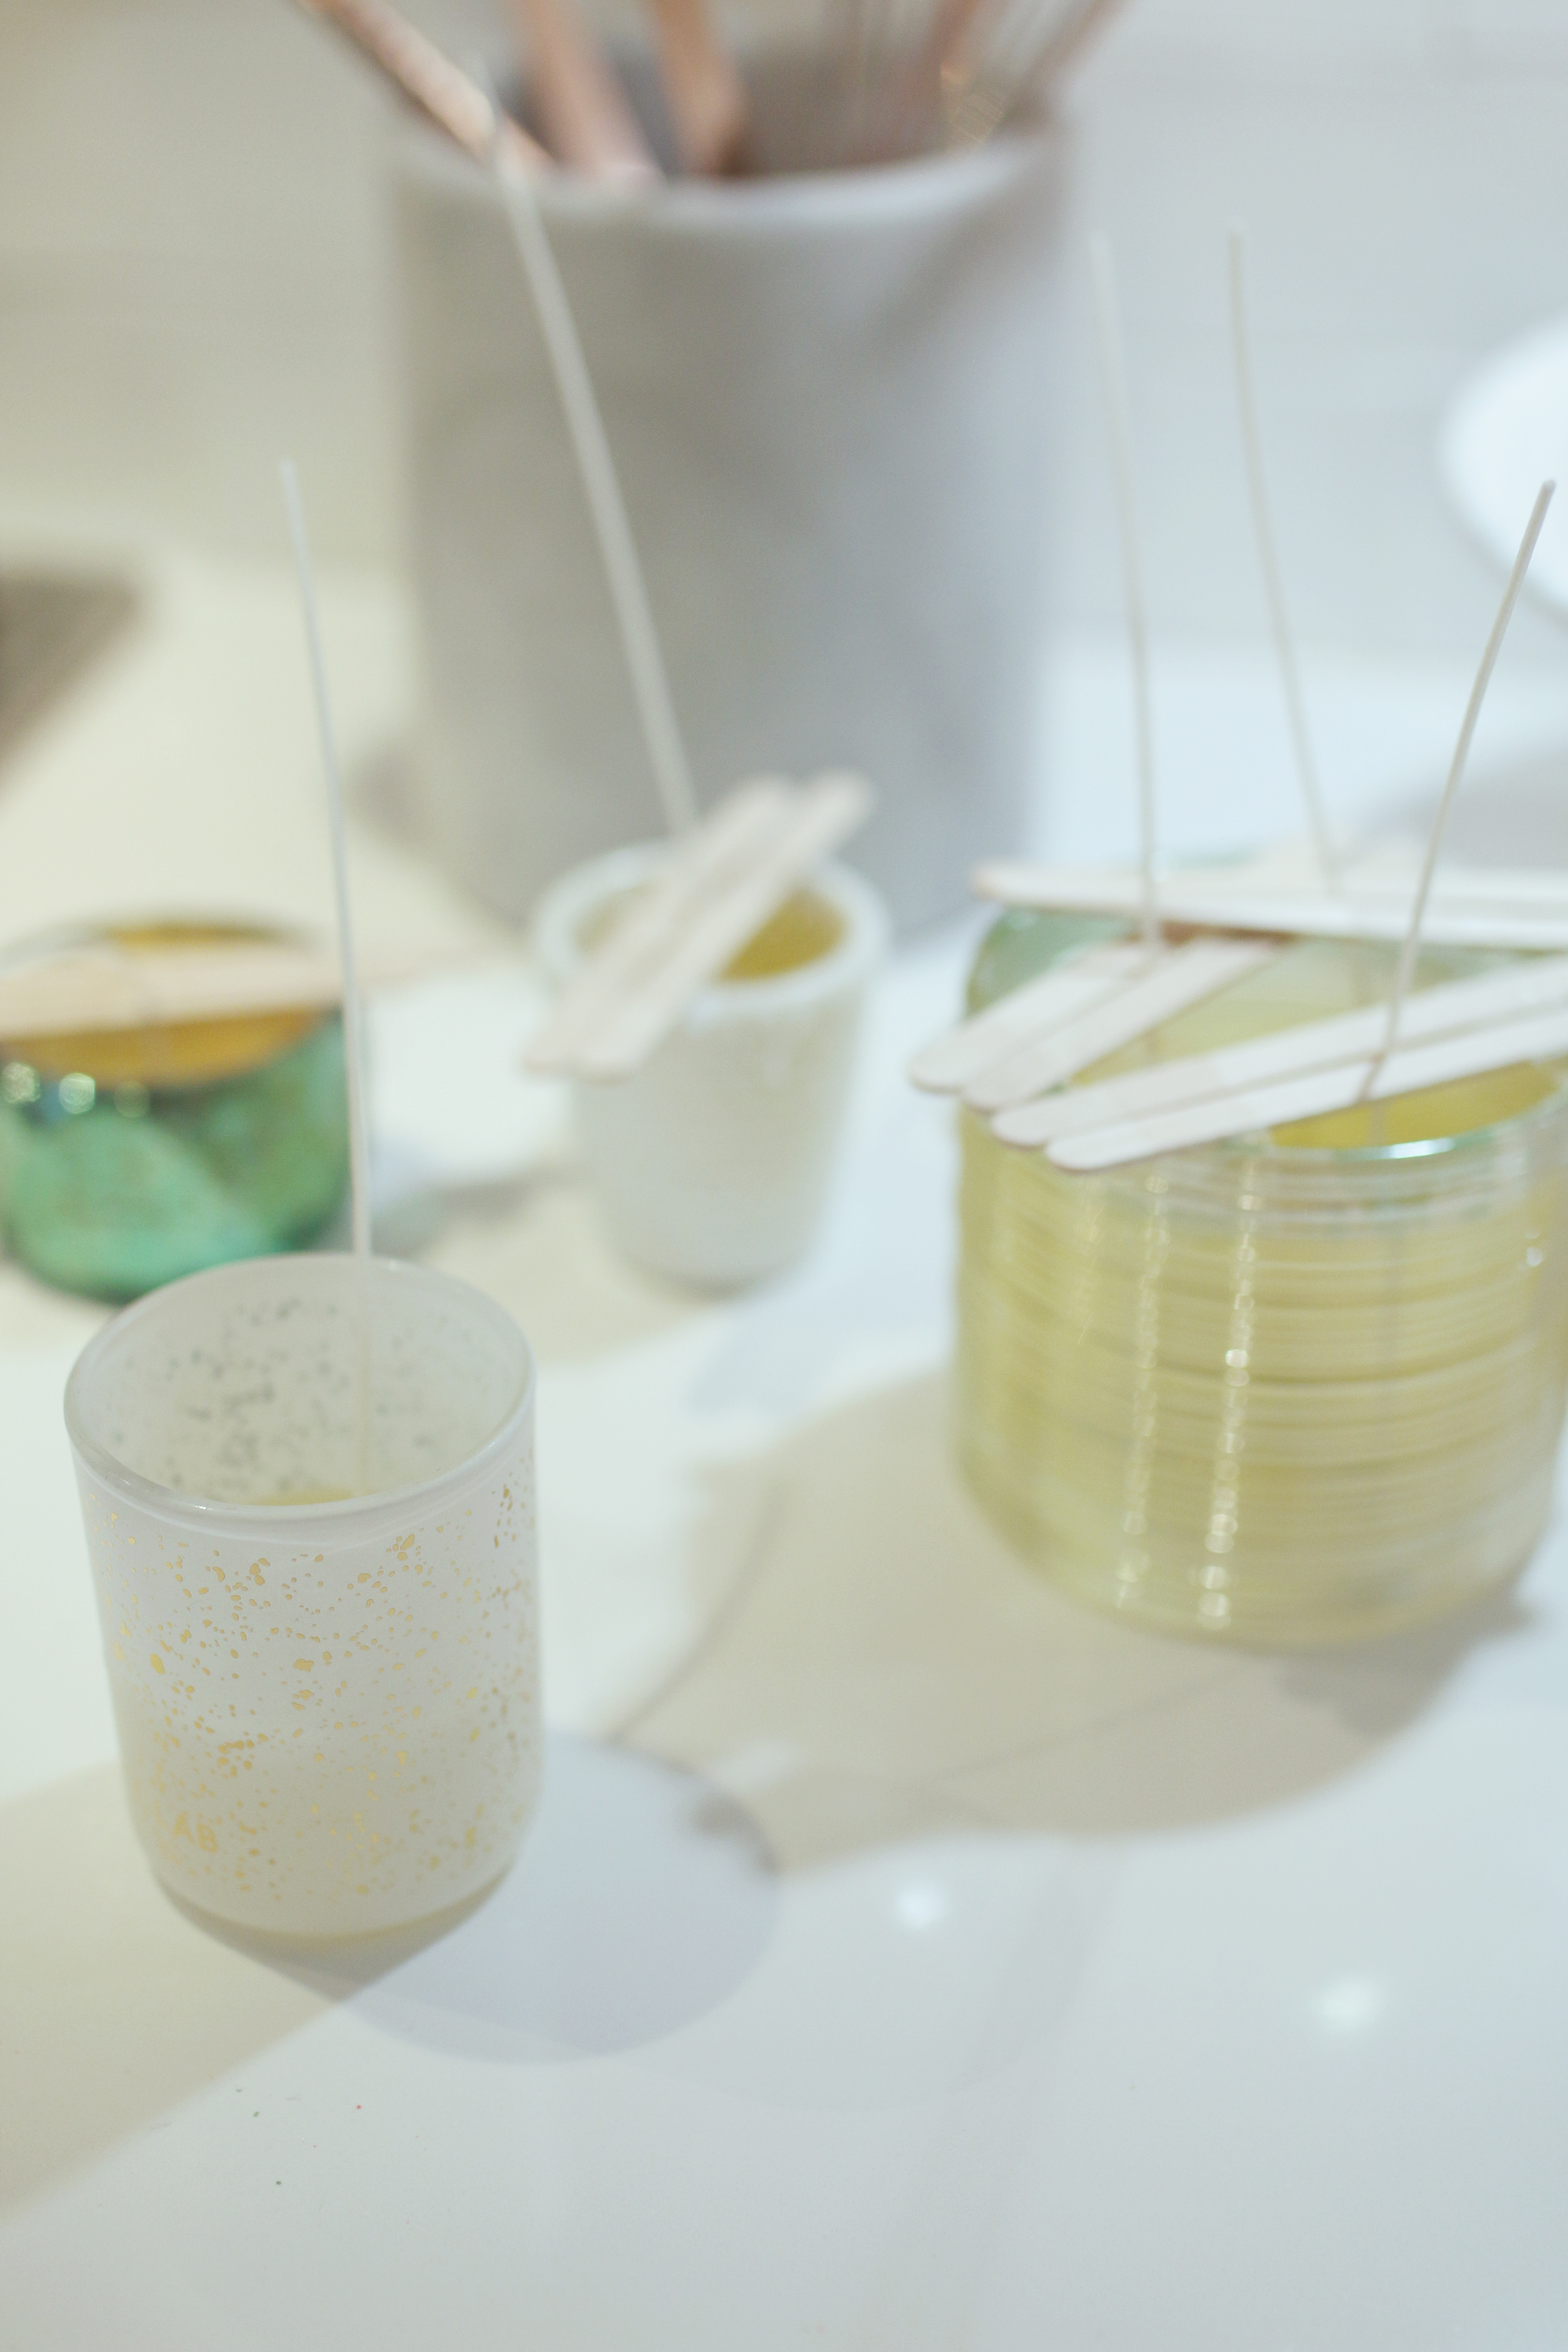
- Slowly pour the melted wax into the candle vessels, one at a time, and stir for several seconds with one of your popsicle sticks to ensure the scent is evenly distributed. As soon as this is done, take a couple of popsicle sticks and some tape to keep your wick in the centre of the candle (see photos for reference). The wick is dipped in wax to ensure slow burning and this is what keeps the wick stiff. Once you pour the hot wax in, the wick loses its rigidity and you’ll need to keep it in place or it won’t stay centred.
- If you decide to use glitter, wait until the wax has partly solidified (but not completely) before sprinkling it in. I tried a few with glitter and didn’t love the look of it, so you won’t see any in my photos.
- Let them harden! I put mine into the cold garage overnight and they were ready to use by the morning. They smell fantastic and they look 100% store-bought. It is an affordable way to reuse your favourite candles and they make great gifts.
- Enjoy your candles!