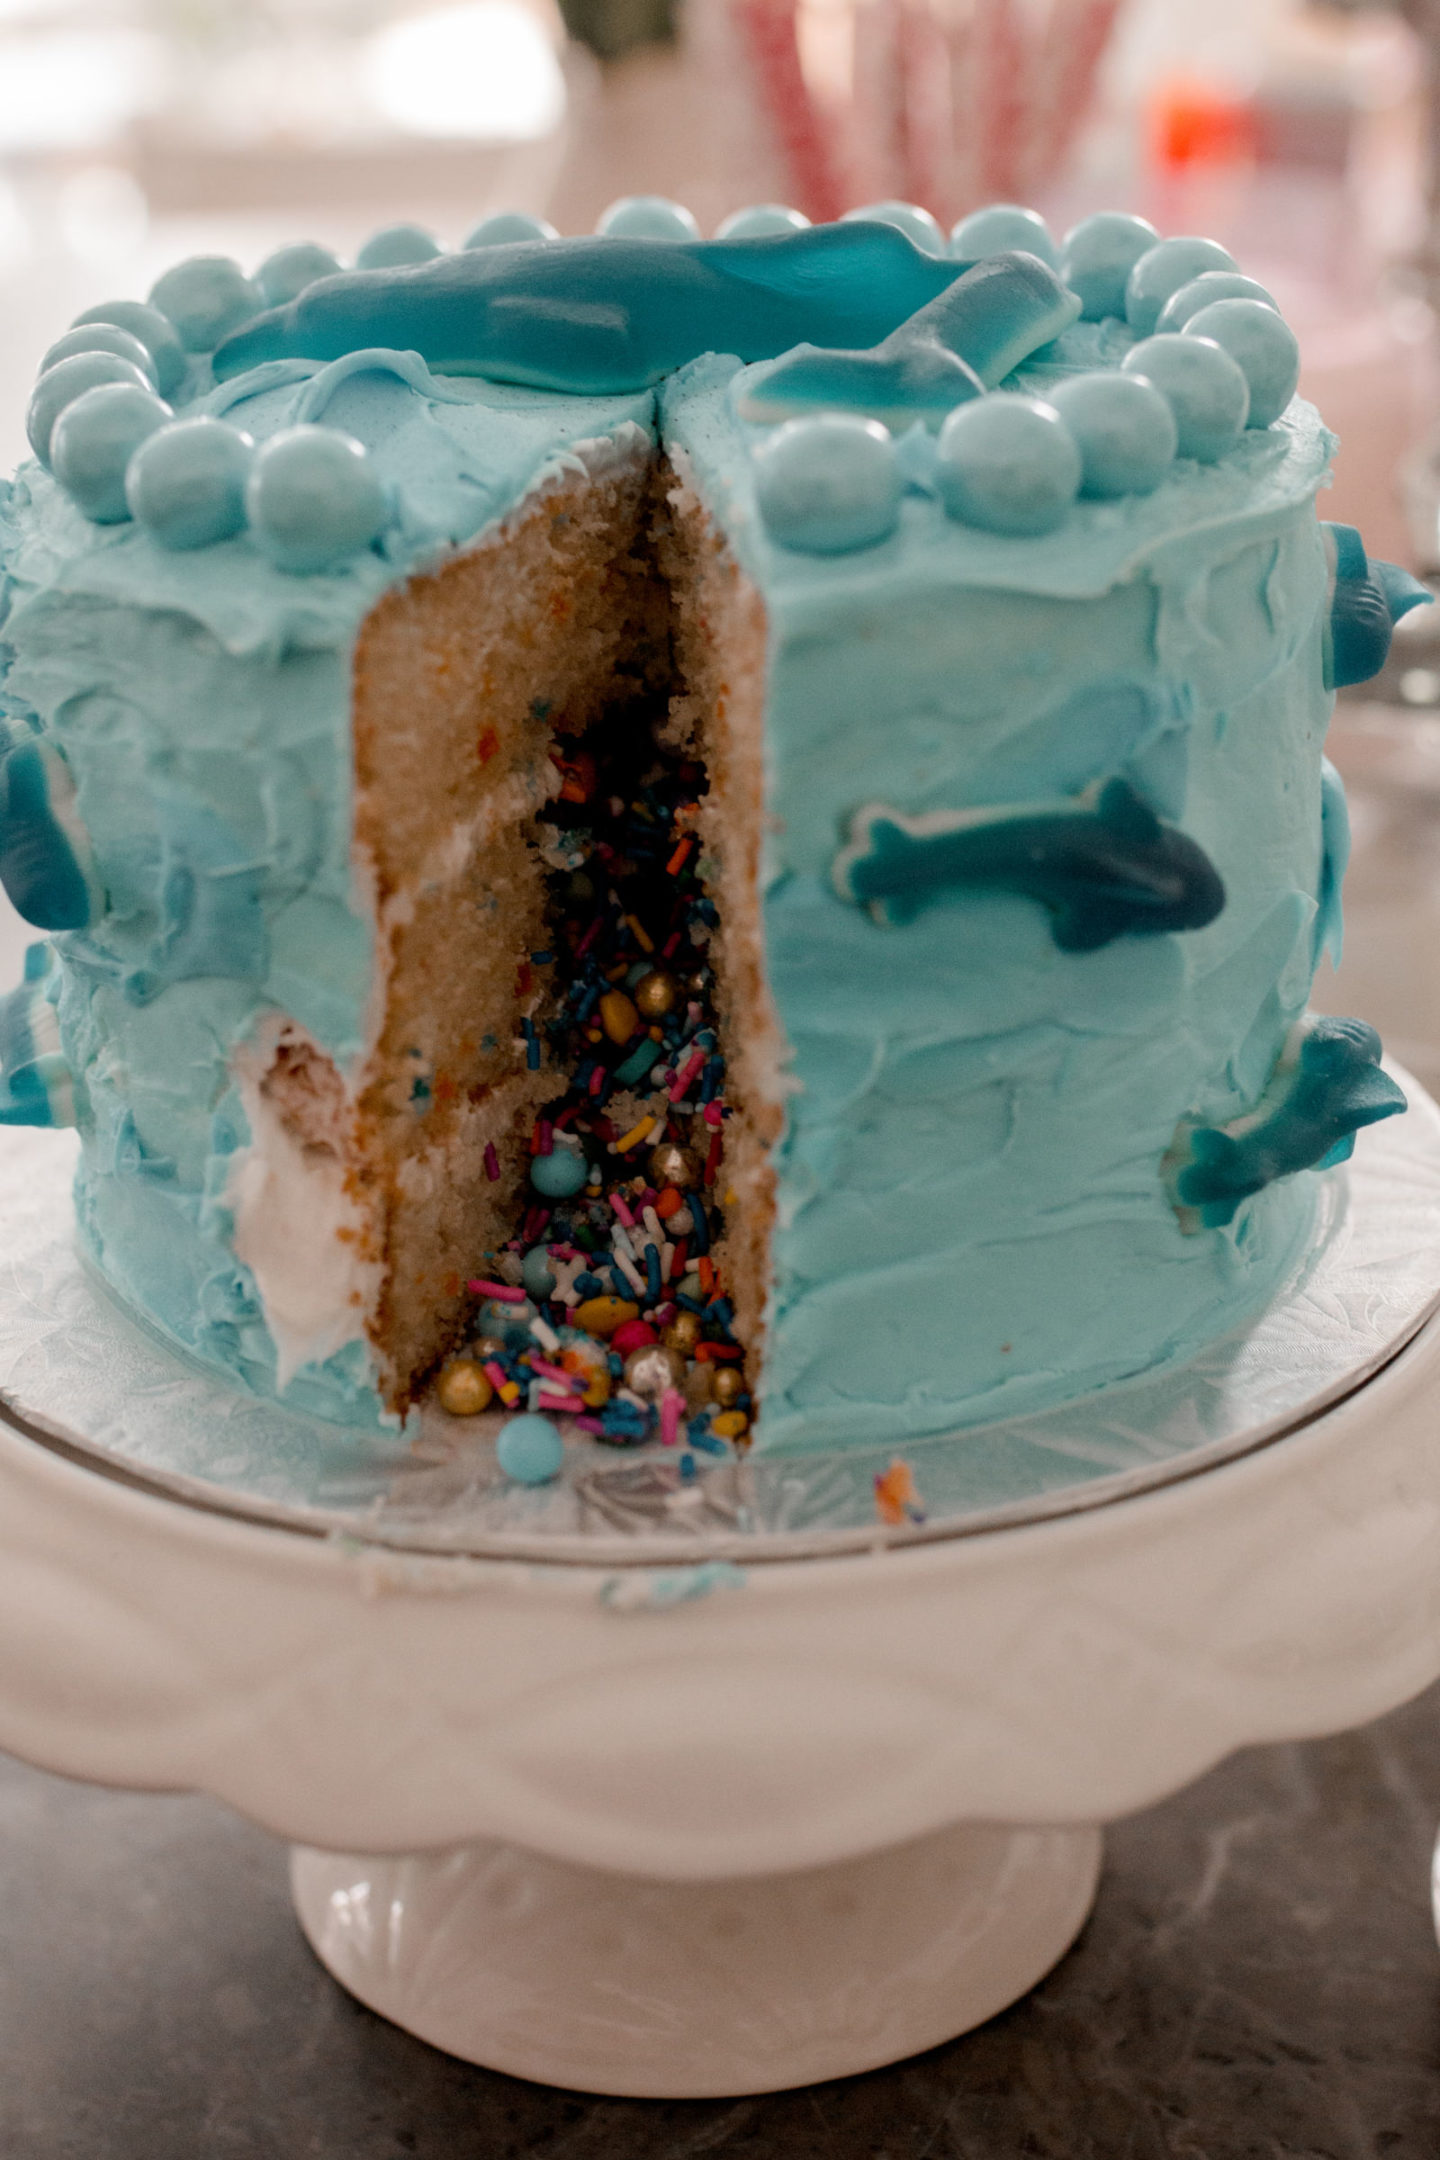
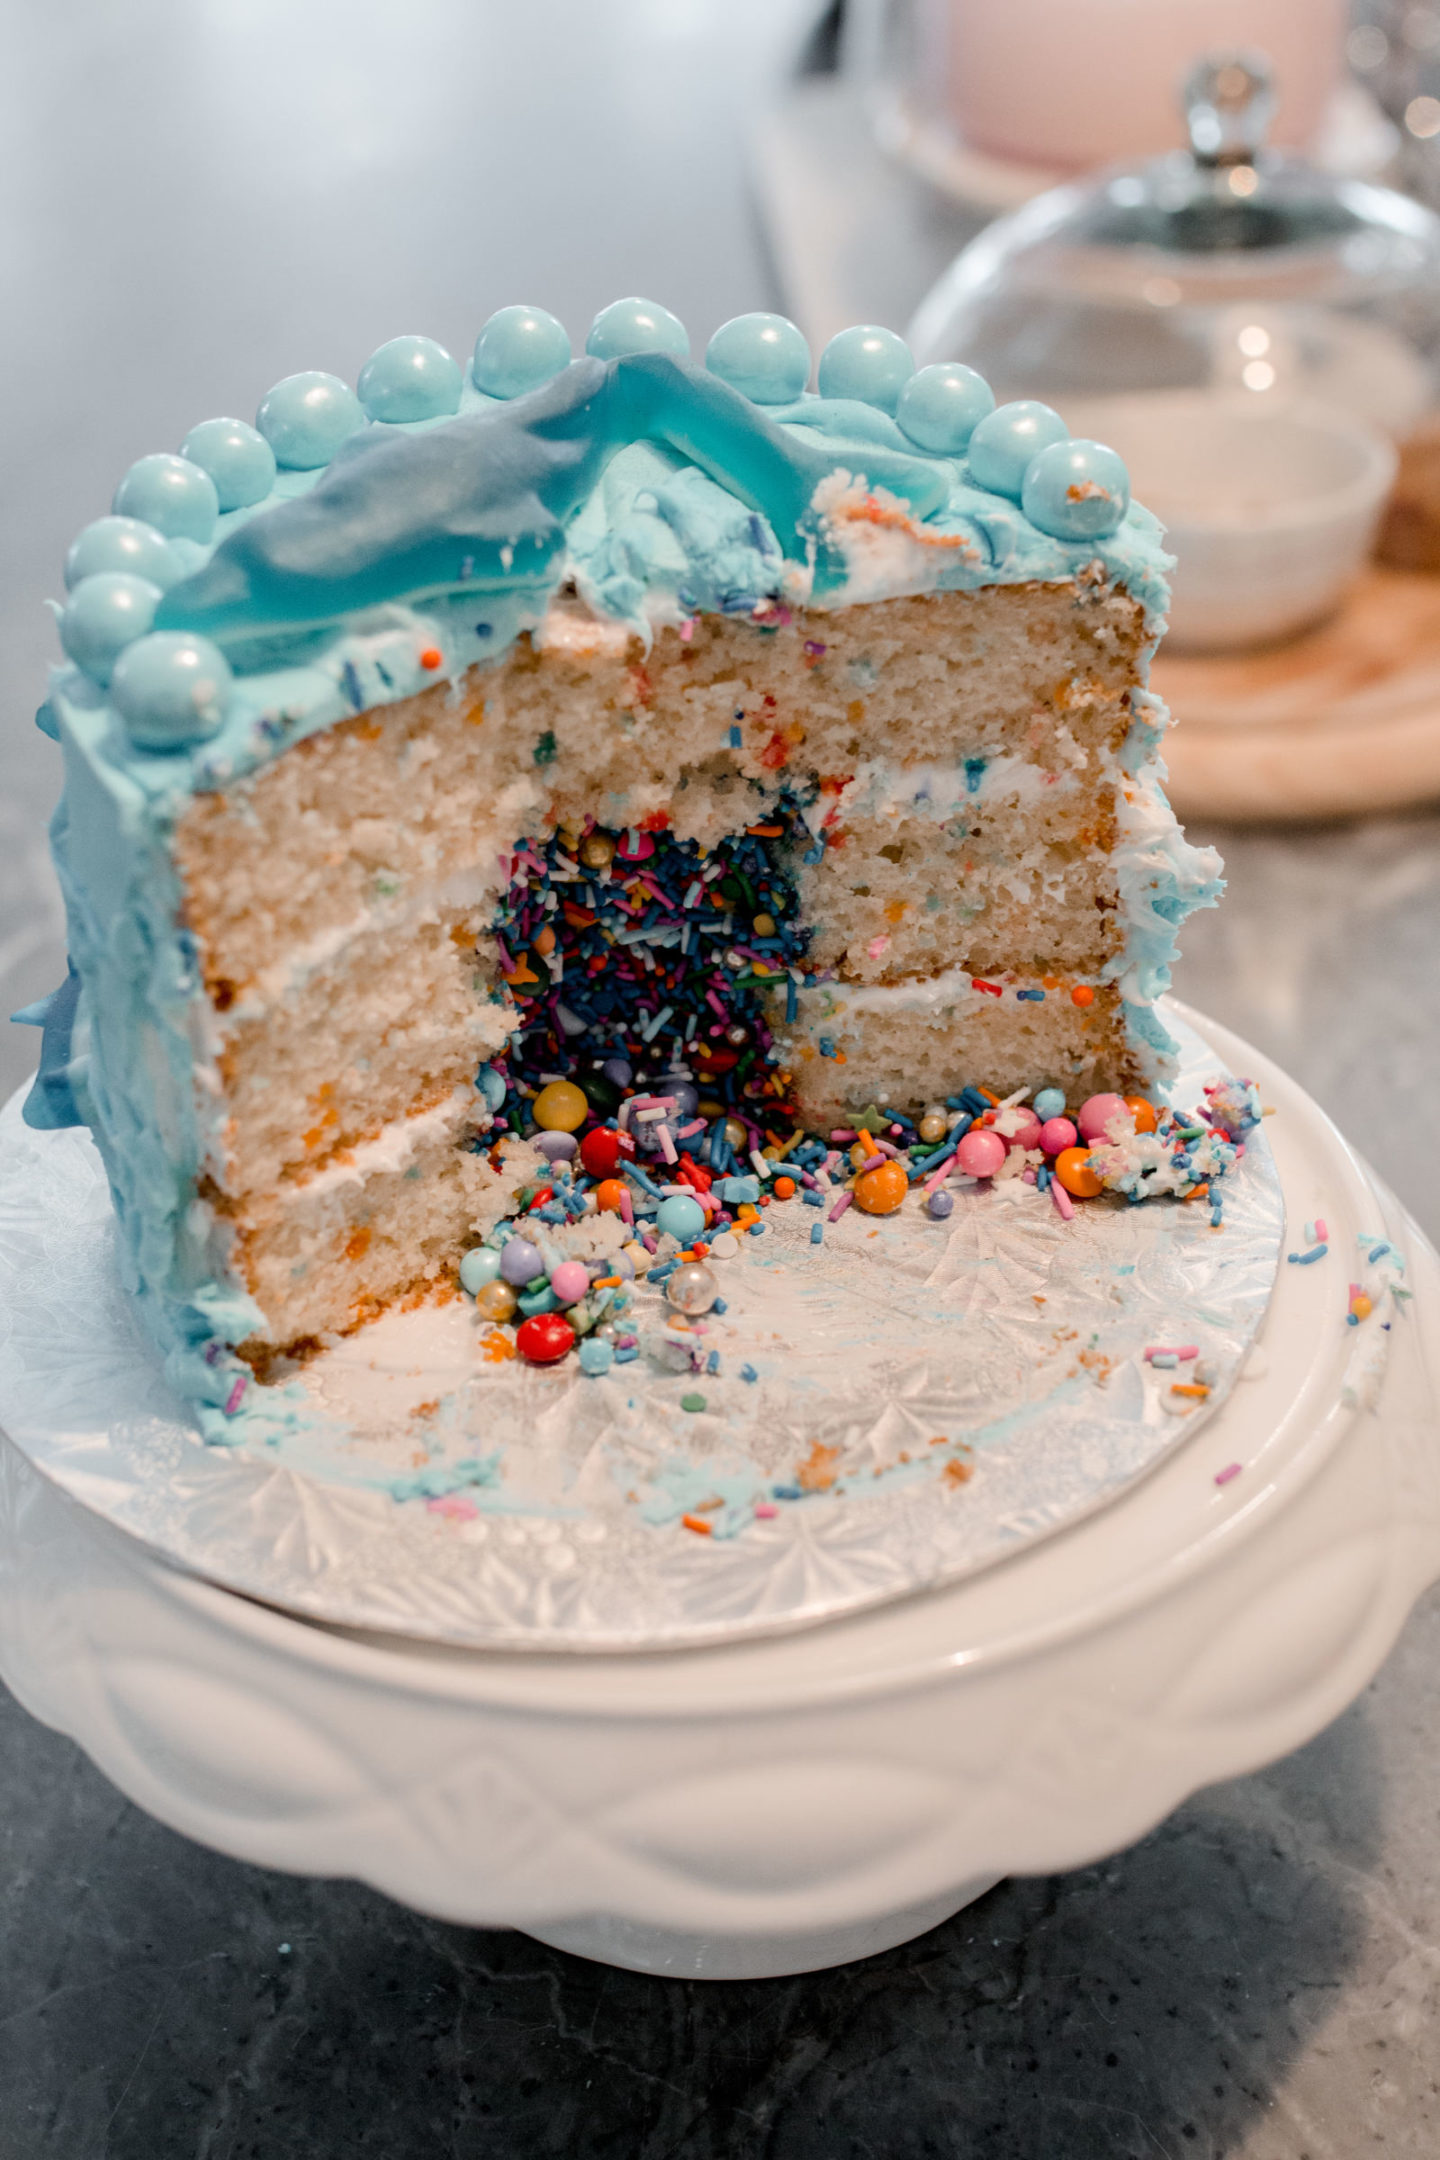
Our little big boy, Noah just turned 5 and I can hardly believe it! This year he wanted a cake that had candy pouring out of the middle (he saw it at a friend’s birthday party), so I had to figure out how to do it and oblige. Anything for my baby boy!
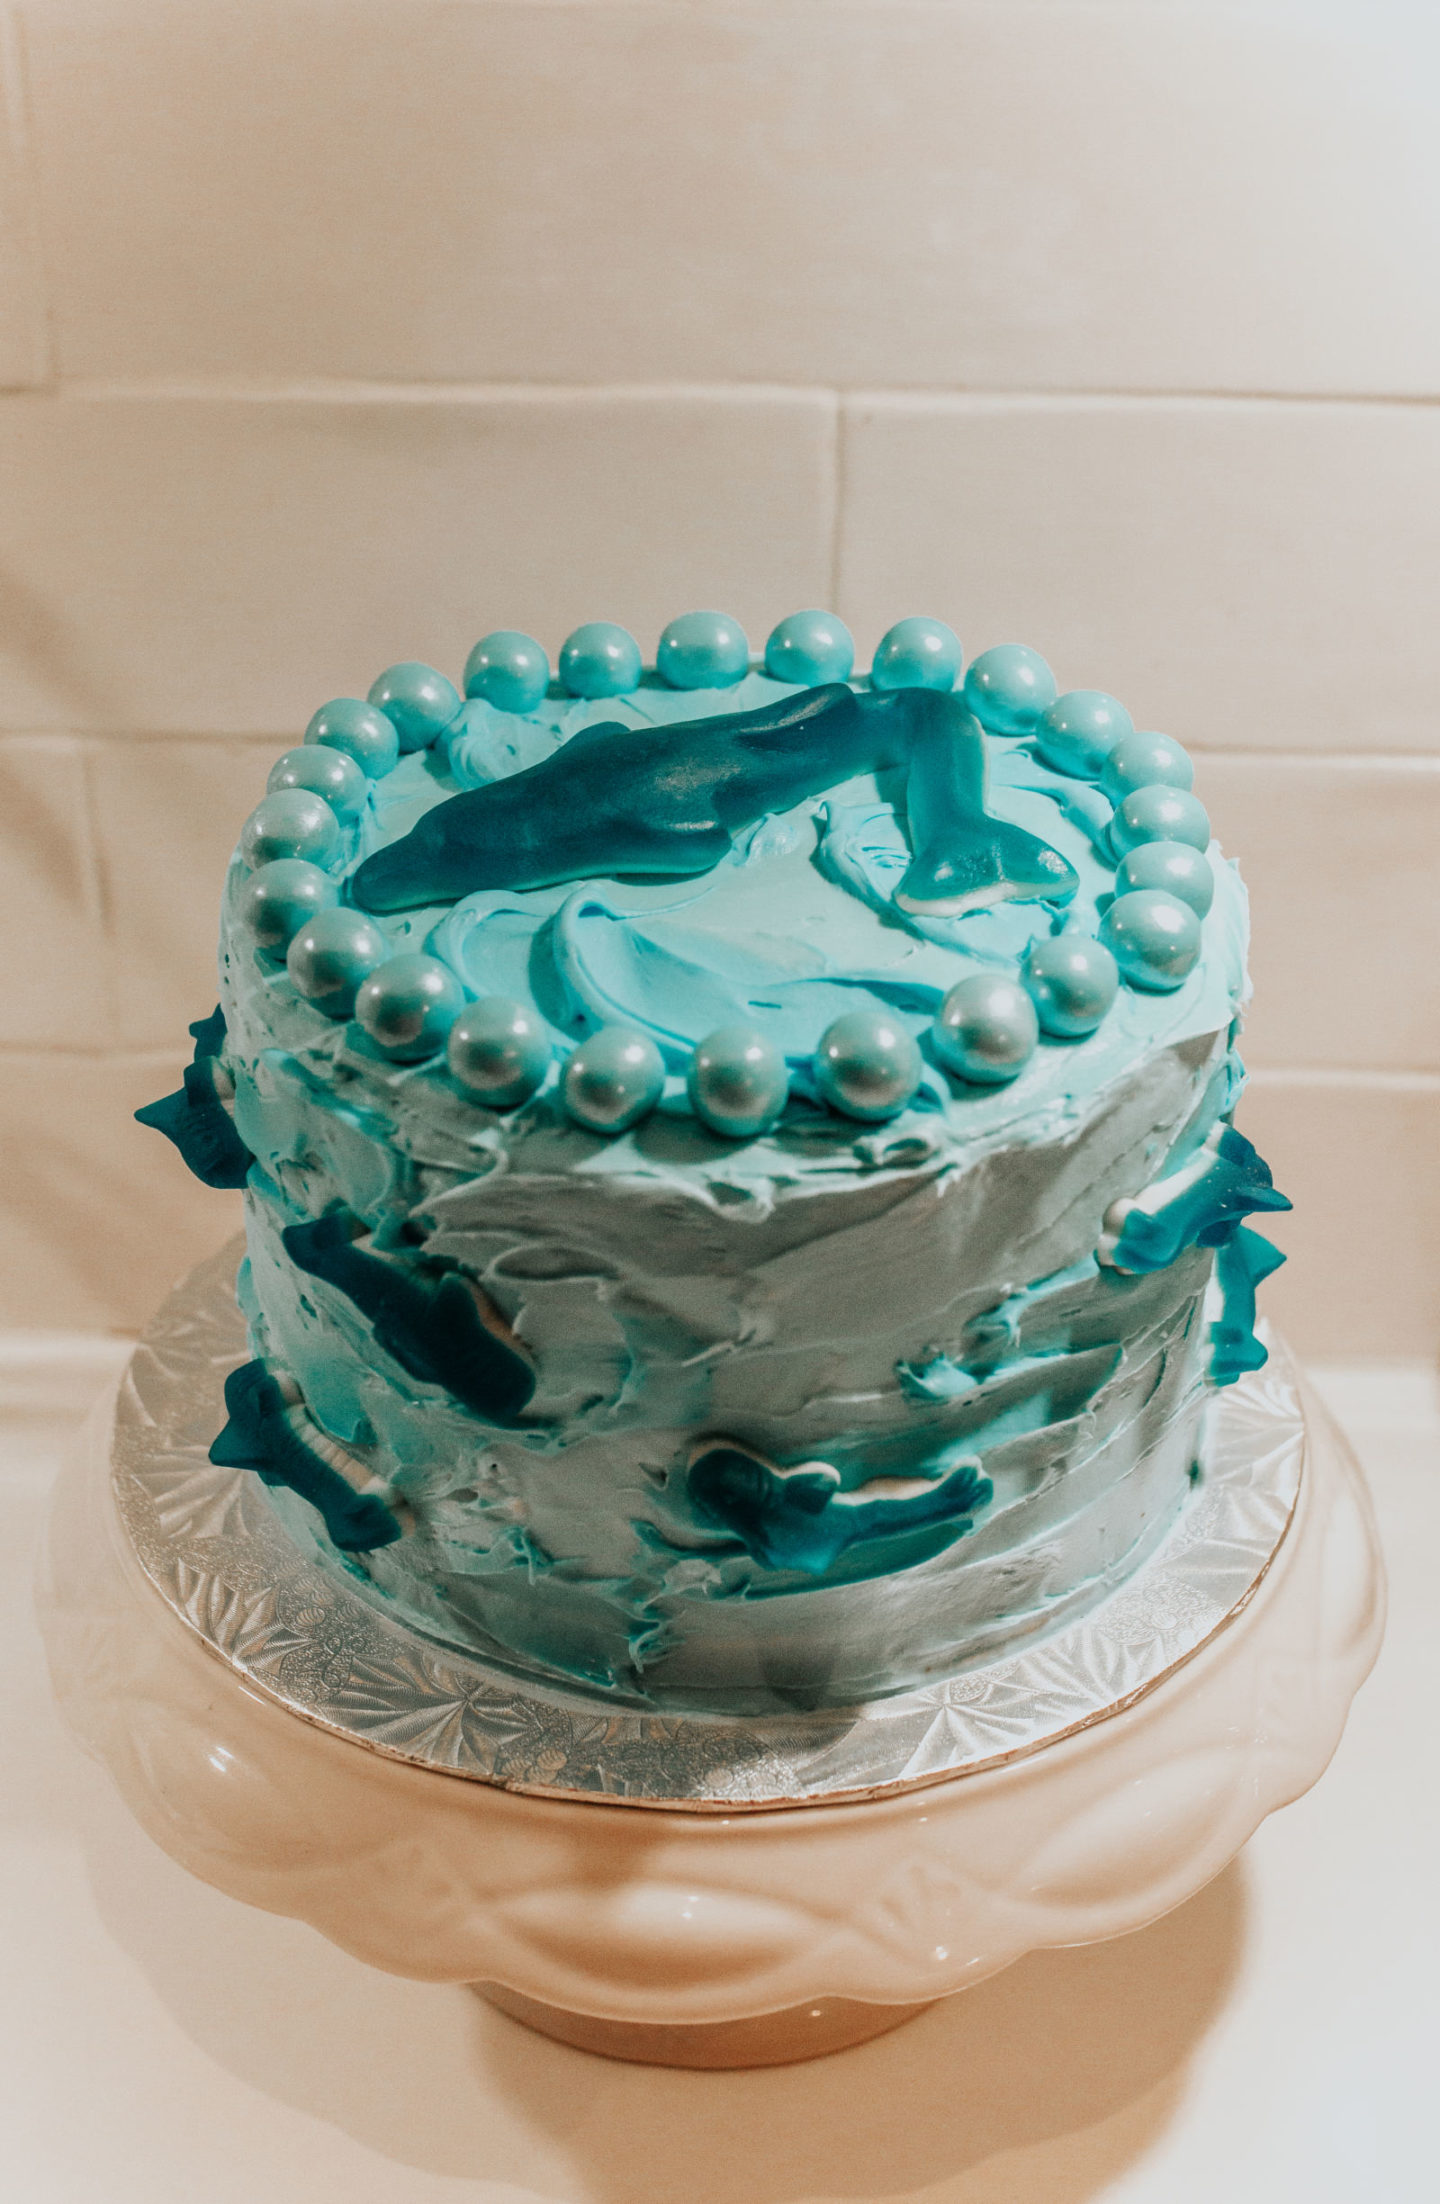
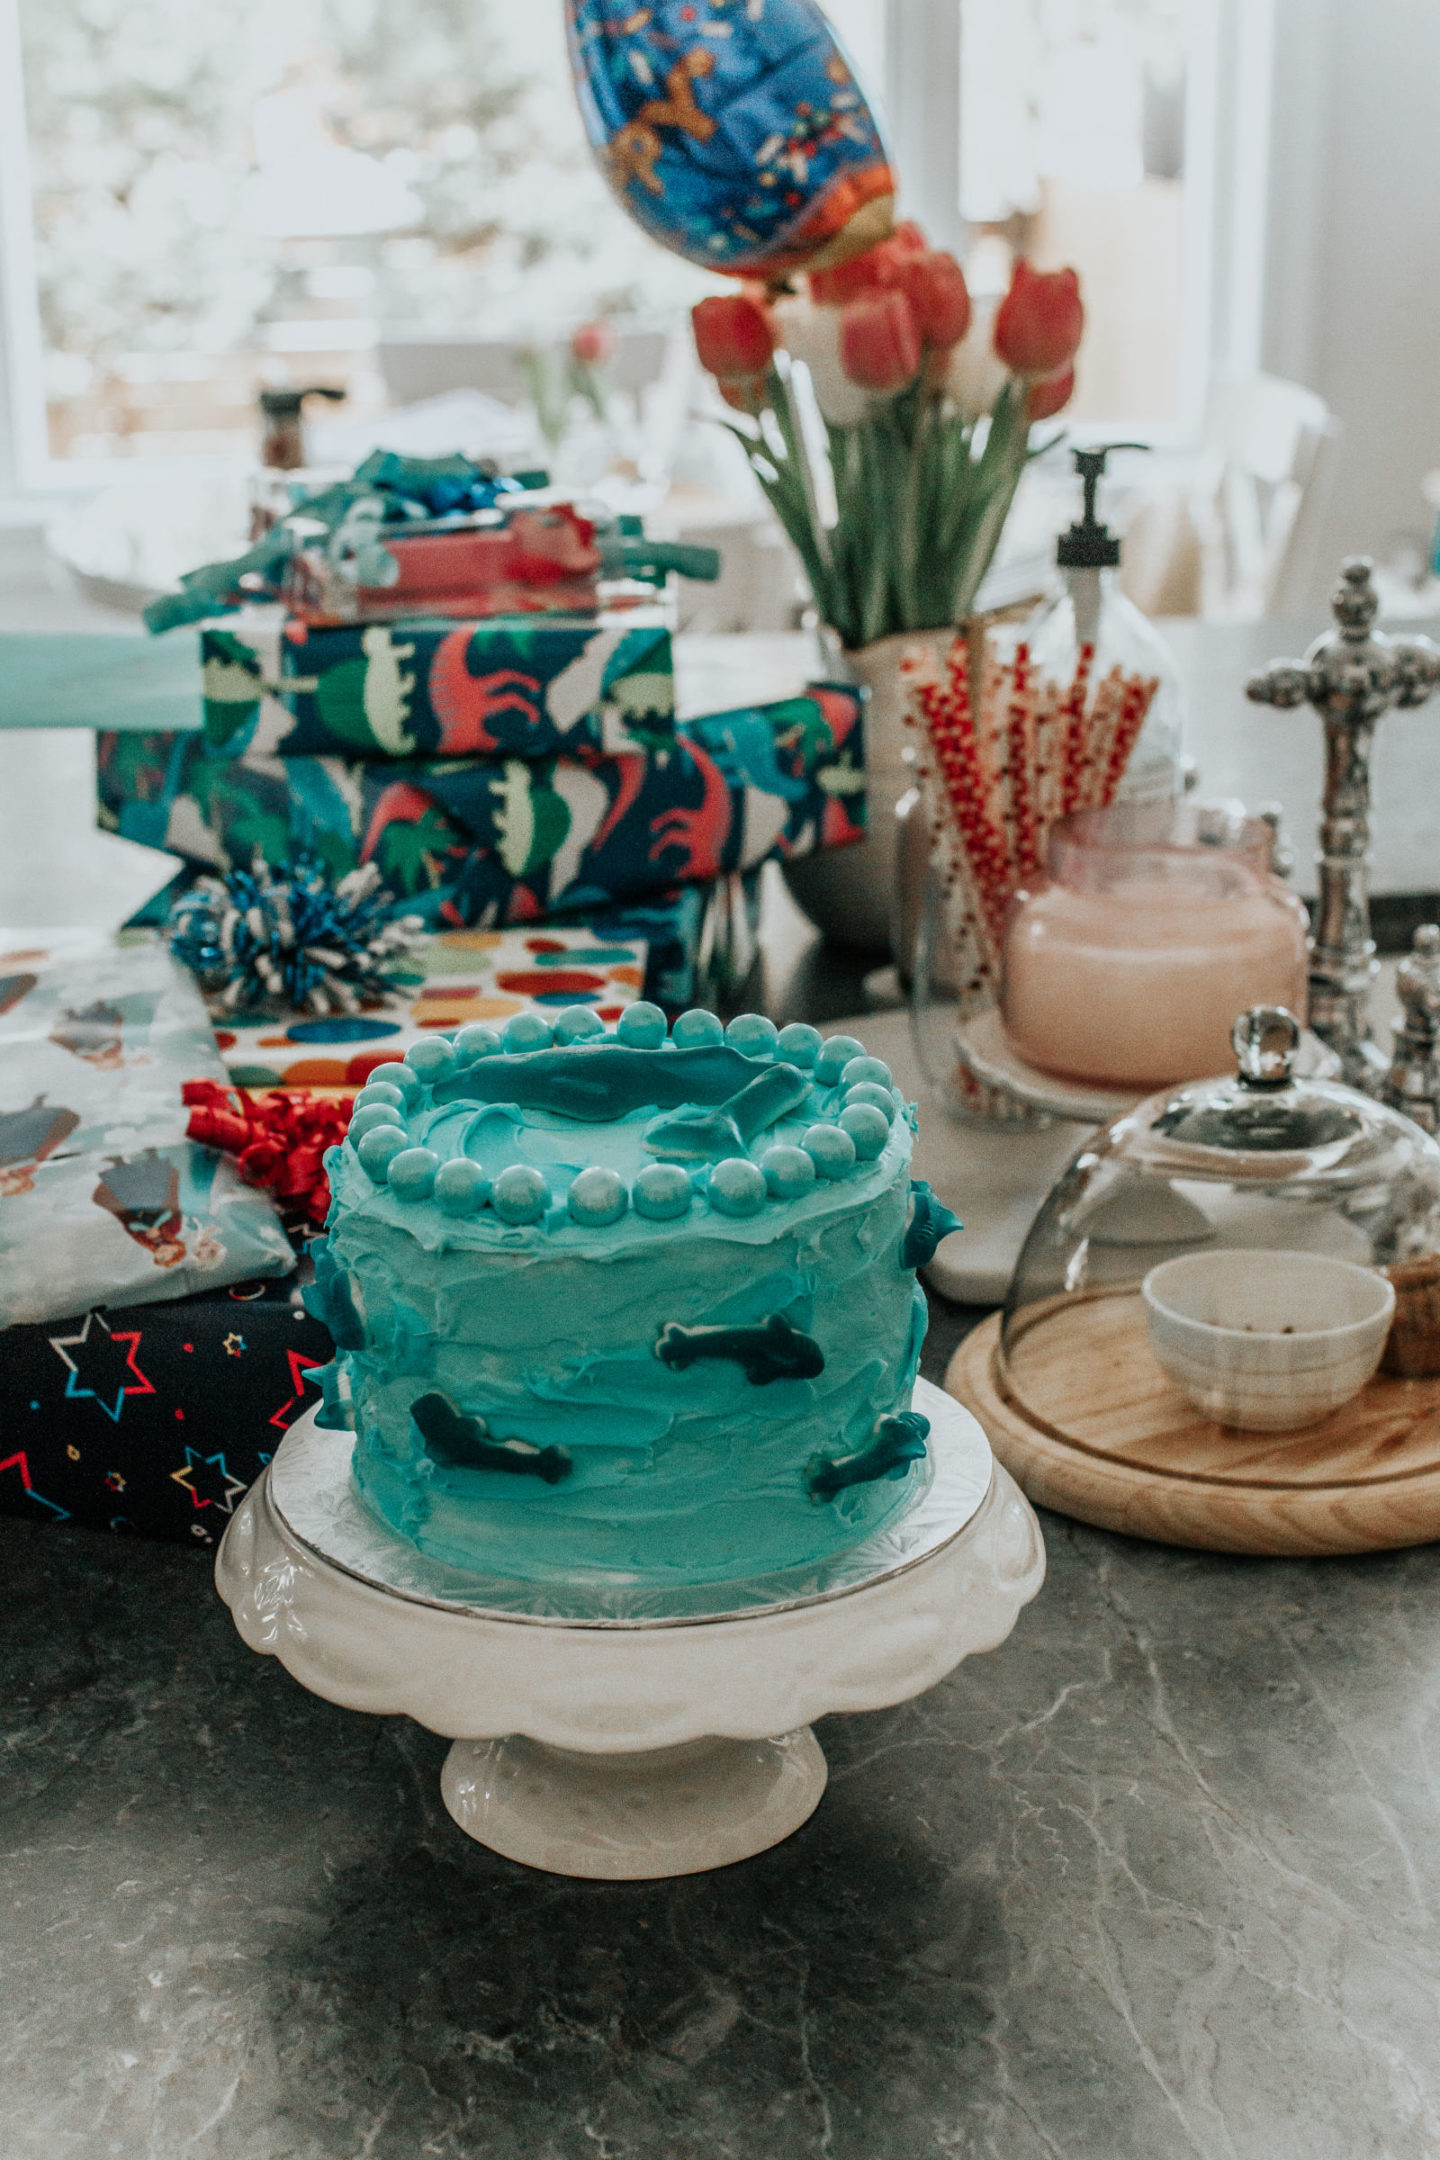
His “theme” this year is Blue Planet (you know, the show similar to Planet Earth that explores ocean life)… so I decided to decorate the cake like the ocean, with sharks swimming around. The outside of the cake was fairly easy but I was surprised to learn how easy it was to make the INSIDE of a confetti/piñata cake, too!
To preface this blog post, I have to let you know that I’m NOT a baker. I don’t even like to bake. I’m always amazed at what people can do who are good at this stuff. I have big ambitions to make pretty creations and it rarely works out the way I envision it.
For this cake I used BOXED CAKE MIX – (insert gasps and awe!) – and it was delicious. I also used store-bought icing.
I’ll go through the process, step-by-step, with the photos… I promise, its SO easy!
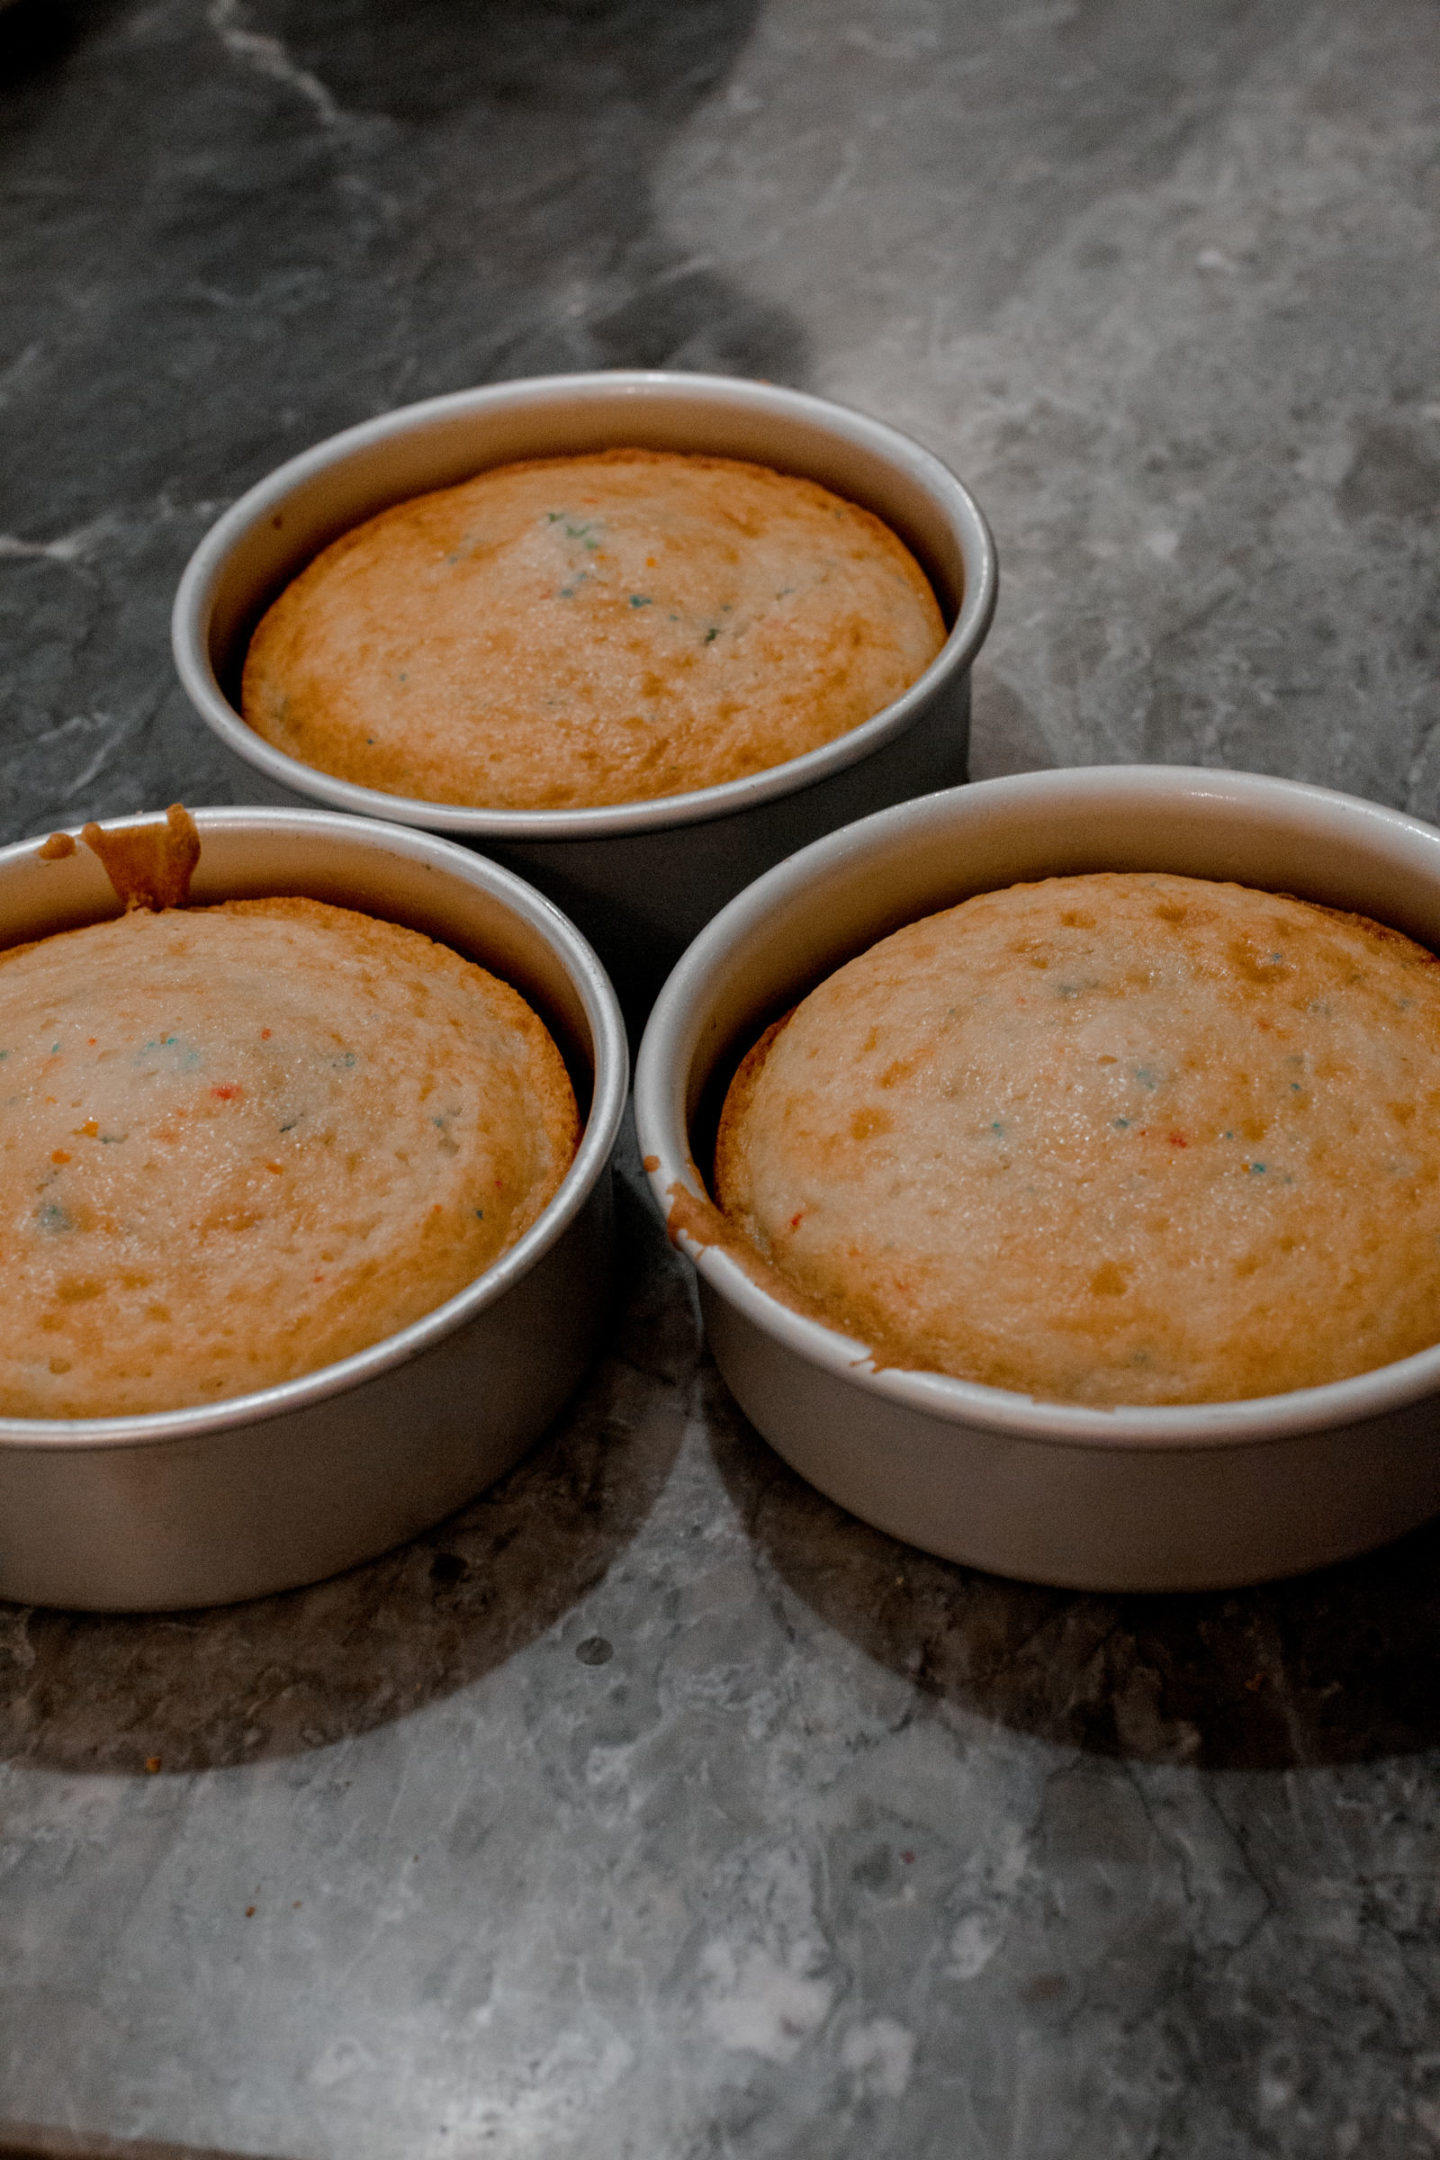
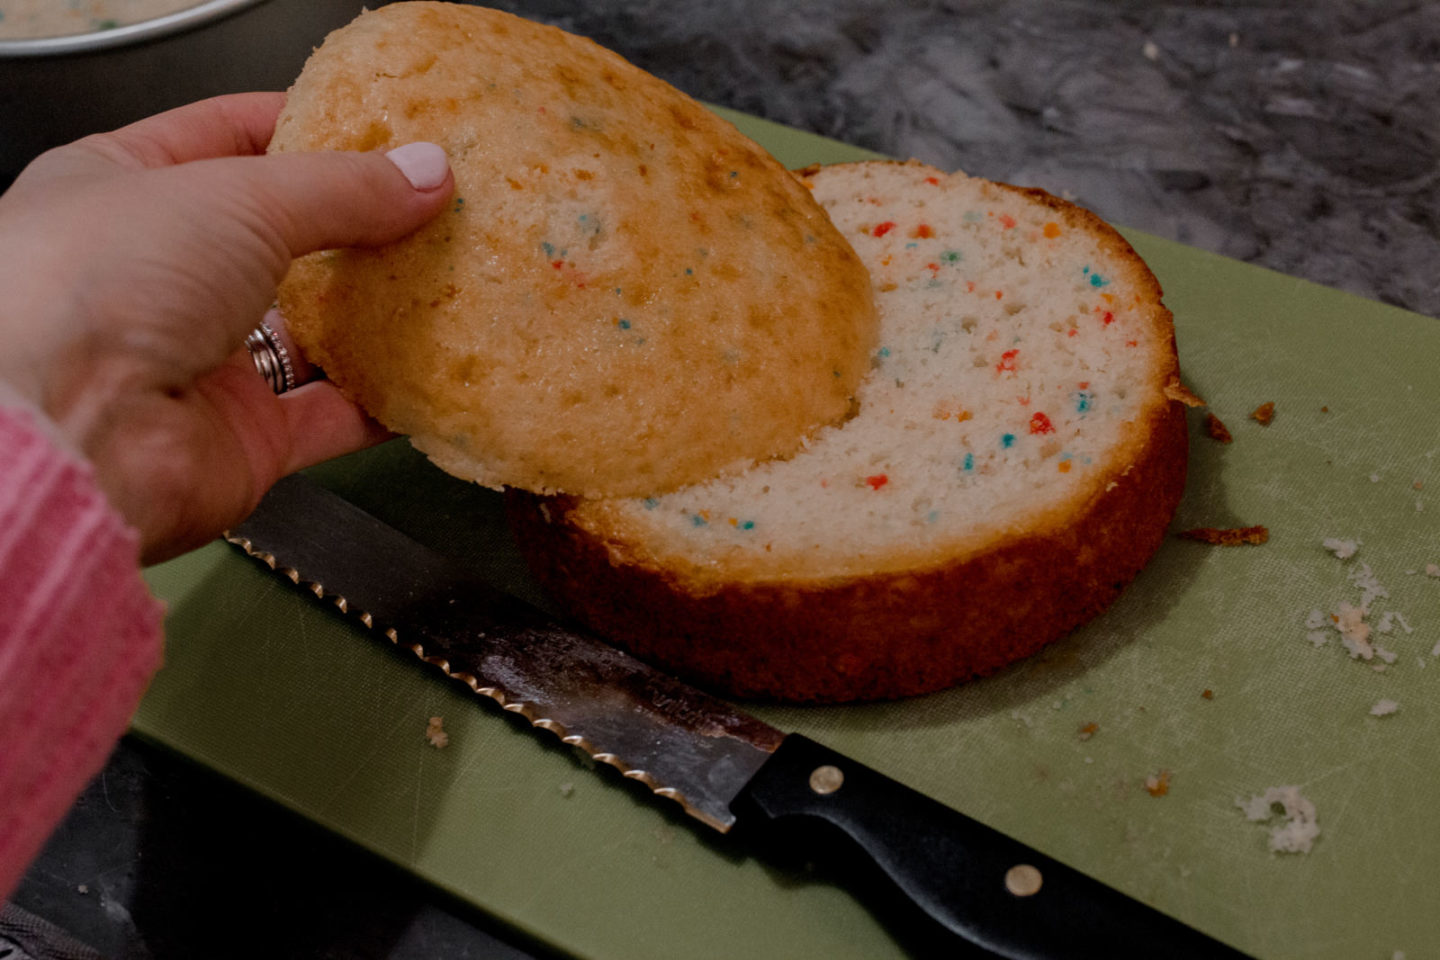
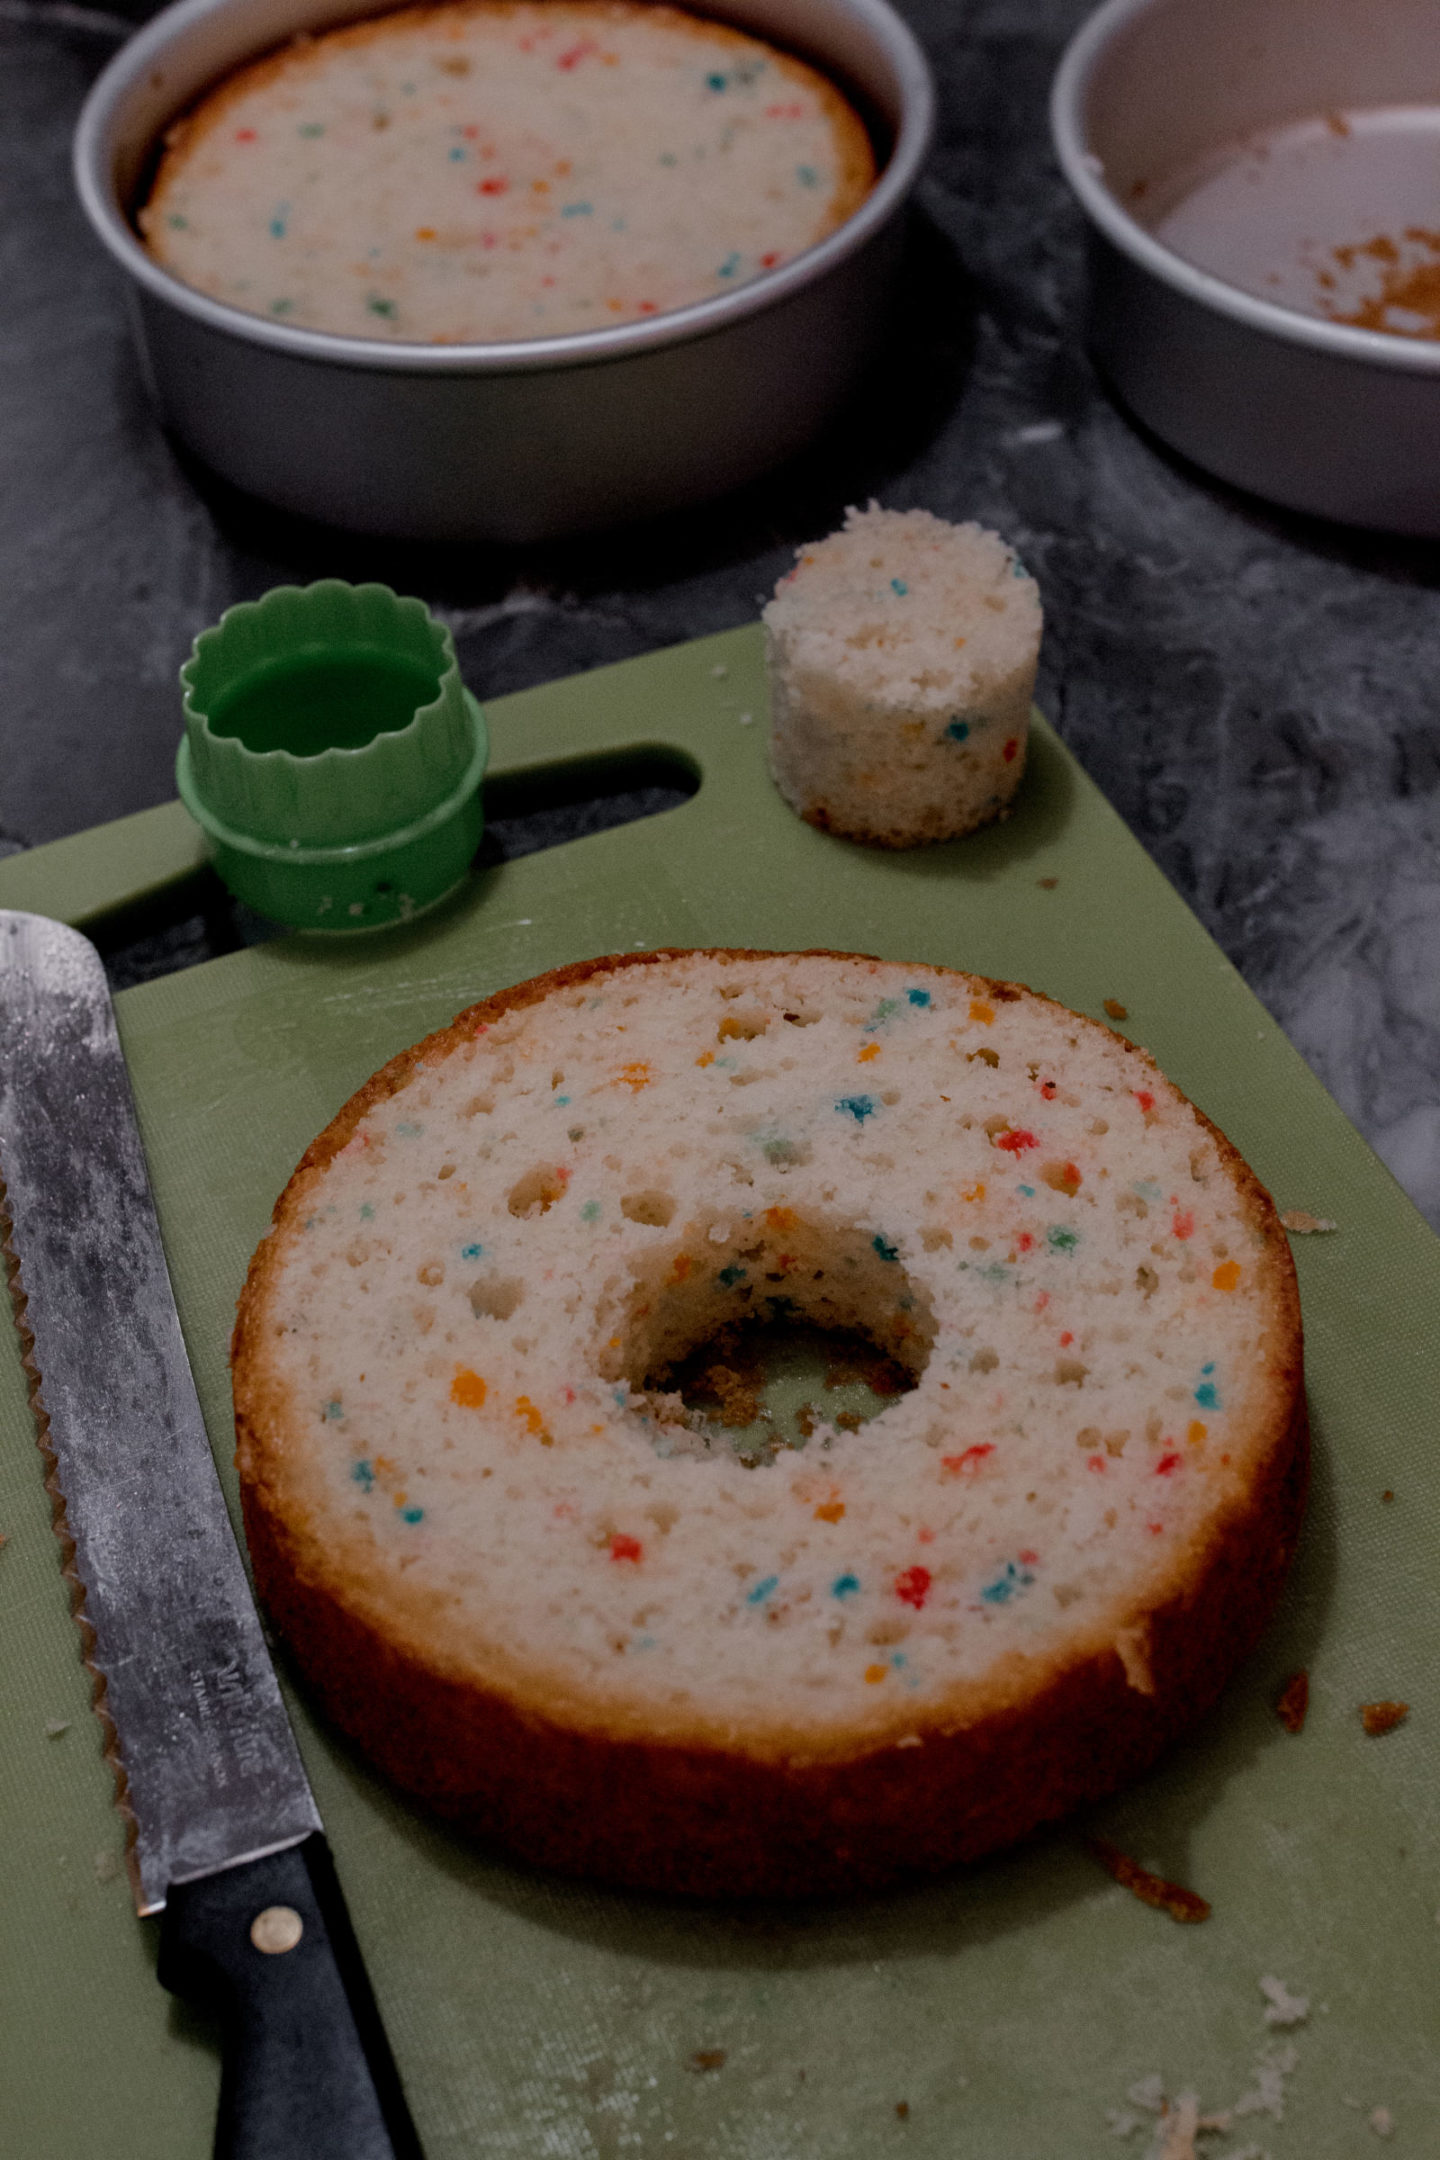
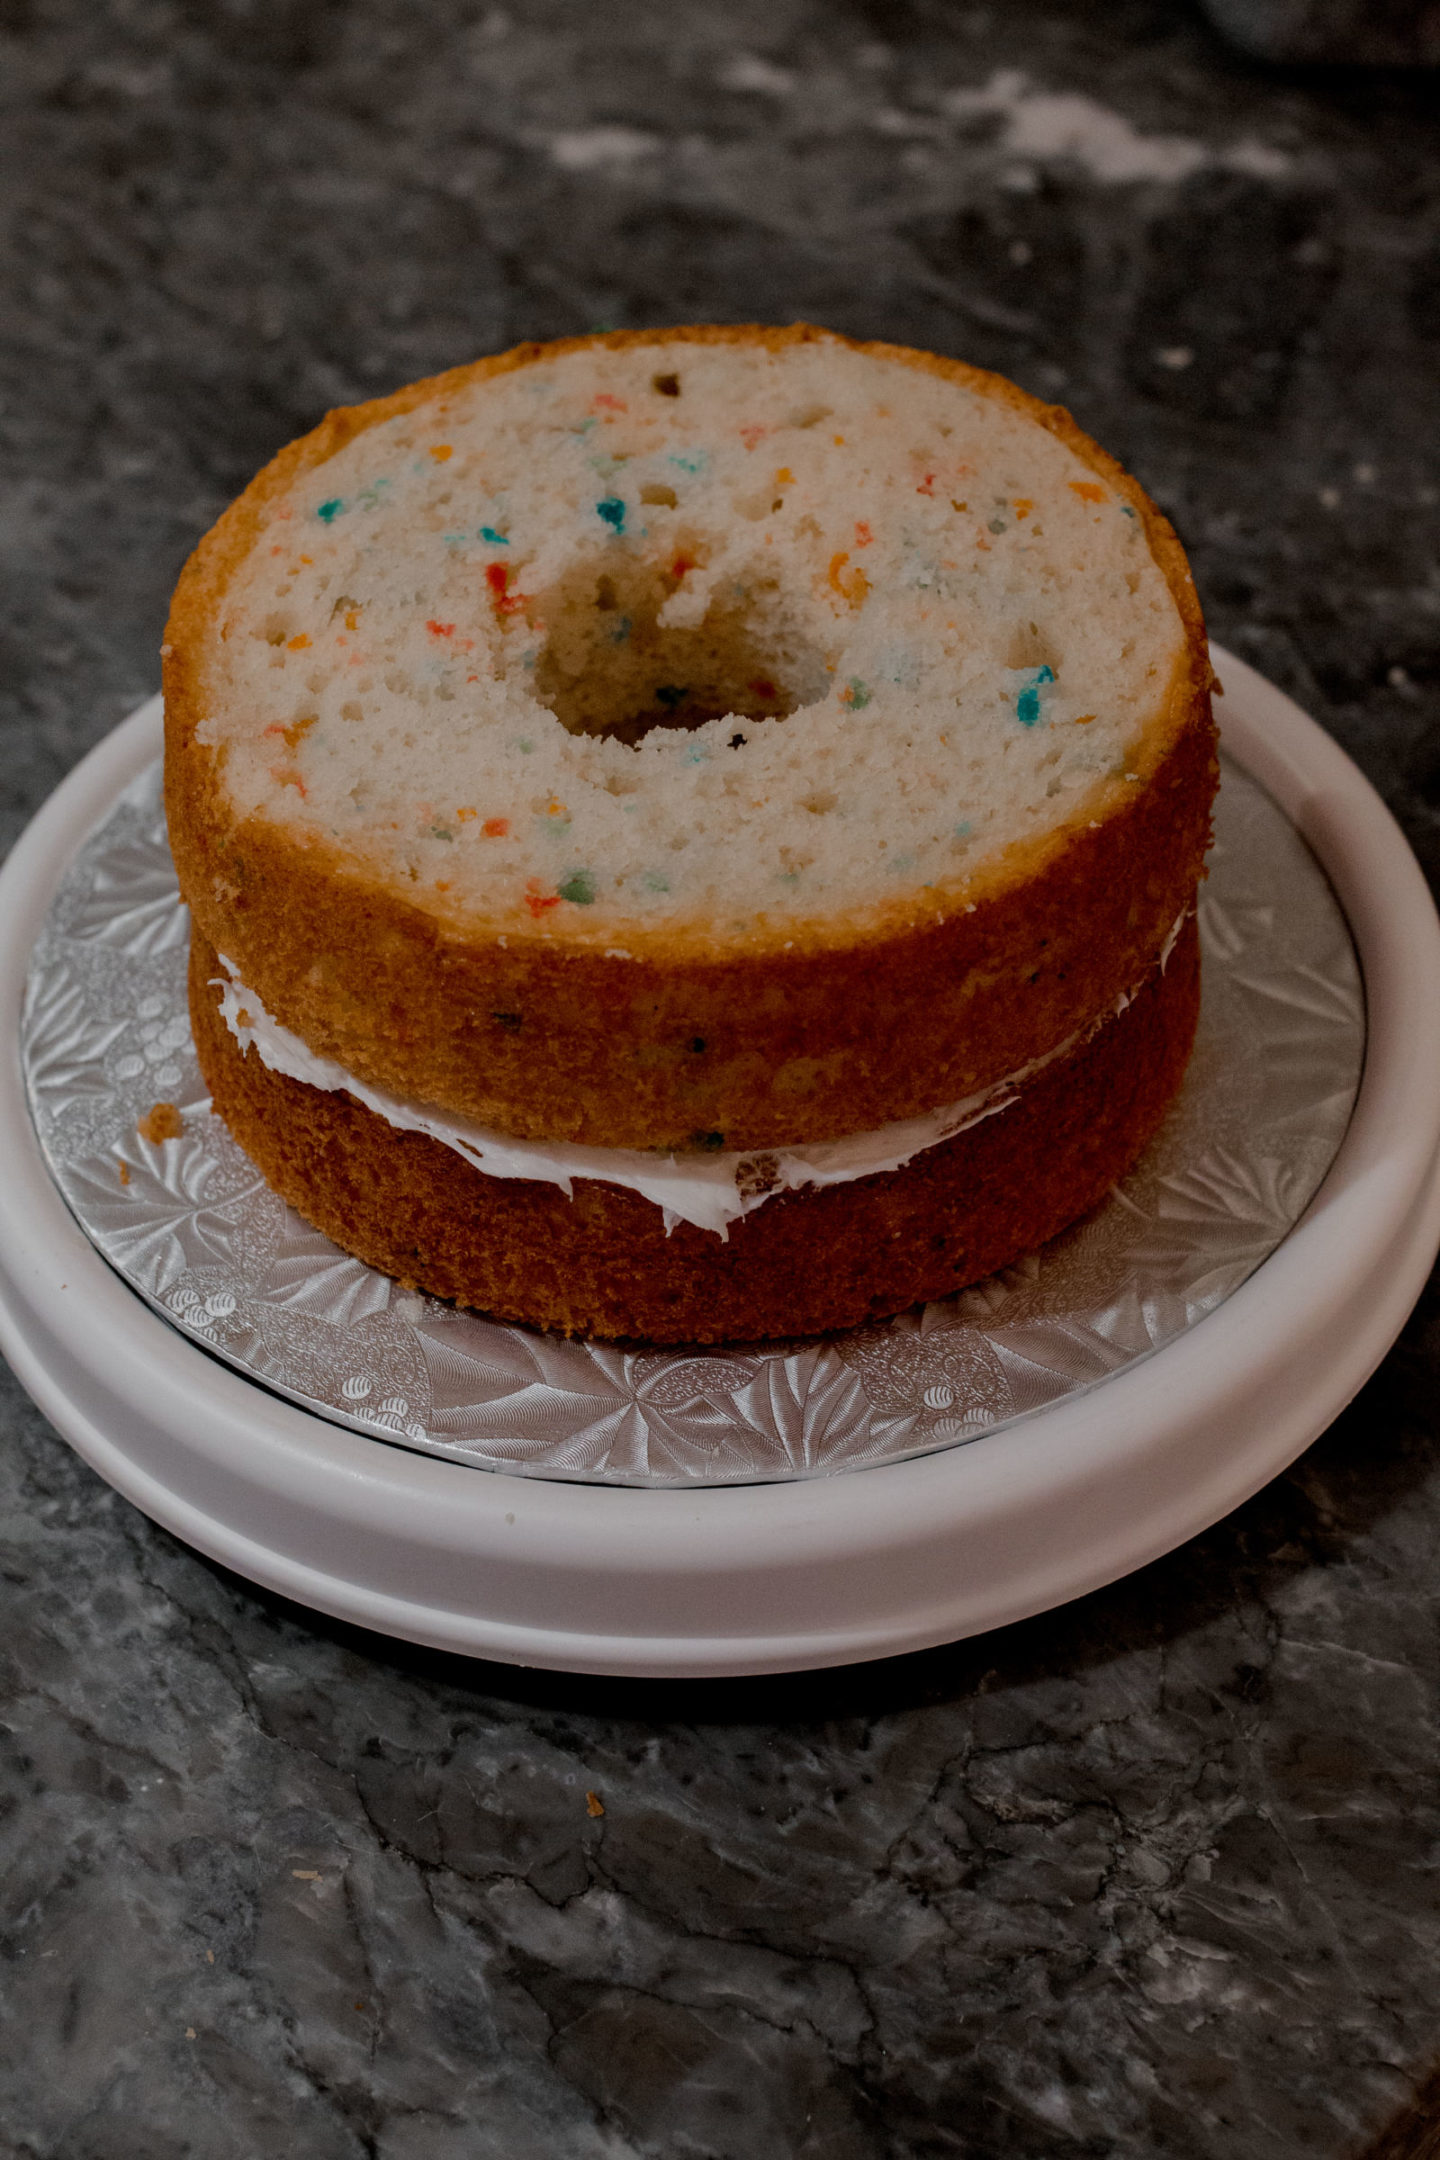
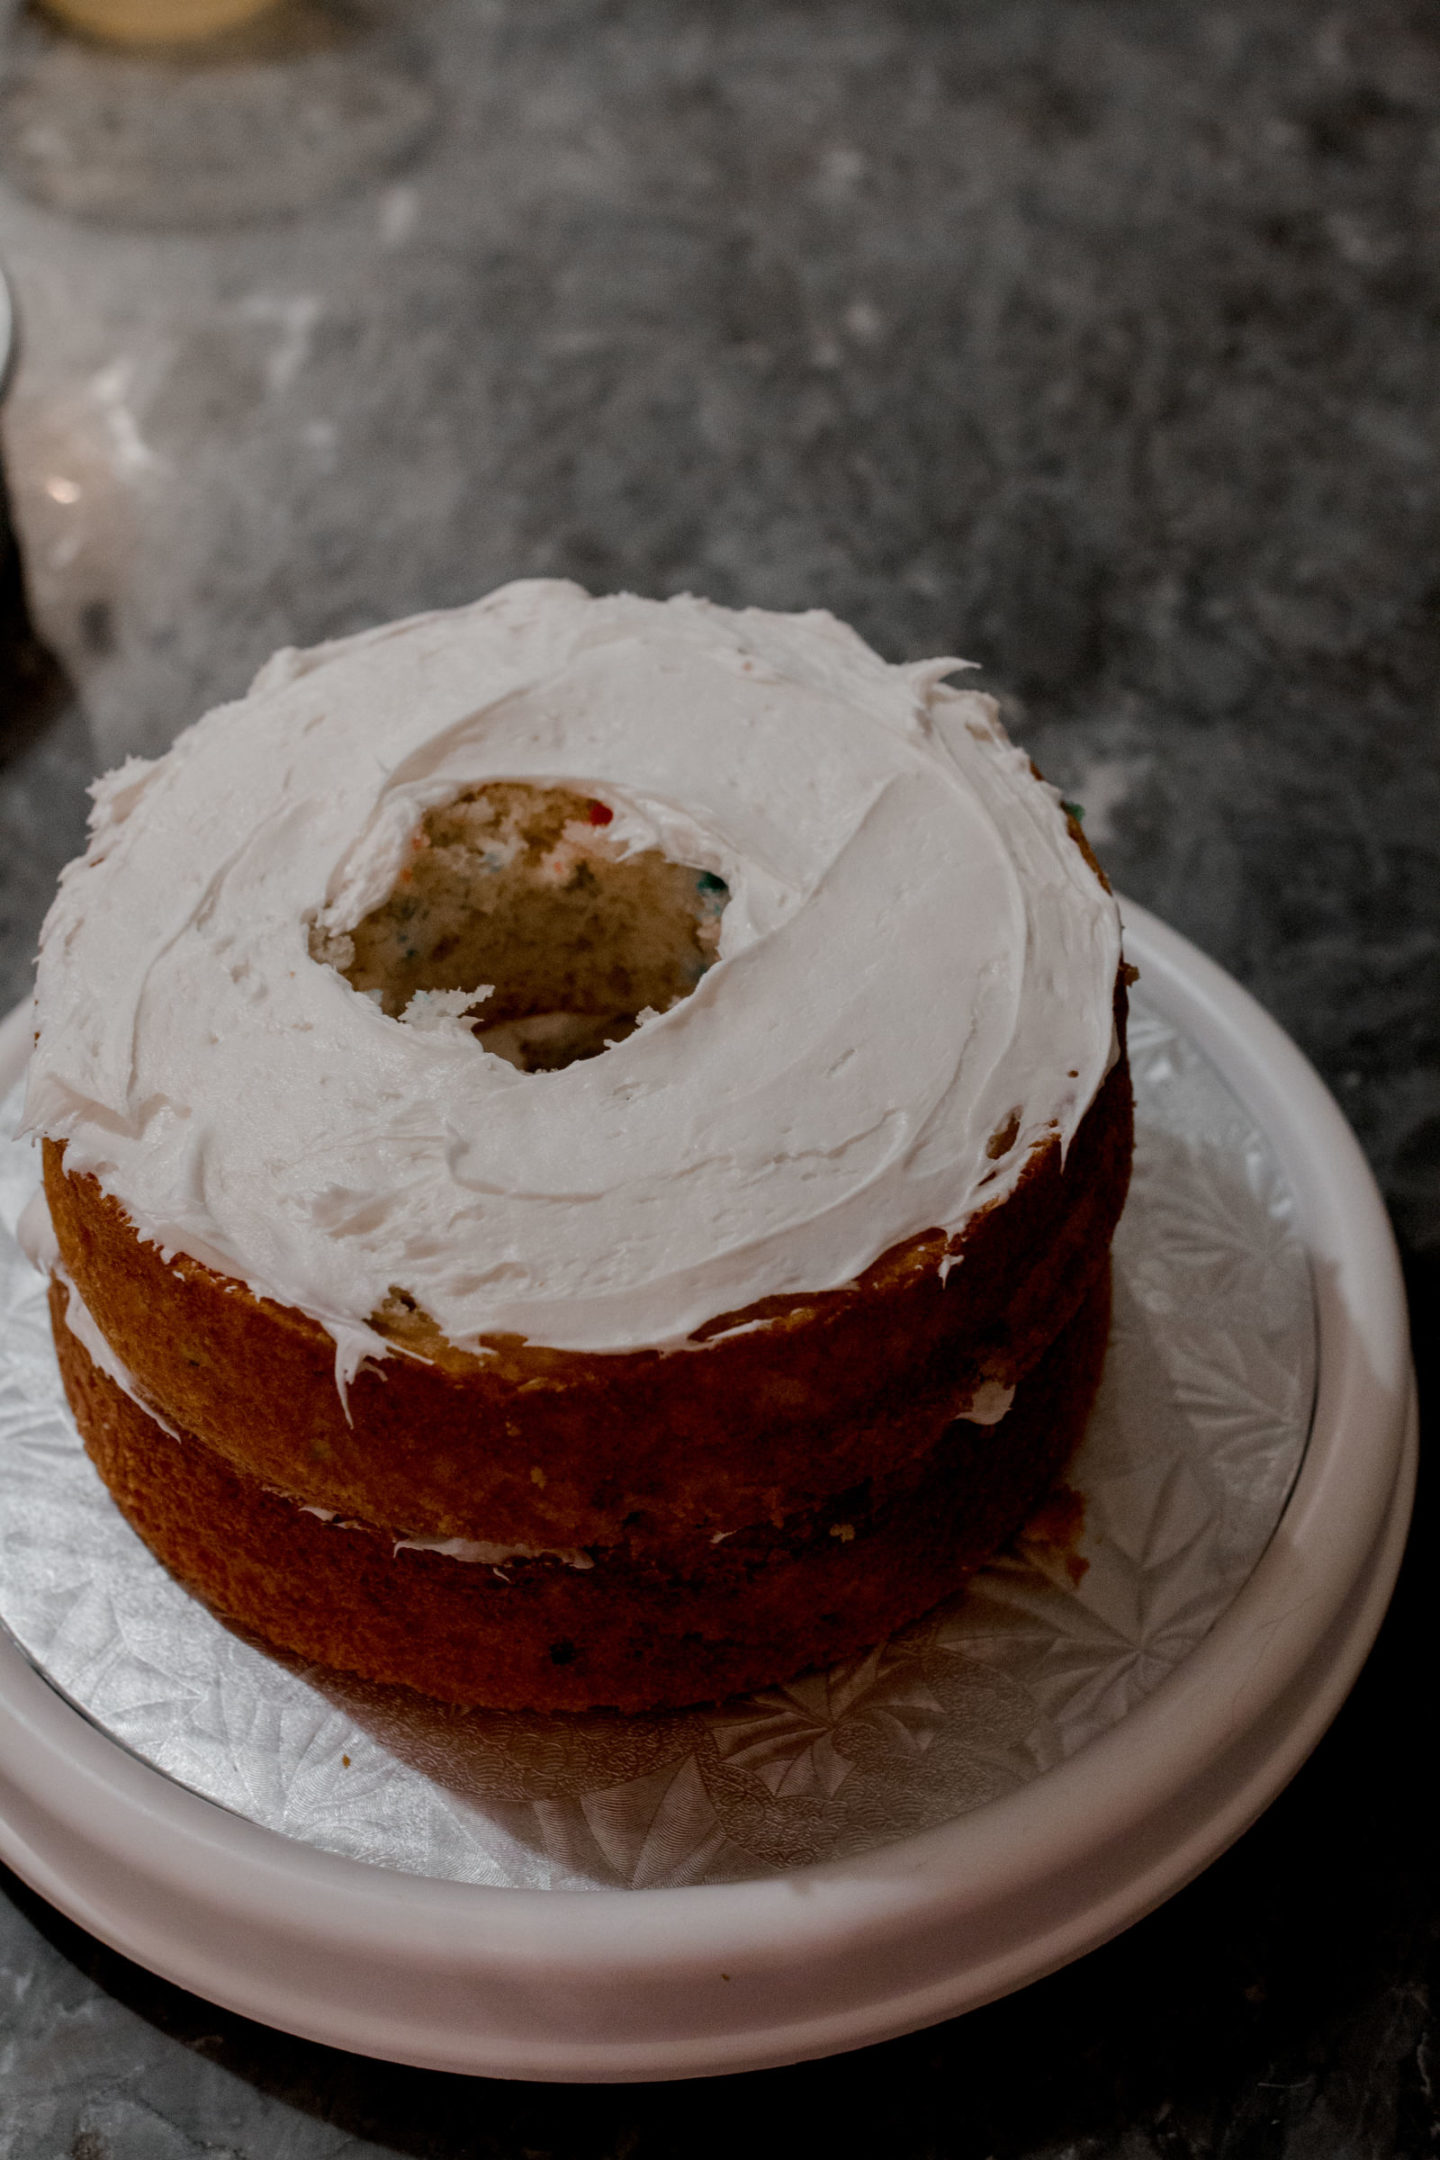
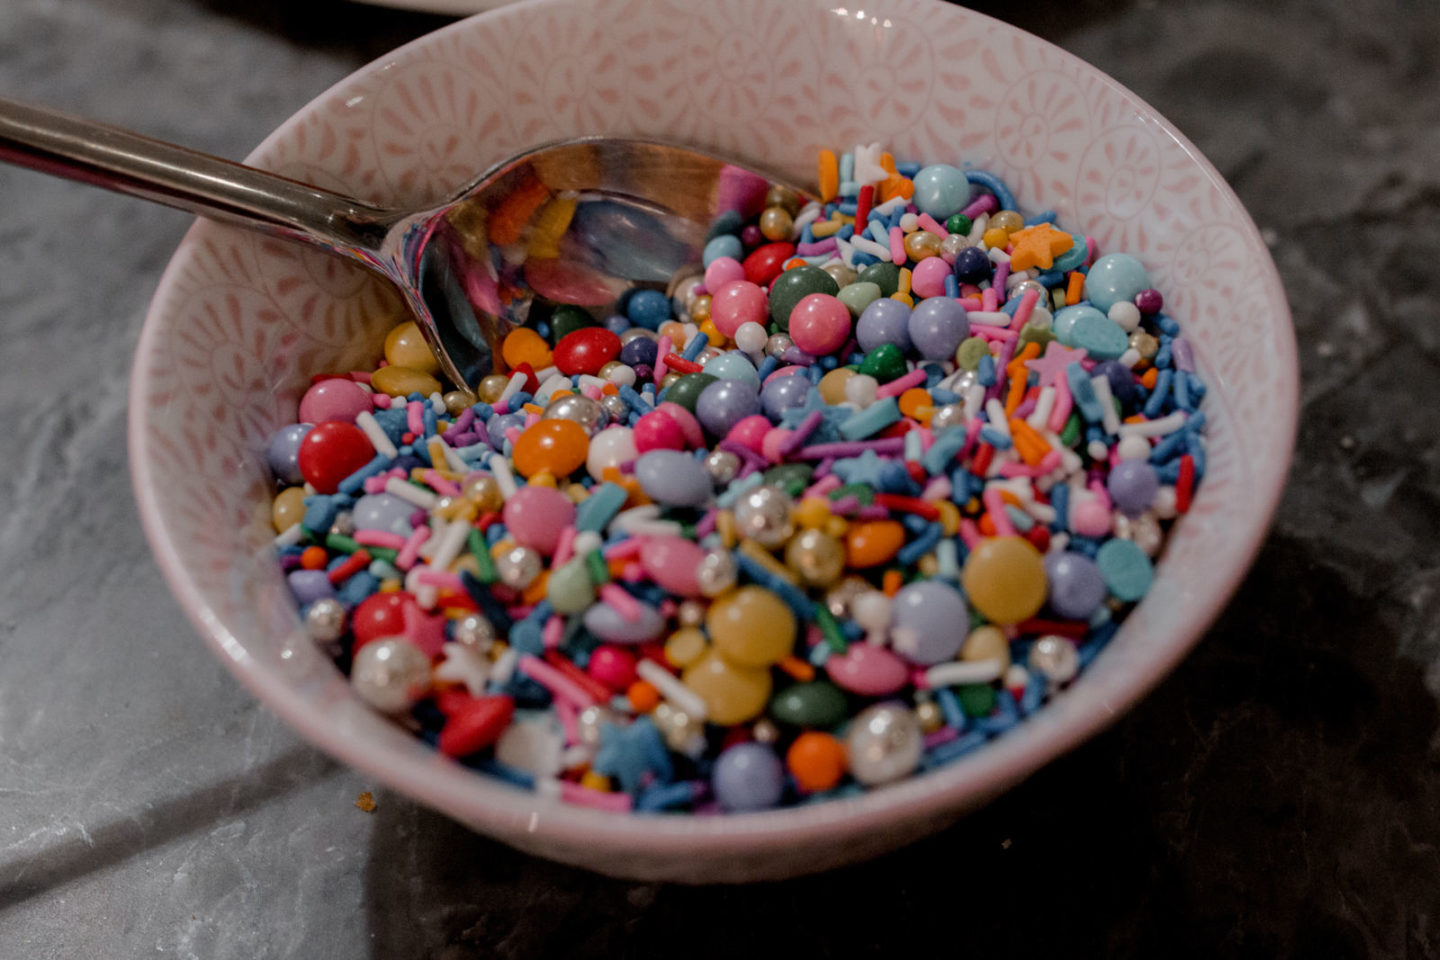
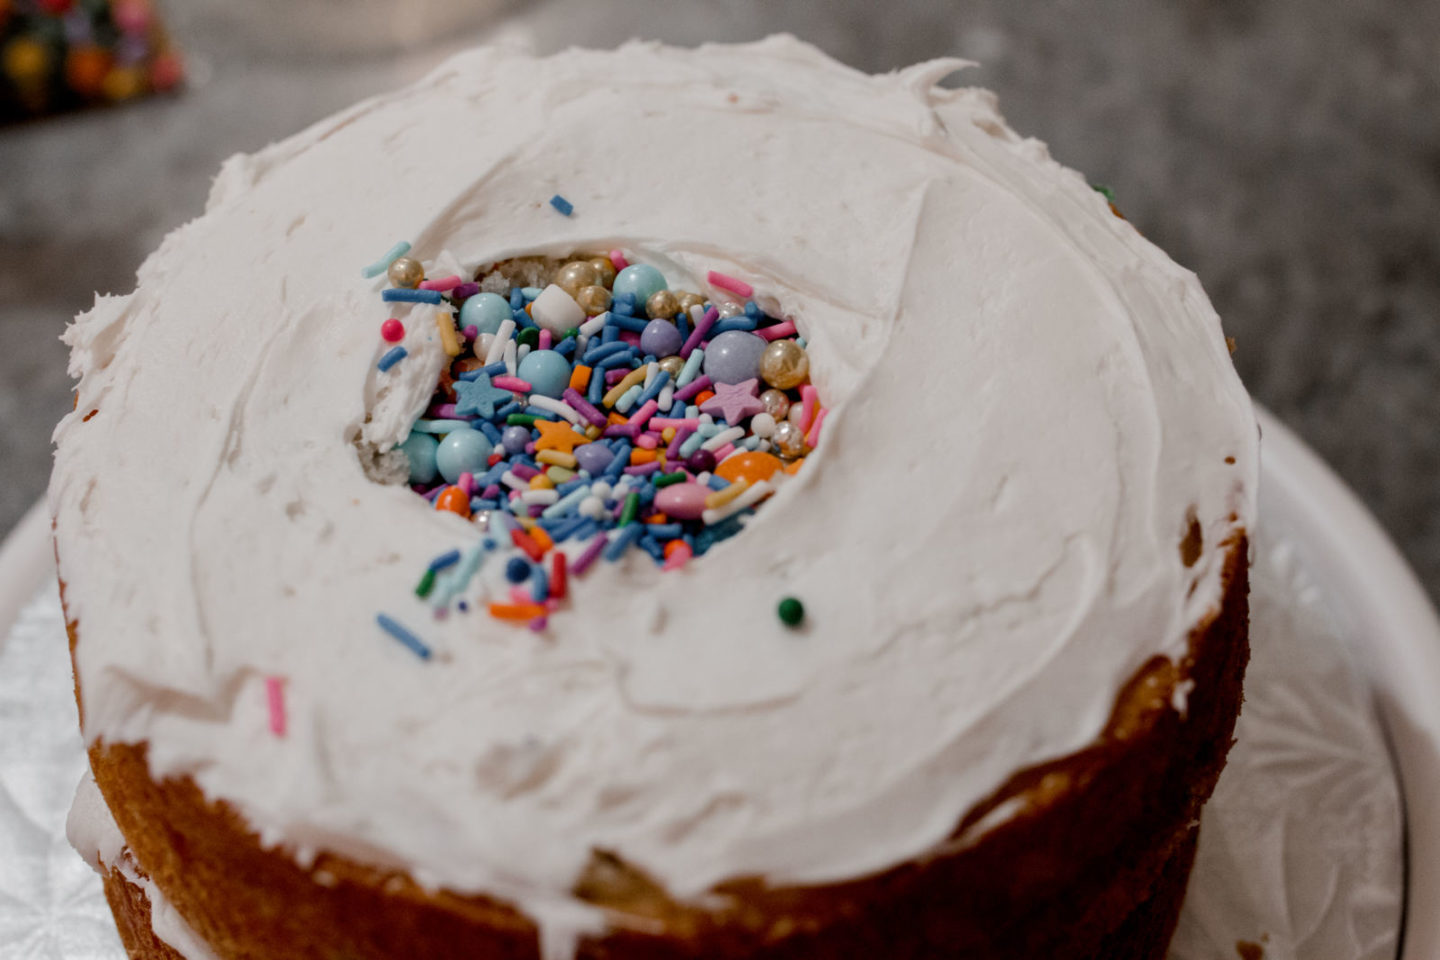
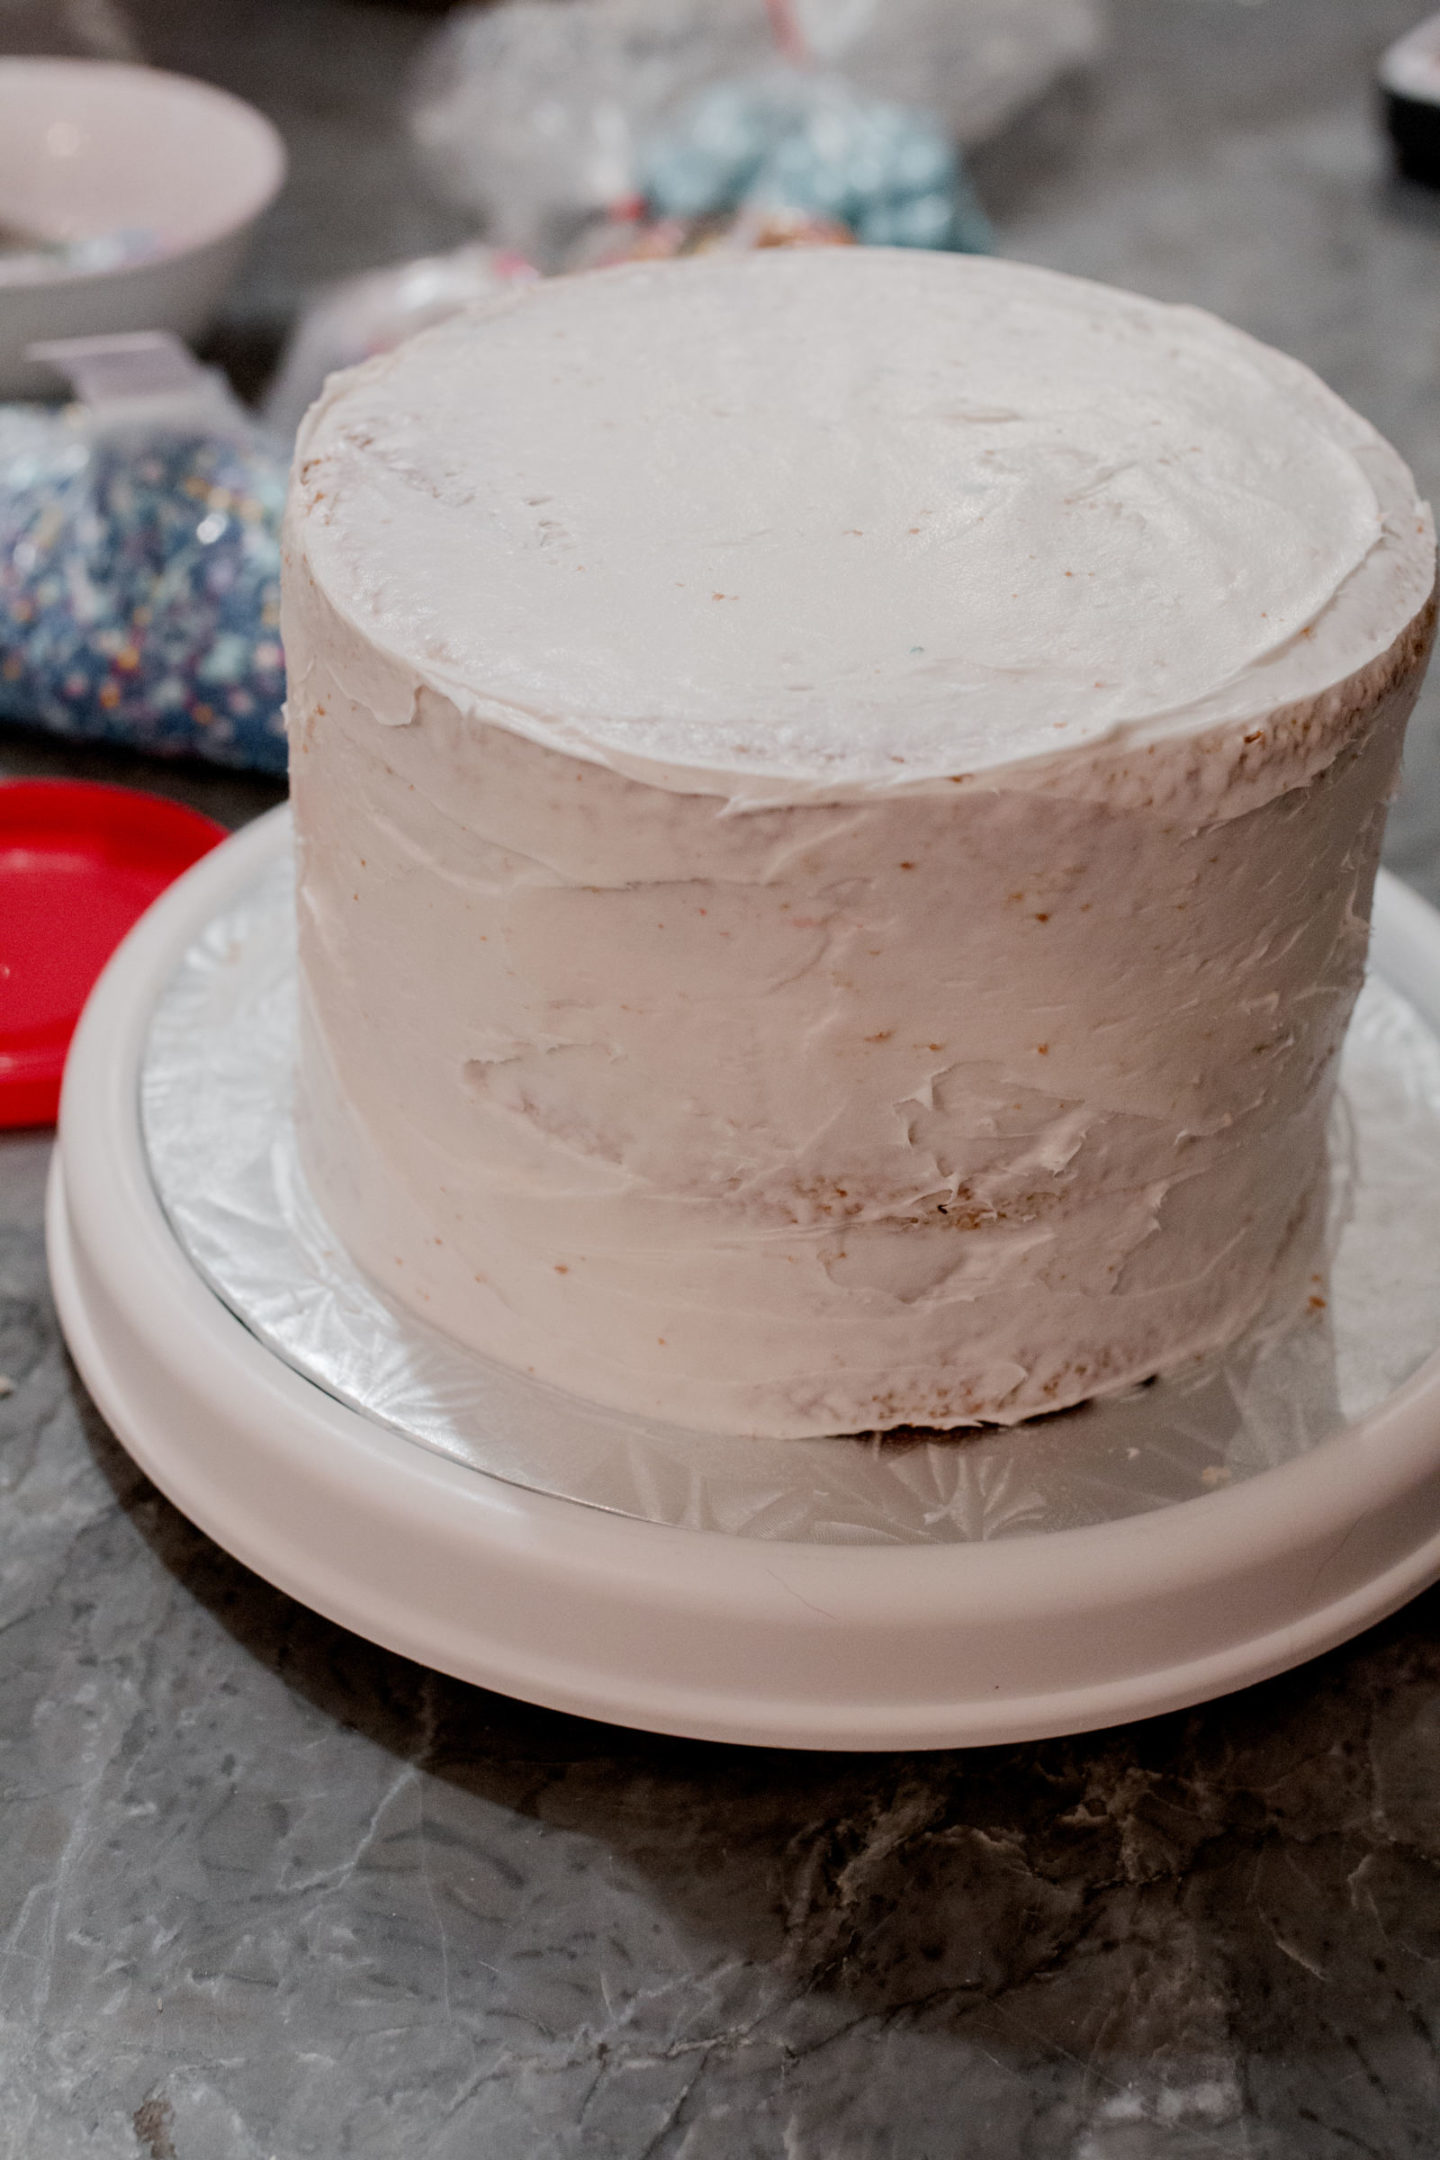
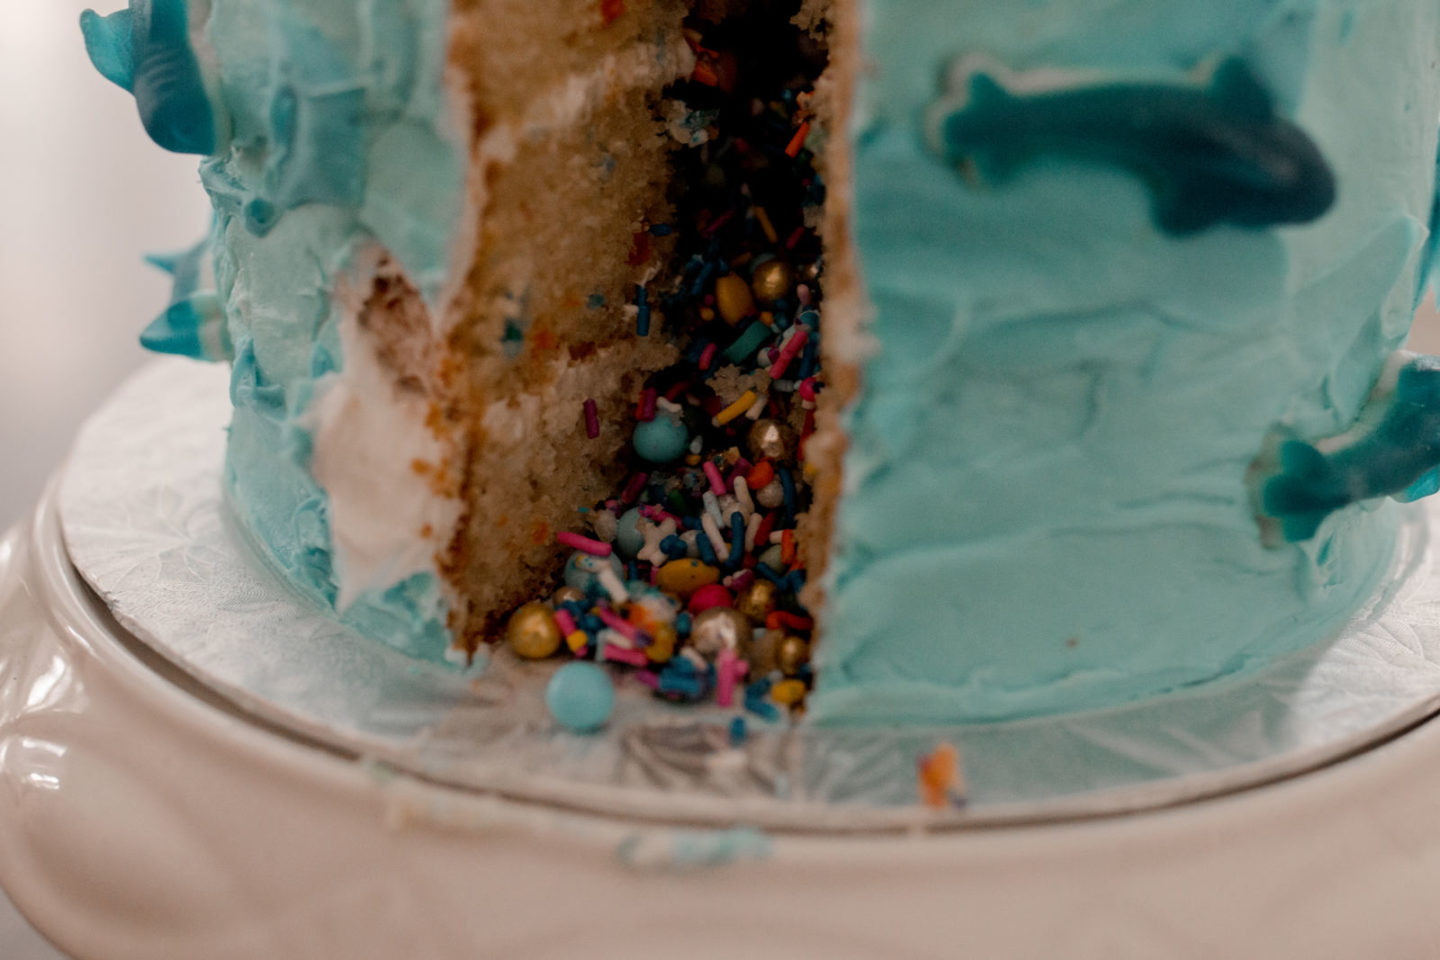
First, I baked 3 x 6″ round cake layers, which used up all of the cake batter exactly.Once the cakes had cooled, I sliced the rounded tops off to make them as straight and even as possible. Everyone was happy to eat up these “scrap” pieces.I used a small, round cookie cutter to cut a hole in the centre of two of the three layers. It is important to leave one layer whole, and also important not to make the holes too big. You need to have enough cake left to eat, as well as for structure.I stacked the first two layers (the ones with holes), using store-bought icing between the layers. This doesn’t have to be pretty but make sure you line the layers up the best you can. Hopefully your holes are as centred as possible, to create a column down the middle of the cake.You can ice the top of the second layer now, or wait until you have filled up the column with candy. Doesn’t really matter.I found these amazing confetti sprinkles at Bulk Barn – they had a mixture of sprinkle shapes and colours which made them really festive. I mixed two different types together and added some mini M&Ms for more bulk. Side note: I bought SO much of this, thinking it would take a lot more than it did. I’ll be using it again, for sure! I’ve got about 2 full cups left (oops)!Slowly and carefully fill up the hole in the centre of the cake using a spoon, until it is flush with the top of the cake (and not bulging out over top). If you get a few sprinkles in the icing it’s totally fine. This is one reason you may not want to ice that top layer until you’re done filling, but honestly no one will notice.Add on your top layer (this one is like the “lid” of the cake), and do a crumb coat over the whole thing. I just left this icing white and did a thin layer using an angled spatula. It is easier to do if you set the whole cake onto a lazy susan!I mixed a second tub of store-bought icing with blue food colouring and used the same angled spatula to spread it all over the cake. Once covered, I added a tiny bit more food colouring to the remaining icing to make it a darker shade, and spooned it on in swooshing motions to create ‘waves’. These gummies are also from Bulk Barn – I picked up sharks, a giant dolphin for the top, and blue whales (which I saved for some cupcakes I’ll be making next weekend for his party with his friends). I added blue pearlescent gum balls on top for fun, but you can decorate the outside however you’d like!I was pretty happy with how it turned out, but the best part was that Noah was SO thrilled and excited to surprise everyone with the inside of the cake.Sampling some other birthday candies while they wait. Can anyone say sugar rush??The looks on their faces when the sparkler first started!He’s hesitant, but ready… Gigi on the other hand… !!!Make a wish!
When you cut into the cake, the candies fall out – its so pretty and makes for a fun surprise!
The cake was SO much easier than I expected and such a hit – pretty sweet, though!
If you end up trying this out, be sure to let me know! Comment below, or tag me on Instagram so I can see how it turns out.
Thanks for following along!
1 Comment
KateFebruary 12, 2019 / 10:17 am
That is SOOOO awesome!! I will DEFINITELY be trying that! What size were your round cake baking dishes? It looks fantastic. You did a really great job and nice simple instructions. Thanks Missy 😘







That is SOOOO awesome!! I will DEFINITELY be trying that! What size were your round cake baking dishes? It looks fantastic. You did a really great job and nice simple instructions. Thanks Missy 😘